How to fill your CSV file to bulk schedule posts to Facebook
Simplified allows you to bulk import and schedule posts or create drafts into the Social Media Publishing from a CSV.
!Note: you can import up to 300 posts at a time, and your CSV file must have a max size of 5MB.
Here’s how:
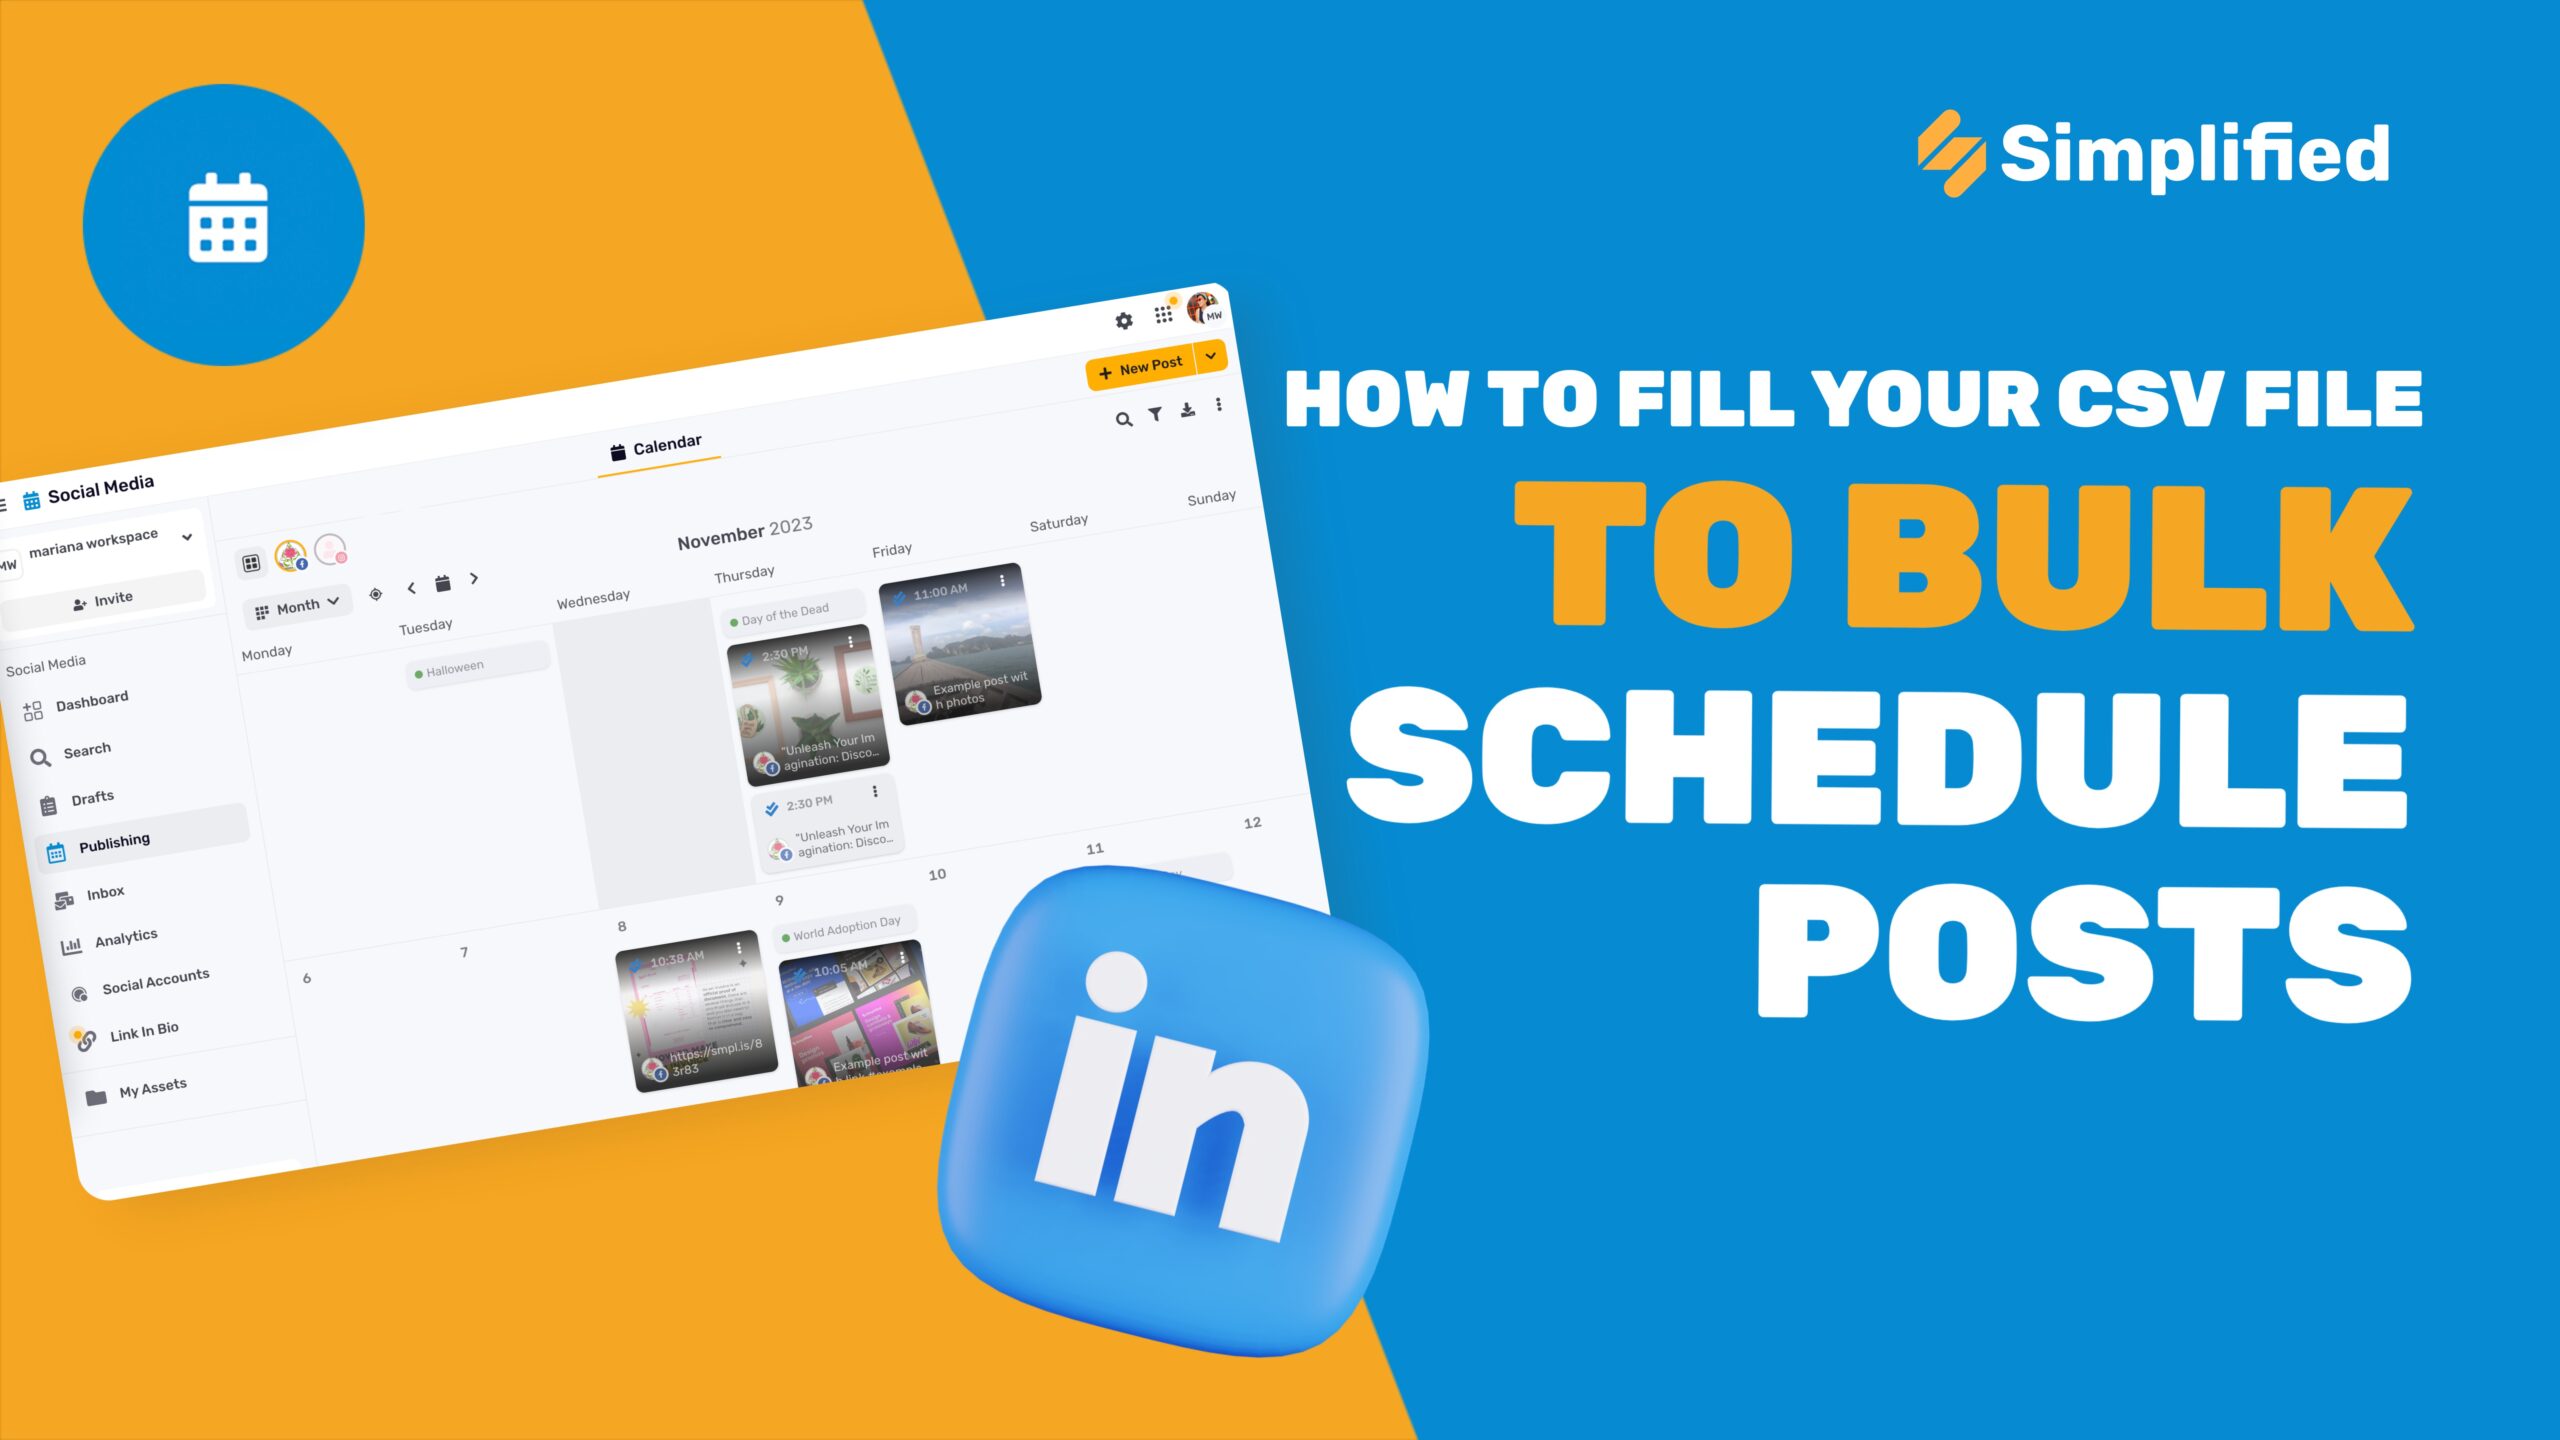
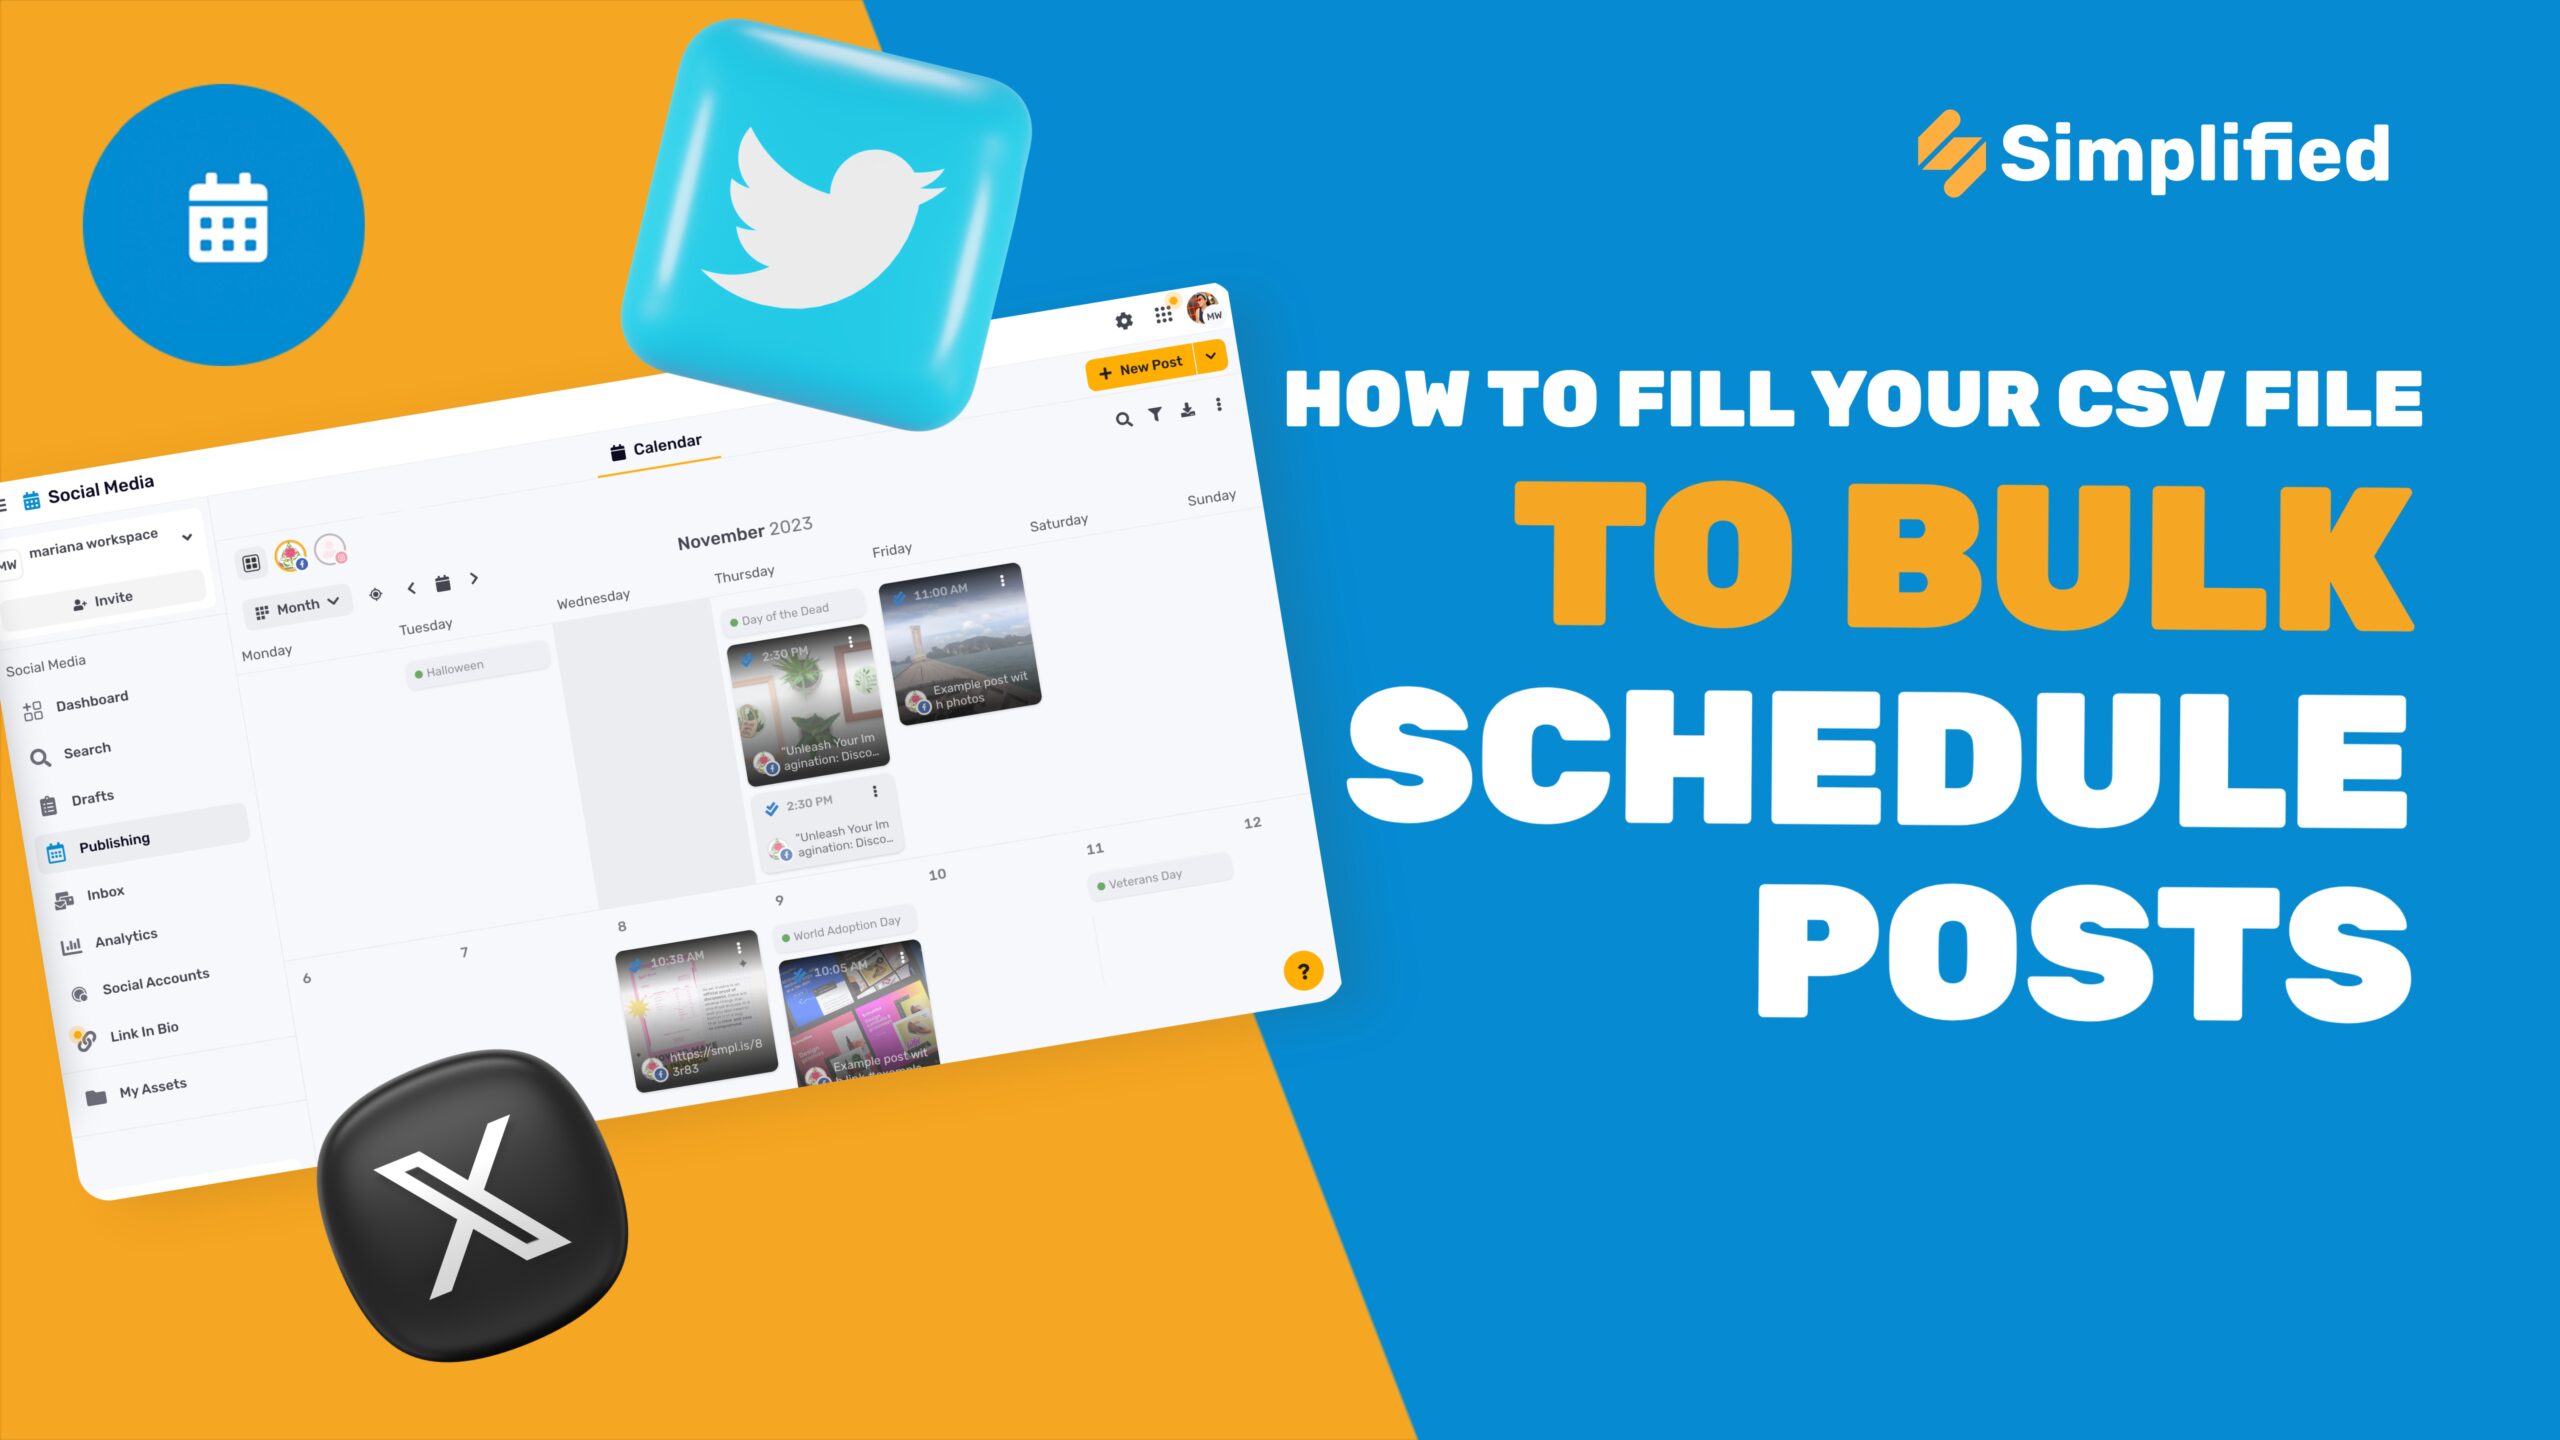
1 – On your Simplified account, go to Social Media
2 – You can bulk upload your posts two ways:
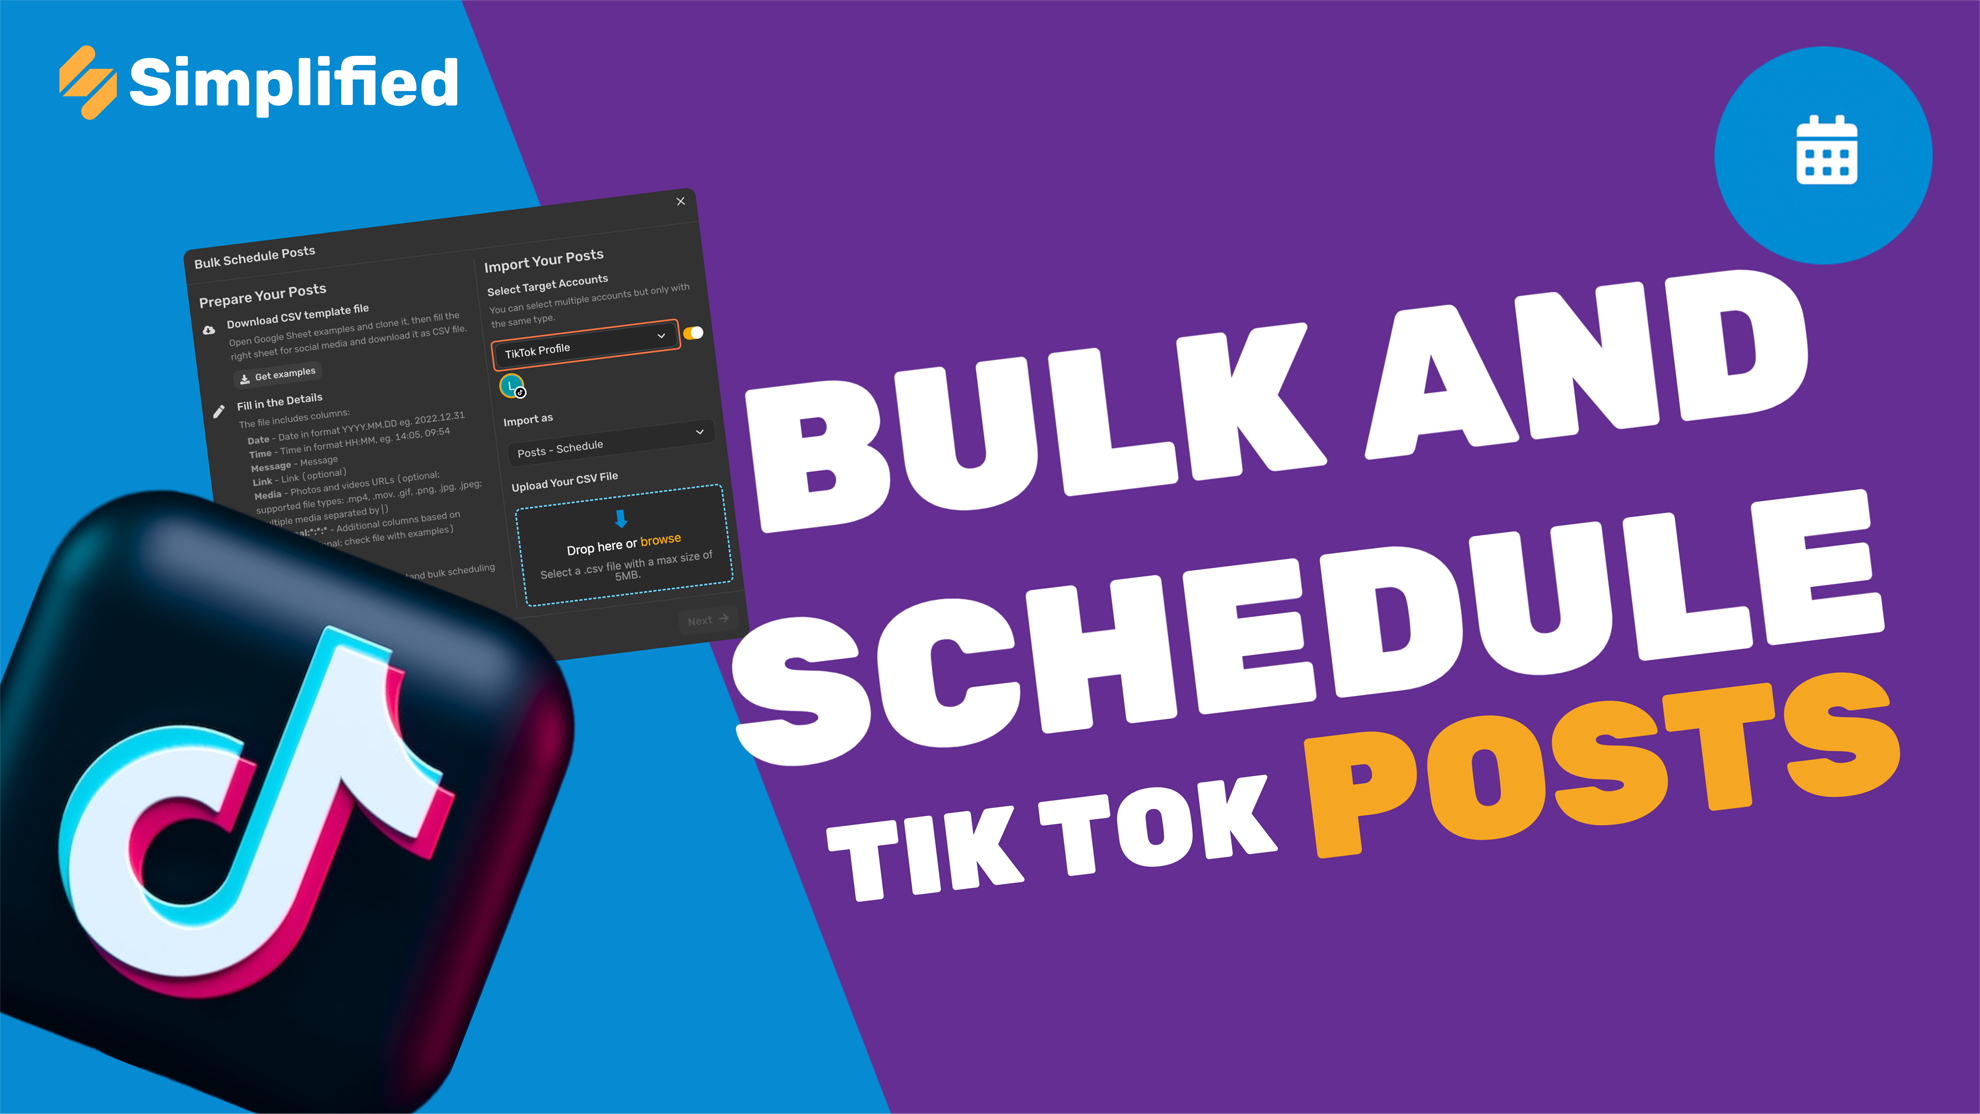
a) Click Bulk Schedule Posts on your Social Media Dashboard
OR
b) Click Schedule Post, then click the drop-down arrow next to New Post at the top right corner, then Bulk Schedule Posts
3 – To make sure your CSV file follows the format described in the pop-up window, download the example CSV file by clicking Get examples.
4 – Once the Example CSV opens, make a copy you can edit by clicking File, then Make a copy
5 – On your new CSV File, select the tab with the name of the social media to which you want to bulk upload the posts.
6 – Then, edit the rows and columns with your posts’ information (date, time, message, link and media).
Date (mandatory) – the date where your posts will be published
Time (mandatory) – the time of day when your posts will be published
Message – your posts’ captions
Link – links you want to add to your posts’ captions. Not mandatory
Media – Your posts’ medias (image or video). You need to add a public link to your media. We recommend adding the links you obtain from Simplified’s assets. For example, if your images or videos are saved on a Google Drive, you can copy the media’s link, and paste onto the CSV cell. Make sure the media’s permission on Google Drive (or any other storage) is set to publicly available. If you download the assets links from Simplified, you just need to copy and paste them into your bulk schedule CSV.
Depending on the social media, you have to select the post type. For example, if filling your CSV for Instagram, on the last column (Additional:Instagram:postType:value), you have to add the post type: reel, post or story.
7 – After completing your CSV file, click File, then Download
8 – Select Comma Separated Values (.csv)
You need to download a different file to each social media. To do so, select the social media tab (ex: Instagram), then go to File then Download. Then, change social media by selecting a different social media tab, then doing File then Download again.
That’s it! You can now upload your CSV to Simplified.