Intro to the Content Calendar, Planner, and Social Analytics
Simplified’s social Content Calendar has features to keep you organized, develop content strategy, and communicate with your team and clients. We’ll talk about the planner, the calendar, and even cover the data analytic feature. Whether you’re a small business owner, freelancer, student, or just looking to build your video creation and editing skills, Simplified is definitely a tool that can help you.
1- Access all things calendar by selecting the social media icon in the top toolbar.
2- The first section on the homepage will give you three different options for creating content. You can Schedule a post, see reports and analytics, and plan content. On this homepage you will also have quick access to your upcoming posts and below you will have access to all of our tutorials.
3- Let’s walk through how to publish a post. The first thing you’ll want to do is connect your accounts. Simplified is compatible with Facebook, Instagram, etc, etc. You can see all of your connected accounts here. Let’s click this square icon, and now we’ll see a list of our accounts. If you’re a social media manager, you can create different account groups for different clients. You can add an account by choosing this plus icon, selecting your desired platform, and then entering your account information.
4- Now that we’ve talked about account set up lets talk about the calendar itself. You can view all your posts either in calendar view, list view, feed view, and grid view. The posts shown in the calendar will reflect the accounts highlighted in this top toolbar. You can select or deselect accounts by clicking the icons.
5- Now let’s talk about scheduling a post, which is incredibly simple. Either click this new post button, or go to your desired date and click this plus icon. Again using these icons to pick which accounts you want this post to publish to, you can select just one account or multiple. Add your media using this plus icon which will give you access to your media library or Simplified’s stock photo and video libraries, write your caption (and even use the AI assistant here if you need it), and then schedule now to select your desired date and time or you can save your post as a draft, add to queue, or publish now.
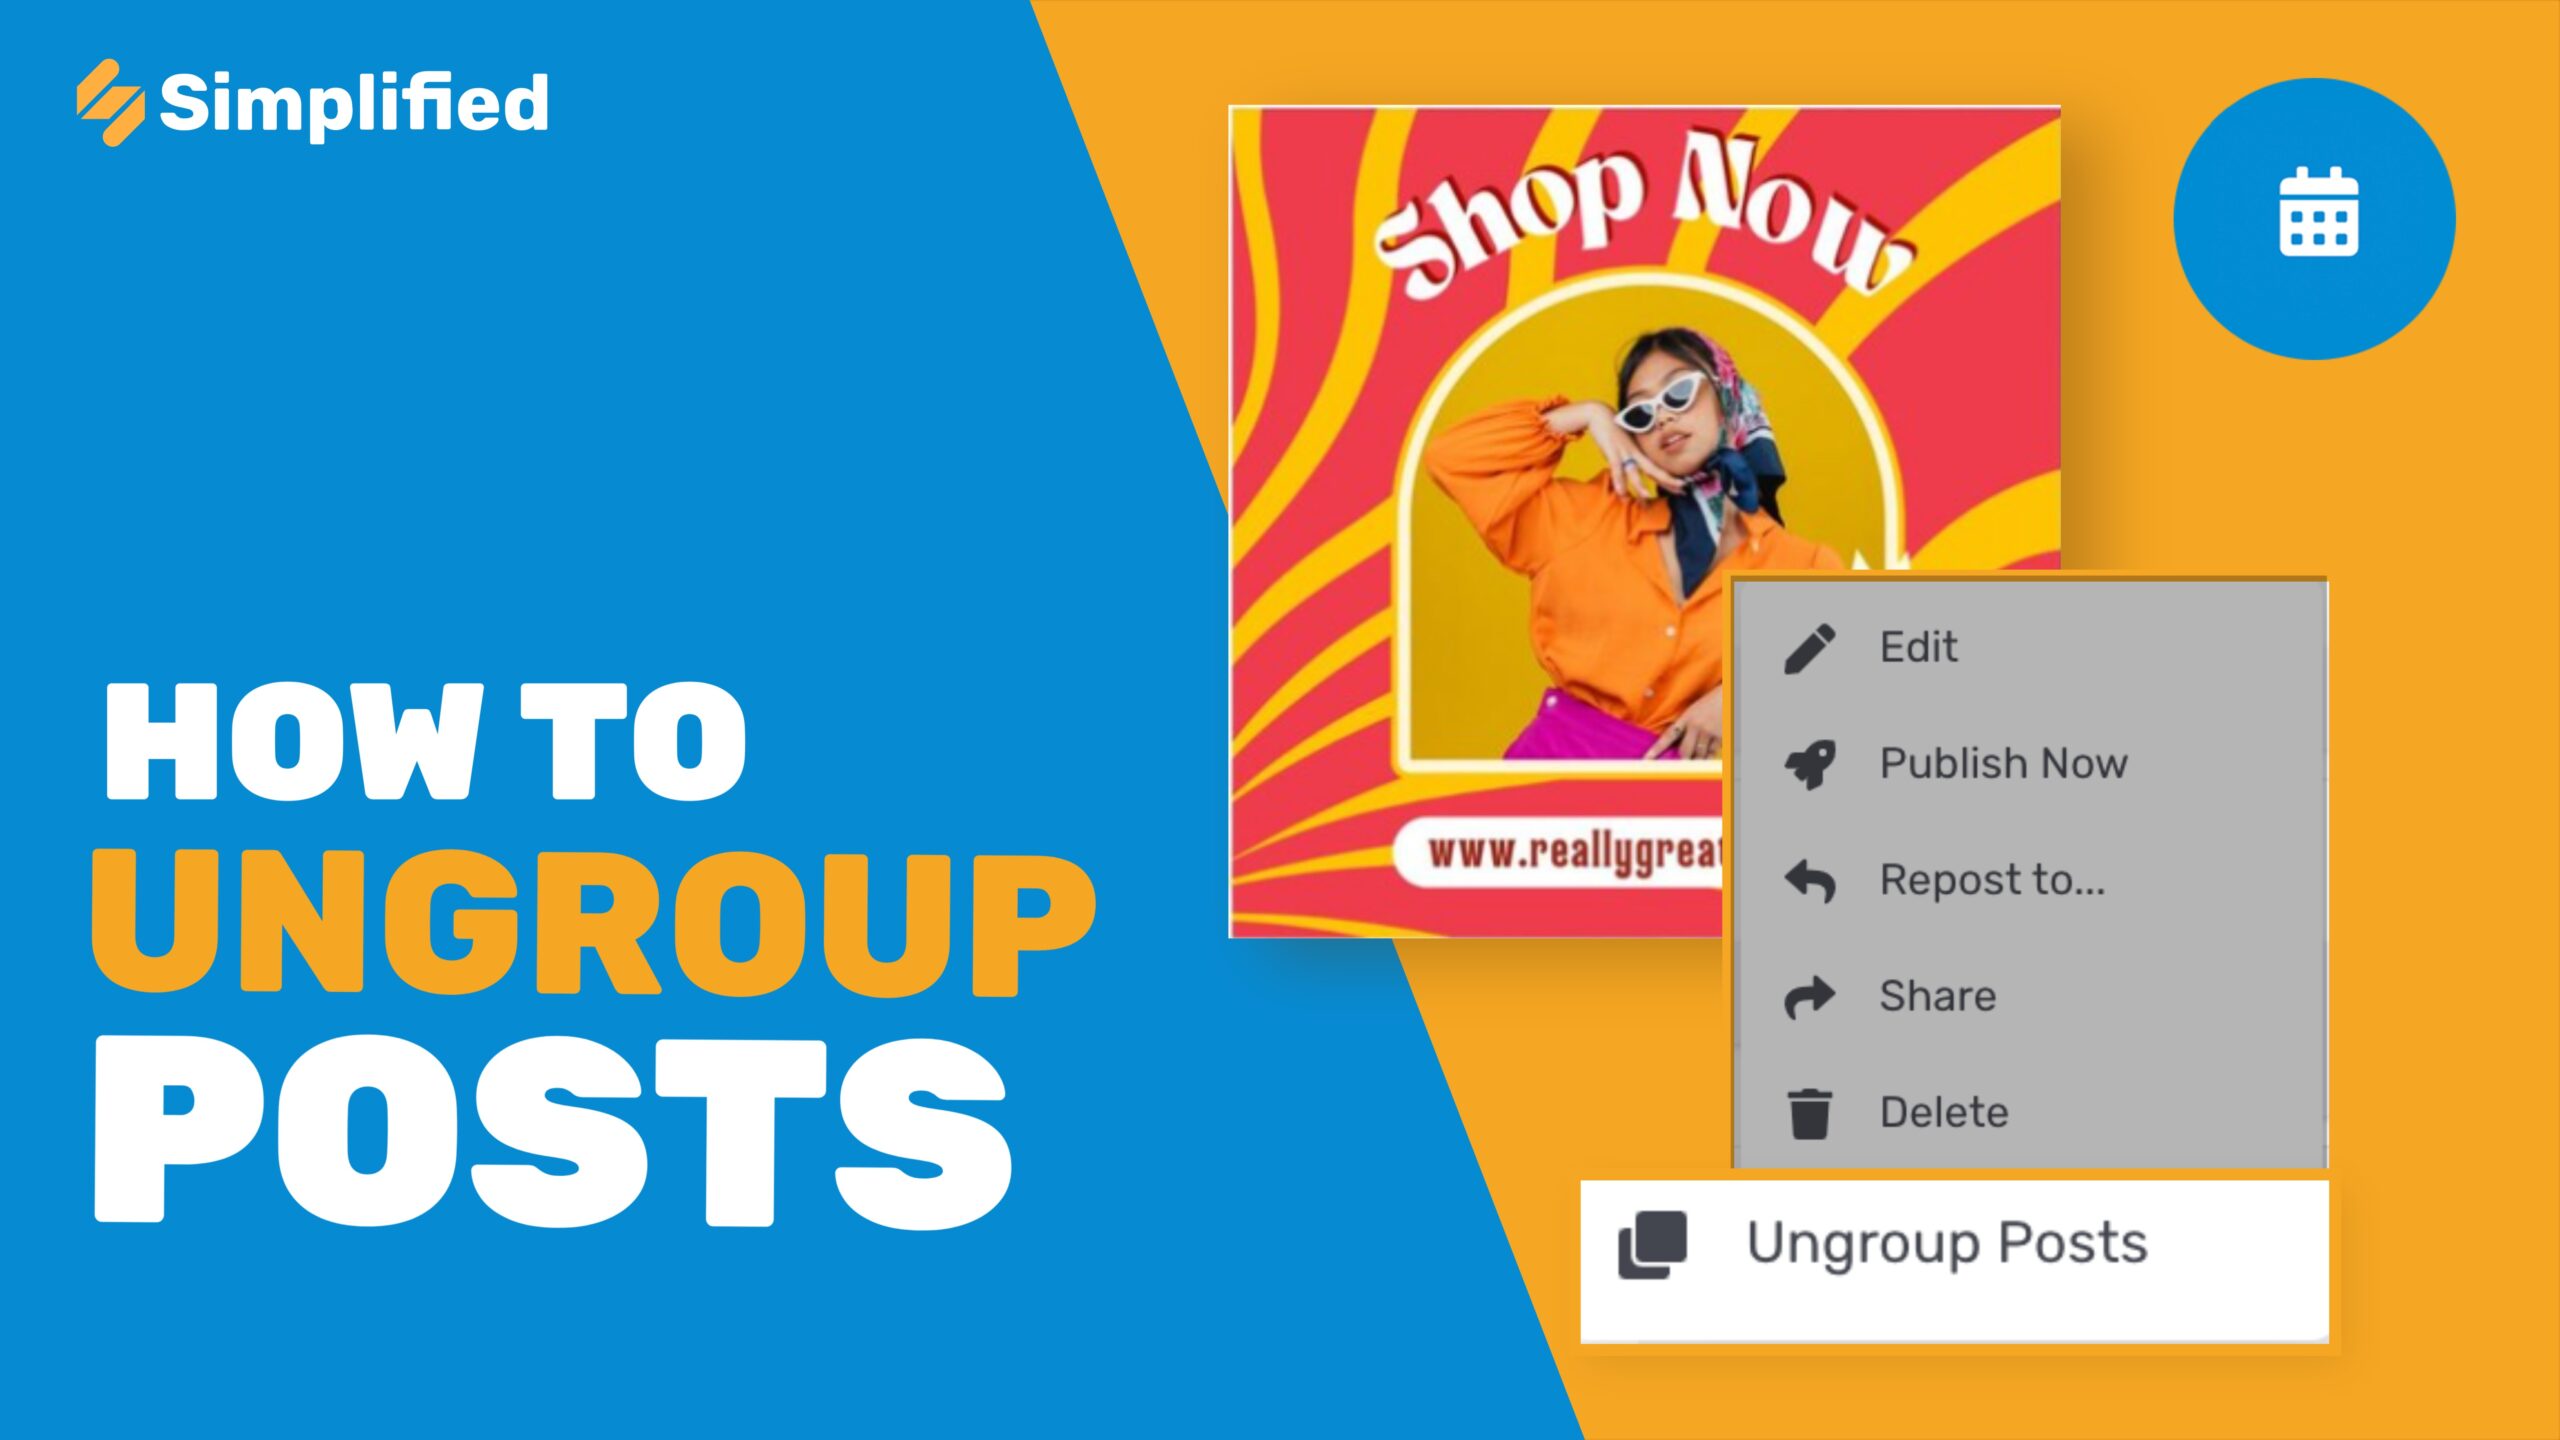
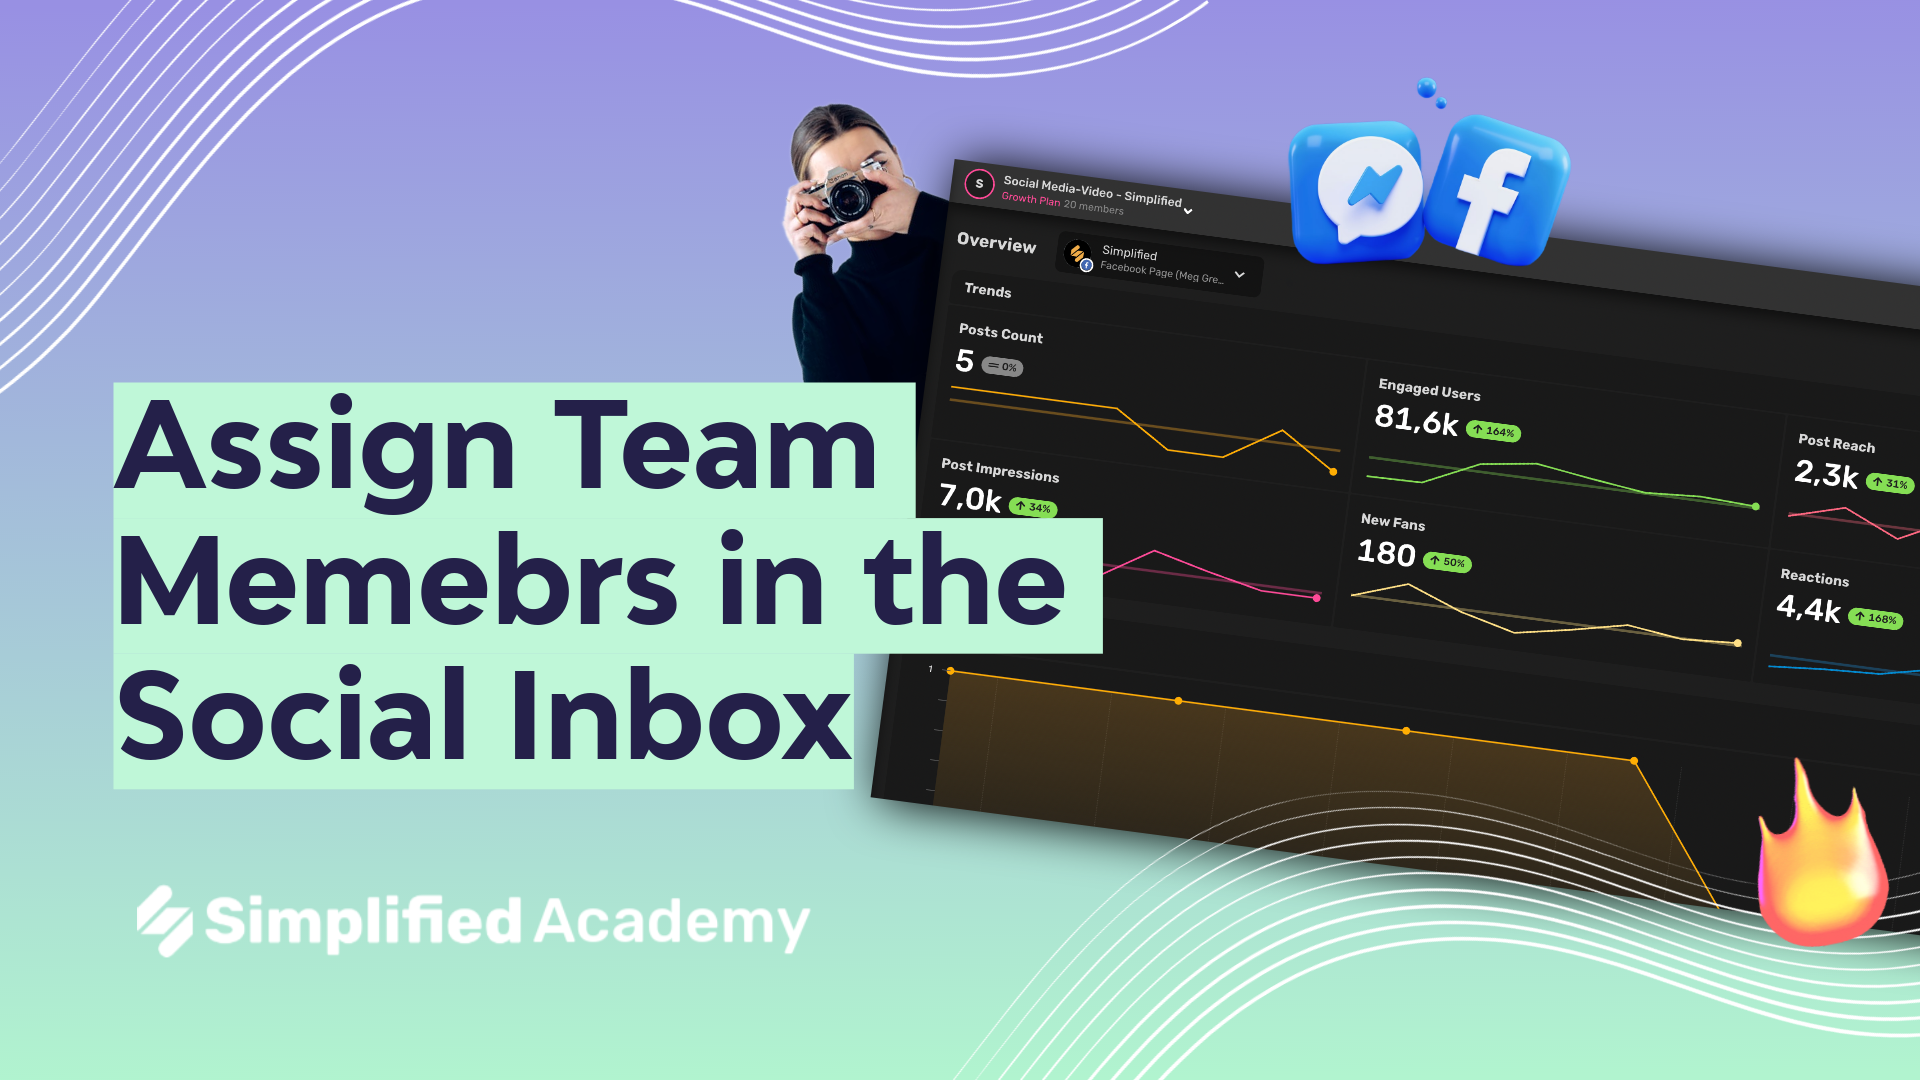
6- Now let’s talk about the planner. This is a great tool for your team workflow. You can use this drop down on the right hand side to view your drafts, posts that are awaiting approval, and posts that are ready to publish. You can see all your drafts by scrolling and to view an individual draft you can use this icon to expand. Once you’re here you can see the author of the post and the time created, what platform it is drafted to, you can use this icon to see the draft history and the previous changes made to this draft. And you can use this icon here to comment and view comments from your team. You’ll be able to see resolved and unresolved comments and work with your team in real time. You can use this yellow drop down to approve, reject, etc. This workflow is great for creators who need to get approval from clients or other team members.
7- Now let’s return to the homepage. On the left hand side menu you will have access to some quick tools including inbox and assets. Let’s select inbox.
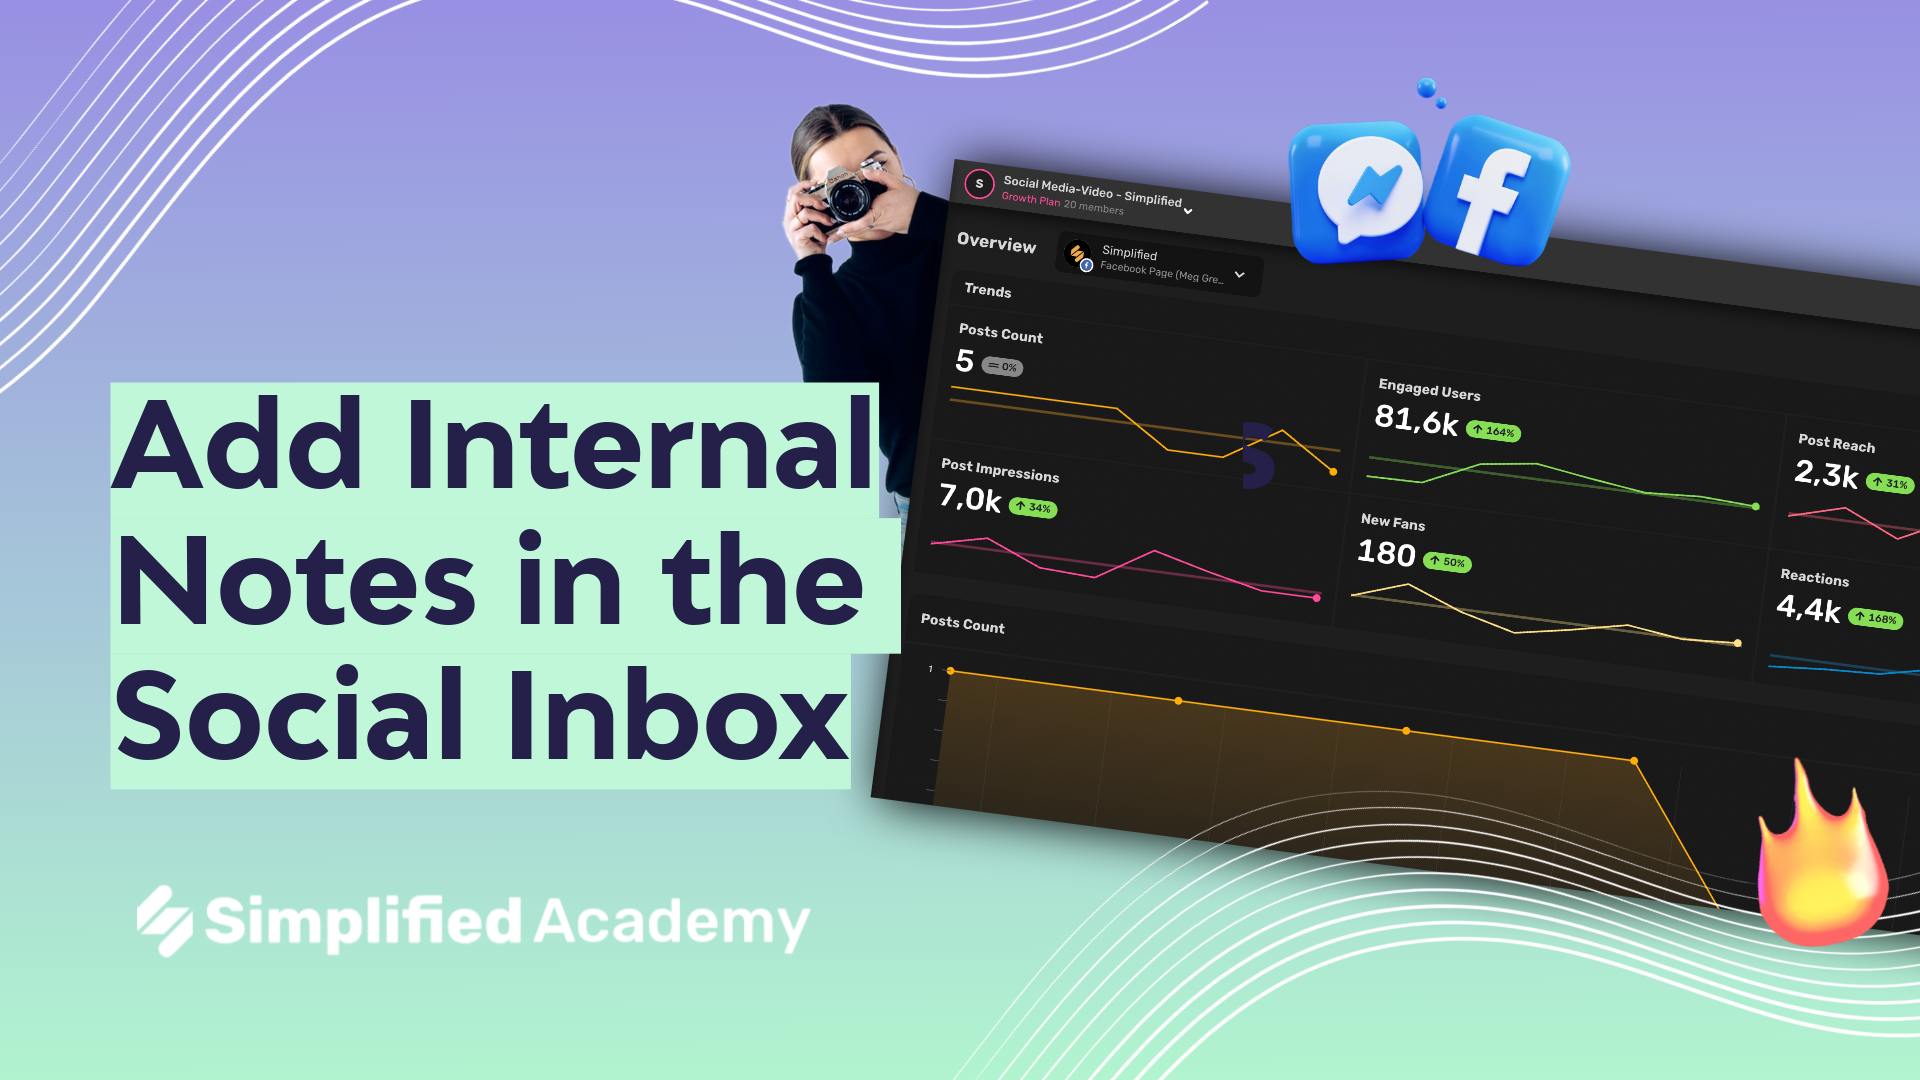
8- Simplified’s inbox feature is the social management tool where you can browse and reply to messages, comments and mentions from various social networks, all in one place. If you open the conversation, you’ll have the ability to respond to your clients or customers right in Simplified, but it will go through that social media platform. Type your response, even use the AI to help you craft a response, upload media using the plus icon if you’d like, and then click send. Once you’ve sent your messages you can use the “Resolve Comment” button to mark your conversation as complete so it will no longer appear in your new notifications.
9- And lastly, let’s talk about analytics. This feature allows you to track to the data of your social performance for each of your accounts. This tool can help you evaluate your post’s performance and inform your social media strategy. Select which account you’d like to view by using this drop down here Facebook, LinkedIn, Twitter, and Instagram., select your desired time frame, either 7 days, 30 days, 90 days, or a custom date range, and now choose the metrics you’d like to be included in your report. You can see the data here and if you scroll down you’ll be able to see metric in graph format. You can create multiple graphs by selecting these three dots and selecting clone chart. You can also delete a graph by selecting this. You can adjust which metric is shown in graph format by using this drop down. As you scroll down you’ll be able to see a breakdown of each post and metrics with those posts by scrolling to the right. You can even select how many posts you’d like to see here. Scroll back to the top to use this download report button which will download a pdf or png report straight to your device that you can share with team members and clients.