How to schedule Posts for Personal Instagram Accounts
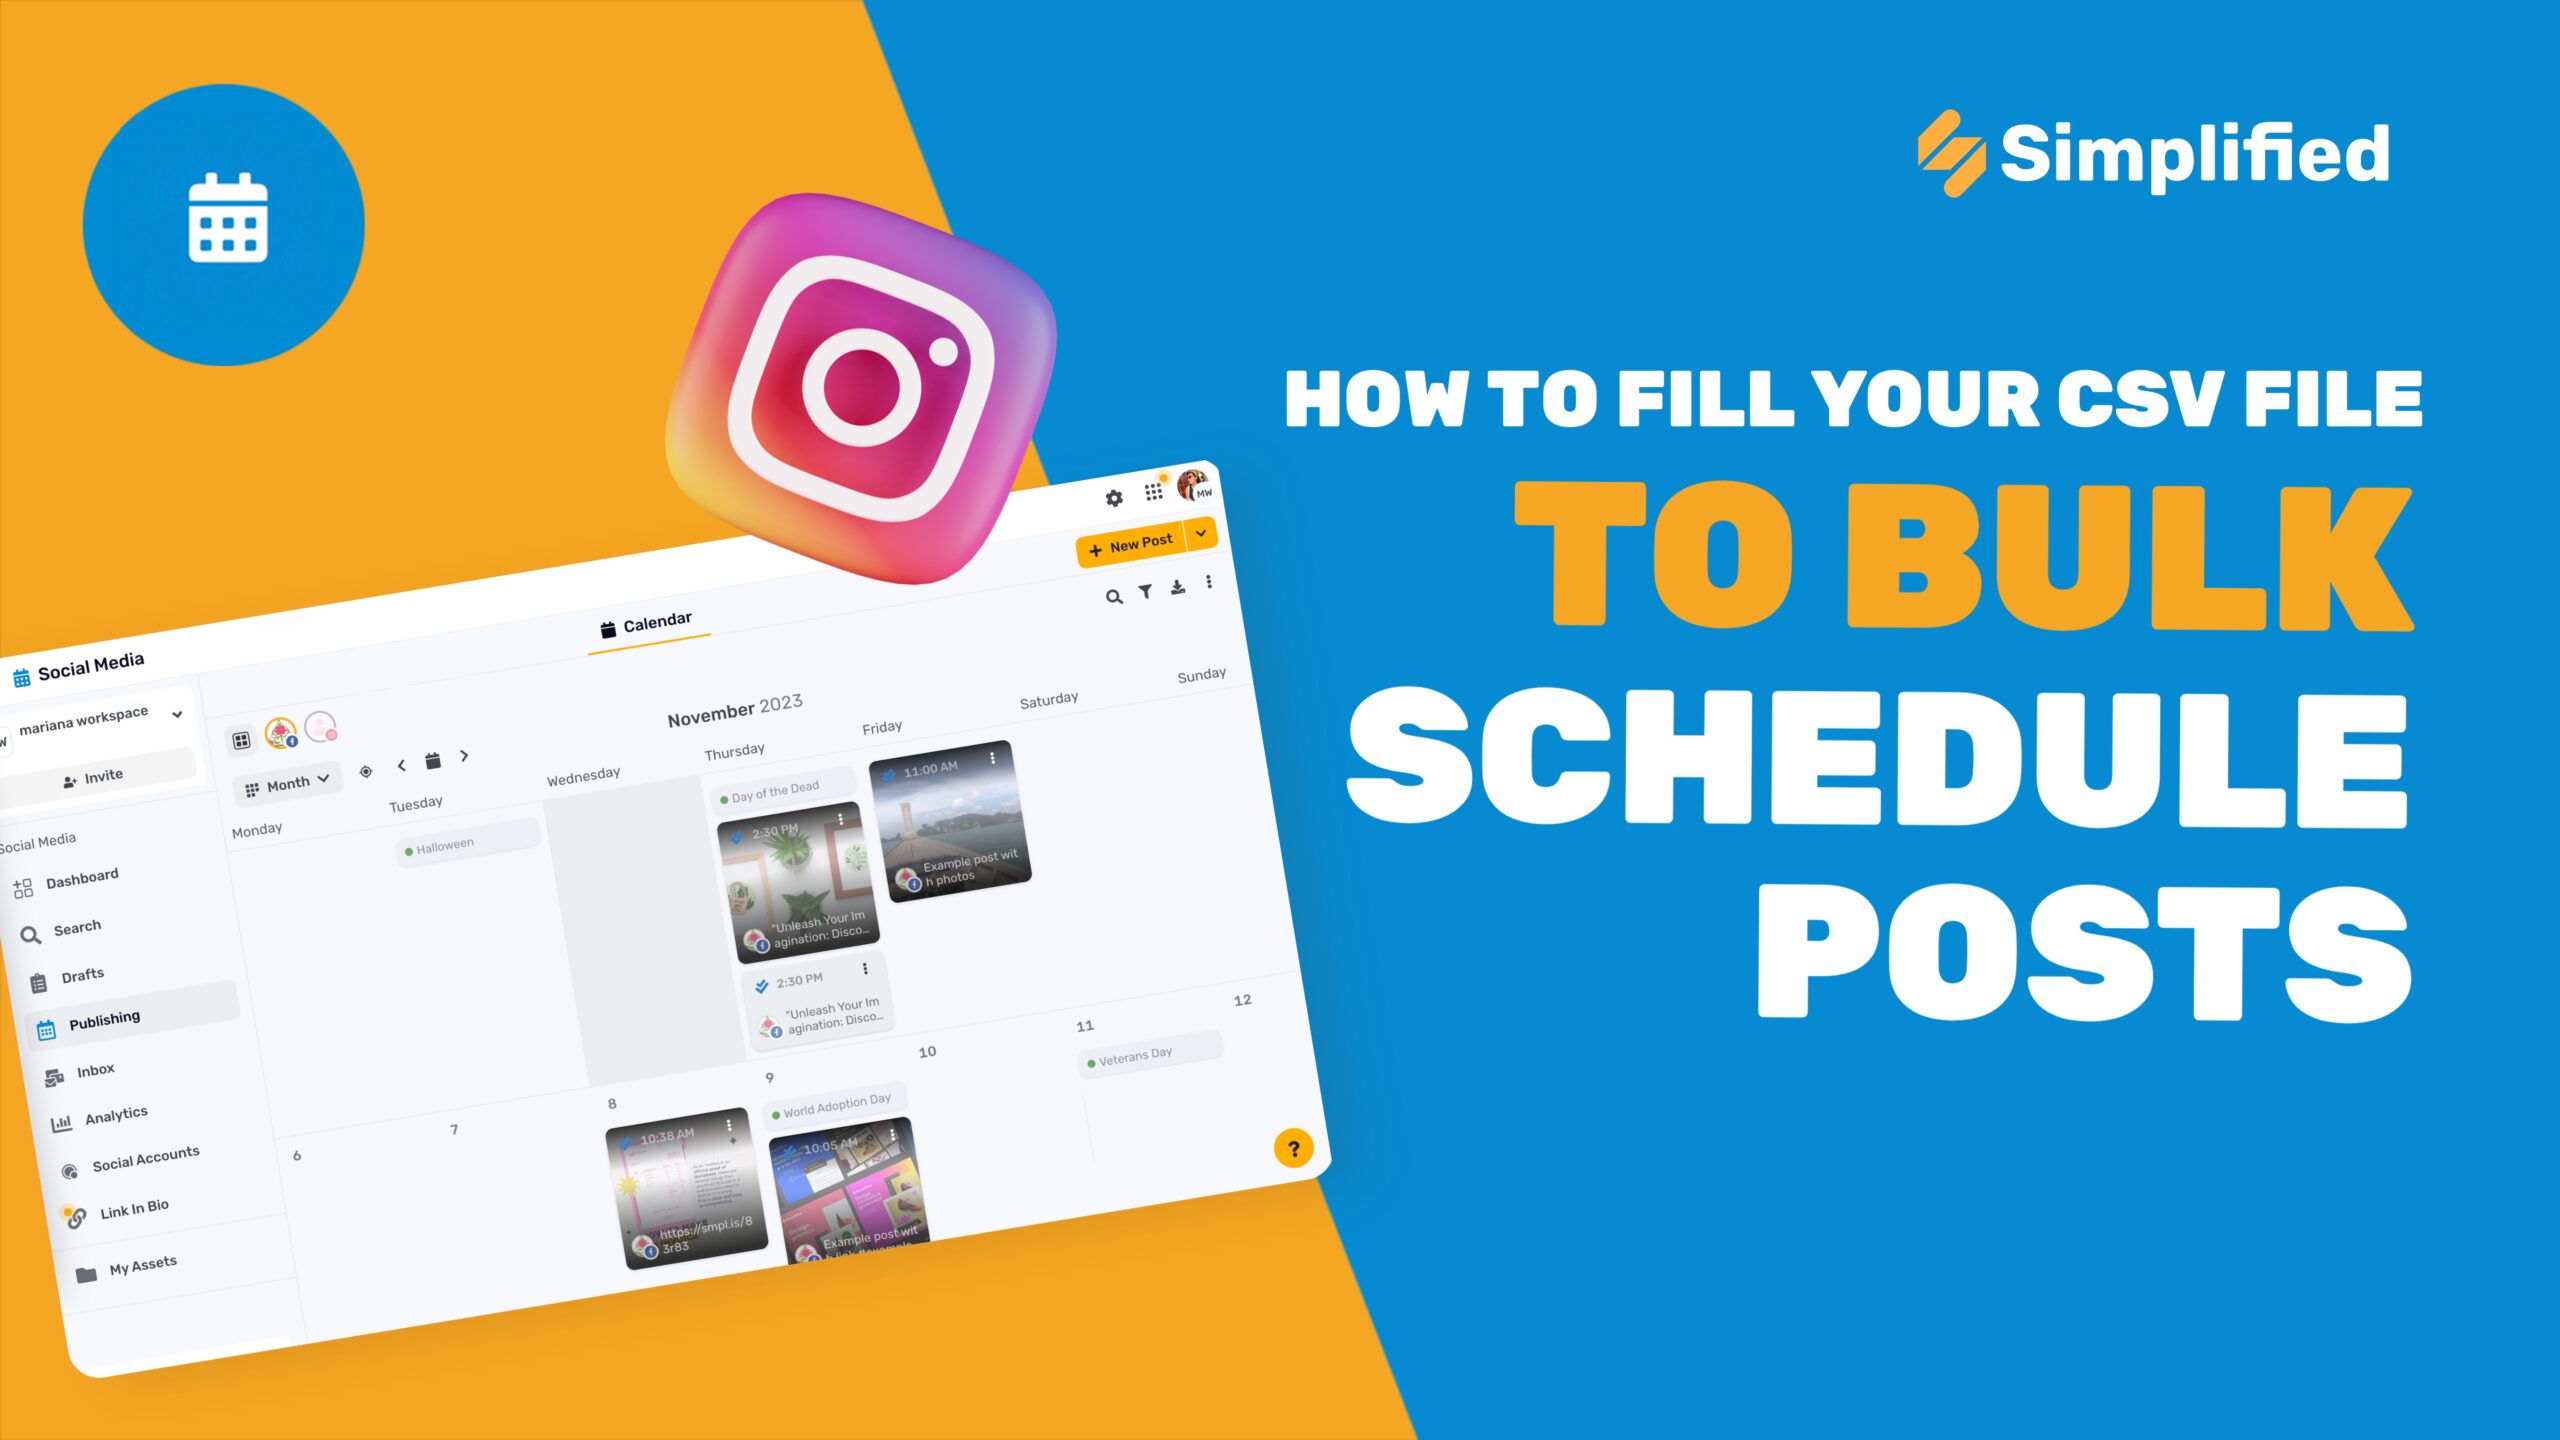
With Simplified you can easily schedule posts for your personal Instagram. This is a great tool to utilize for better organization and social strategy.
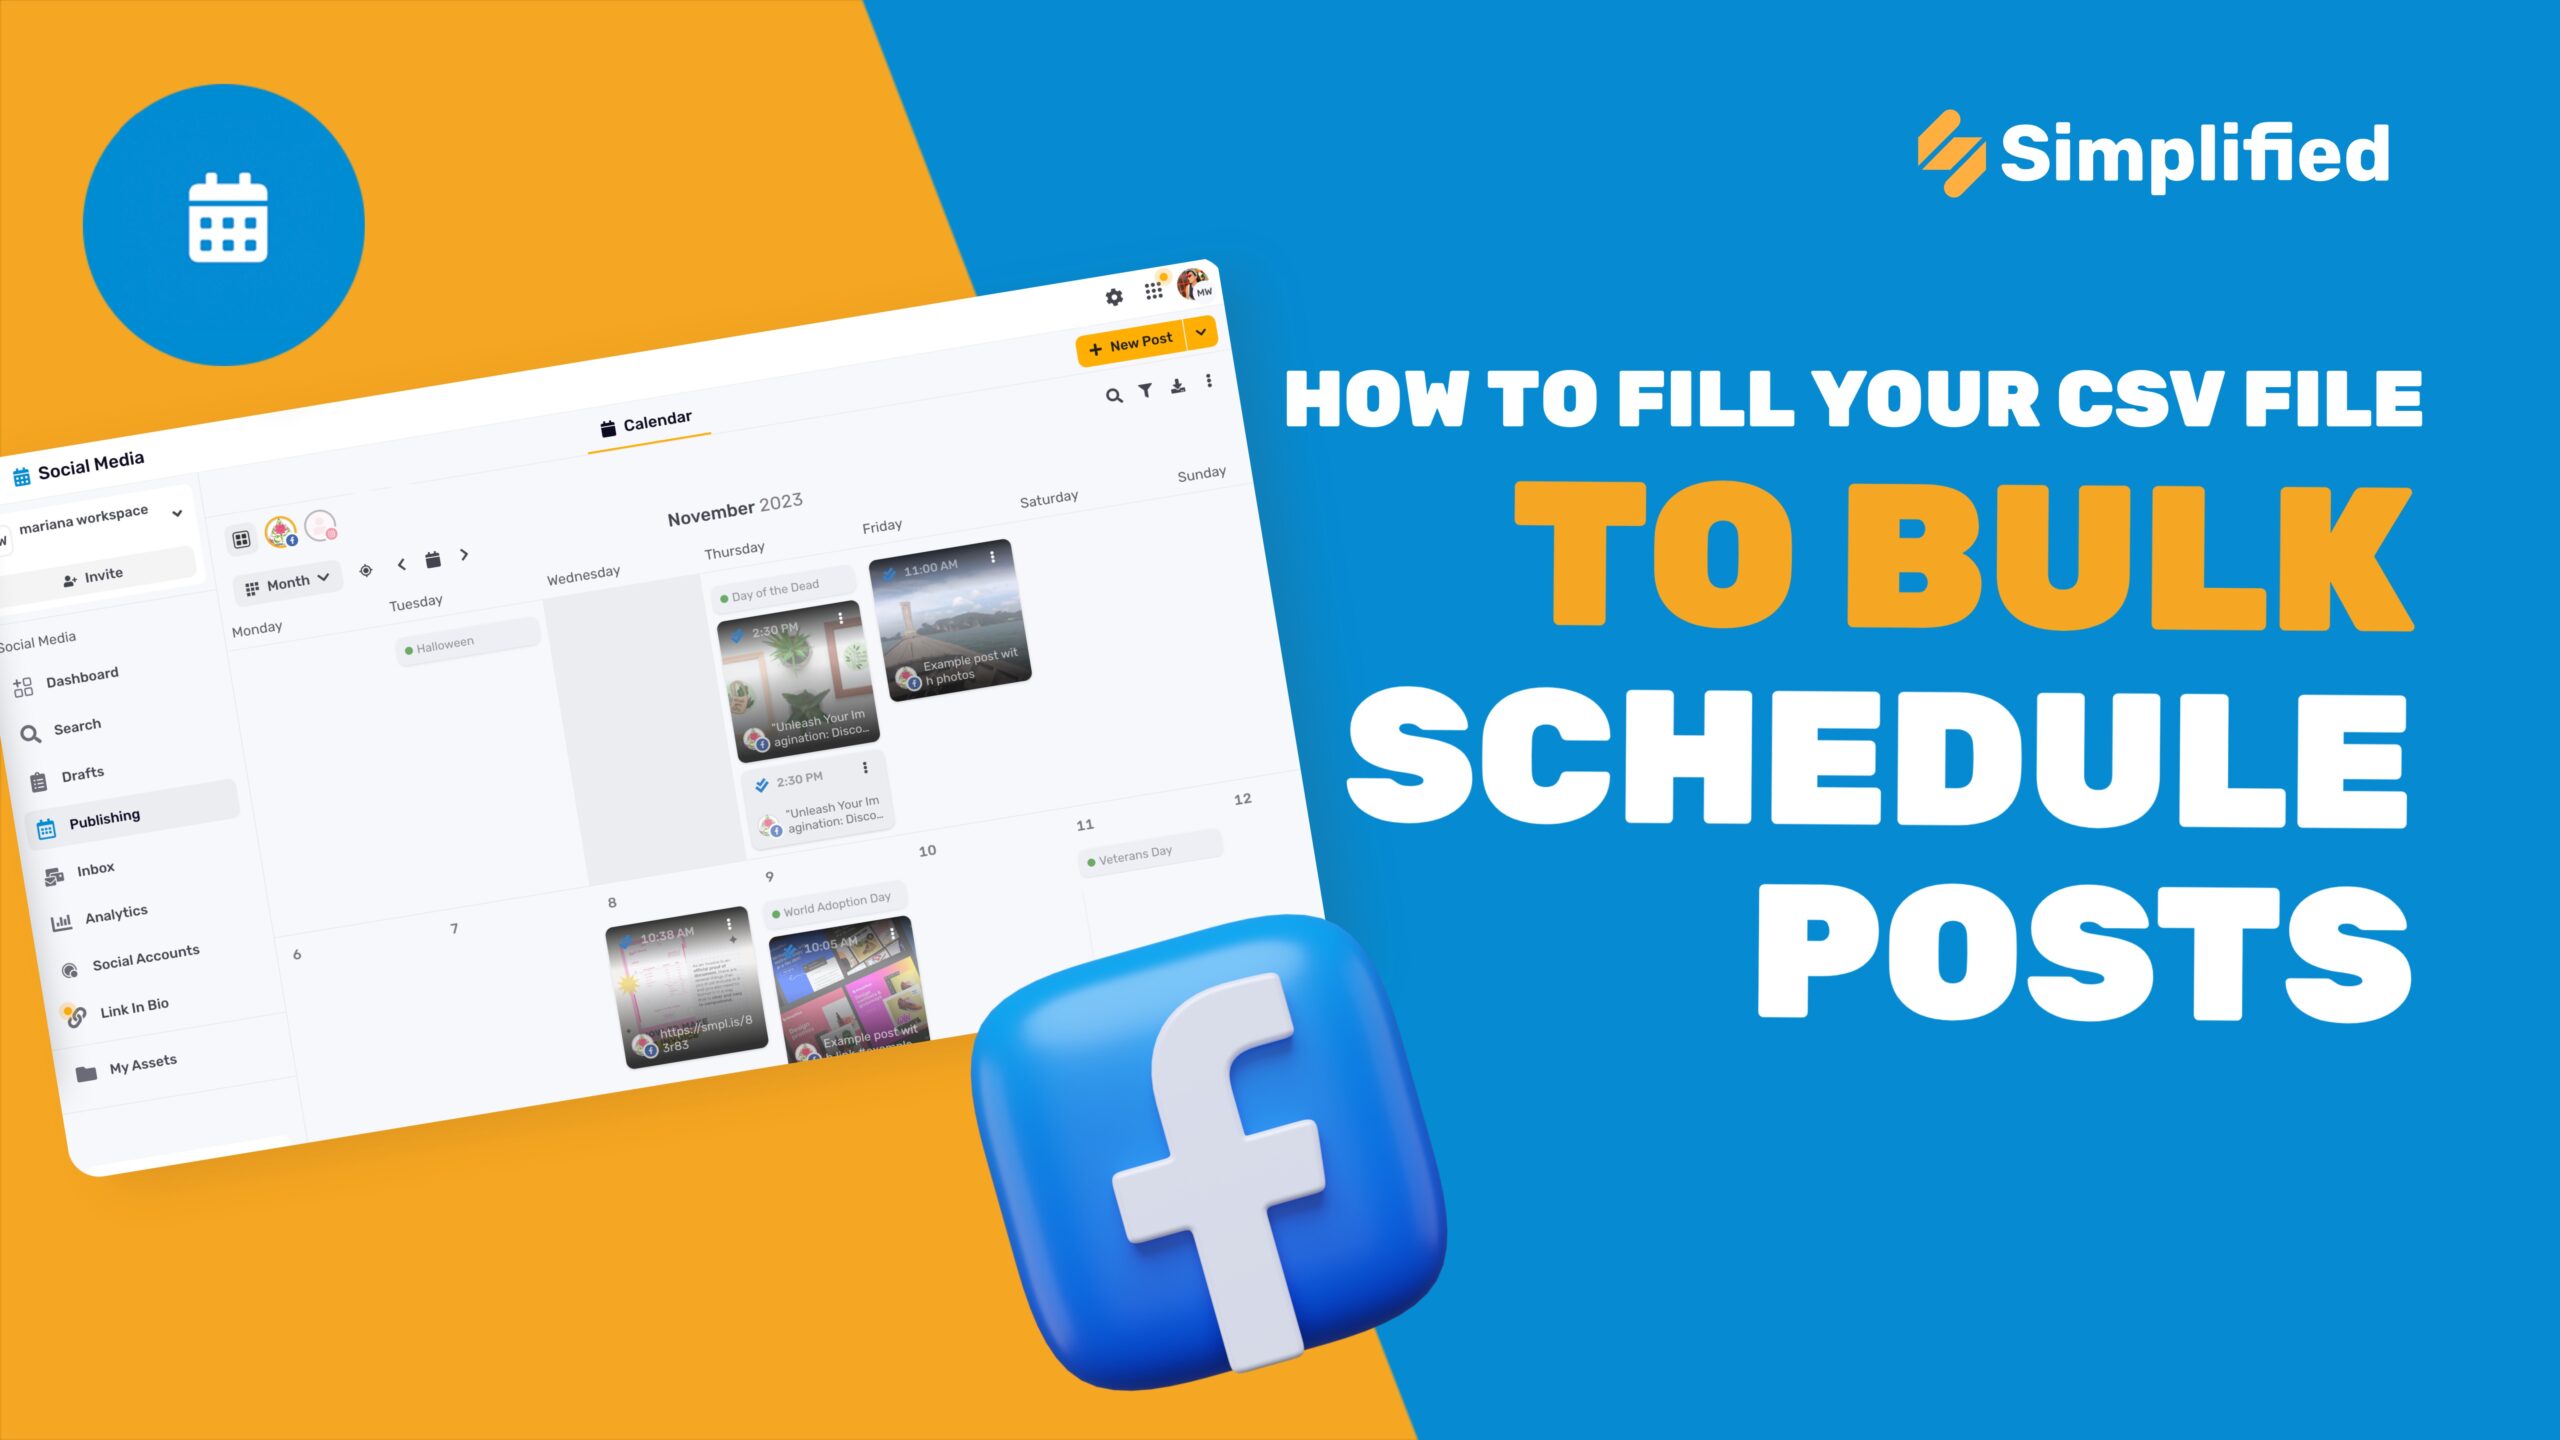
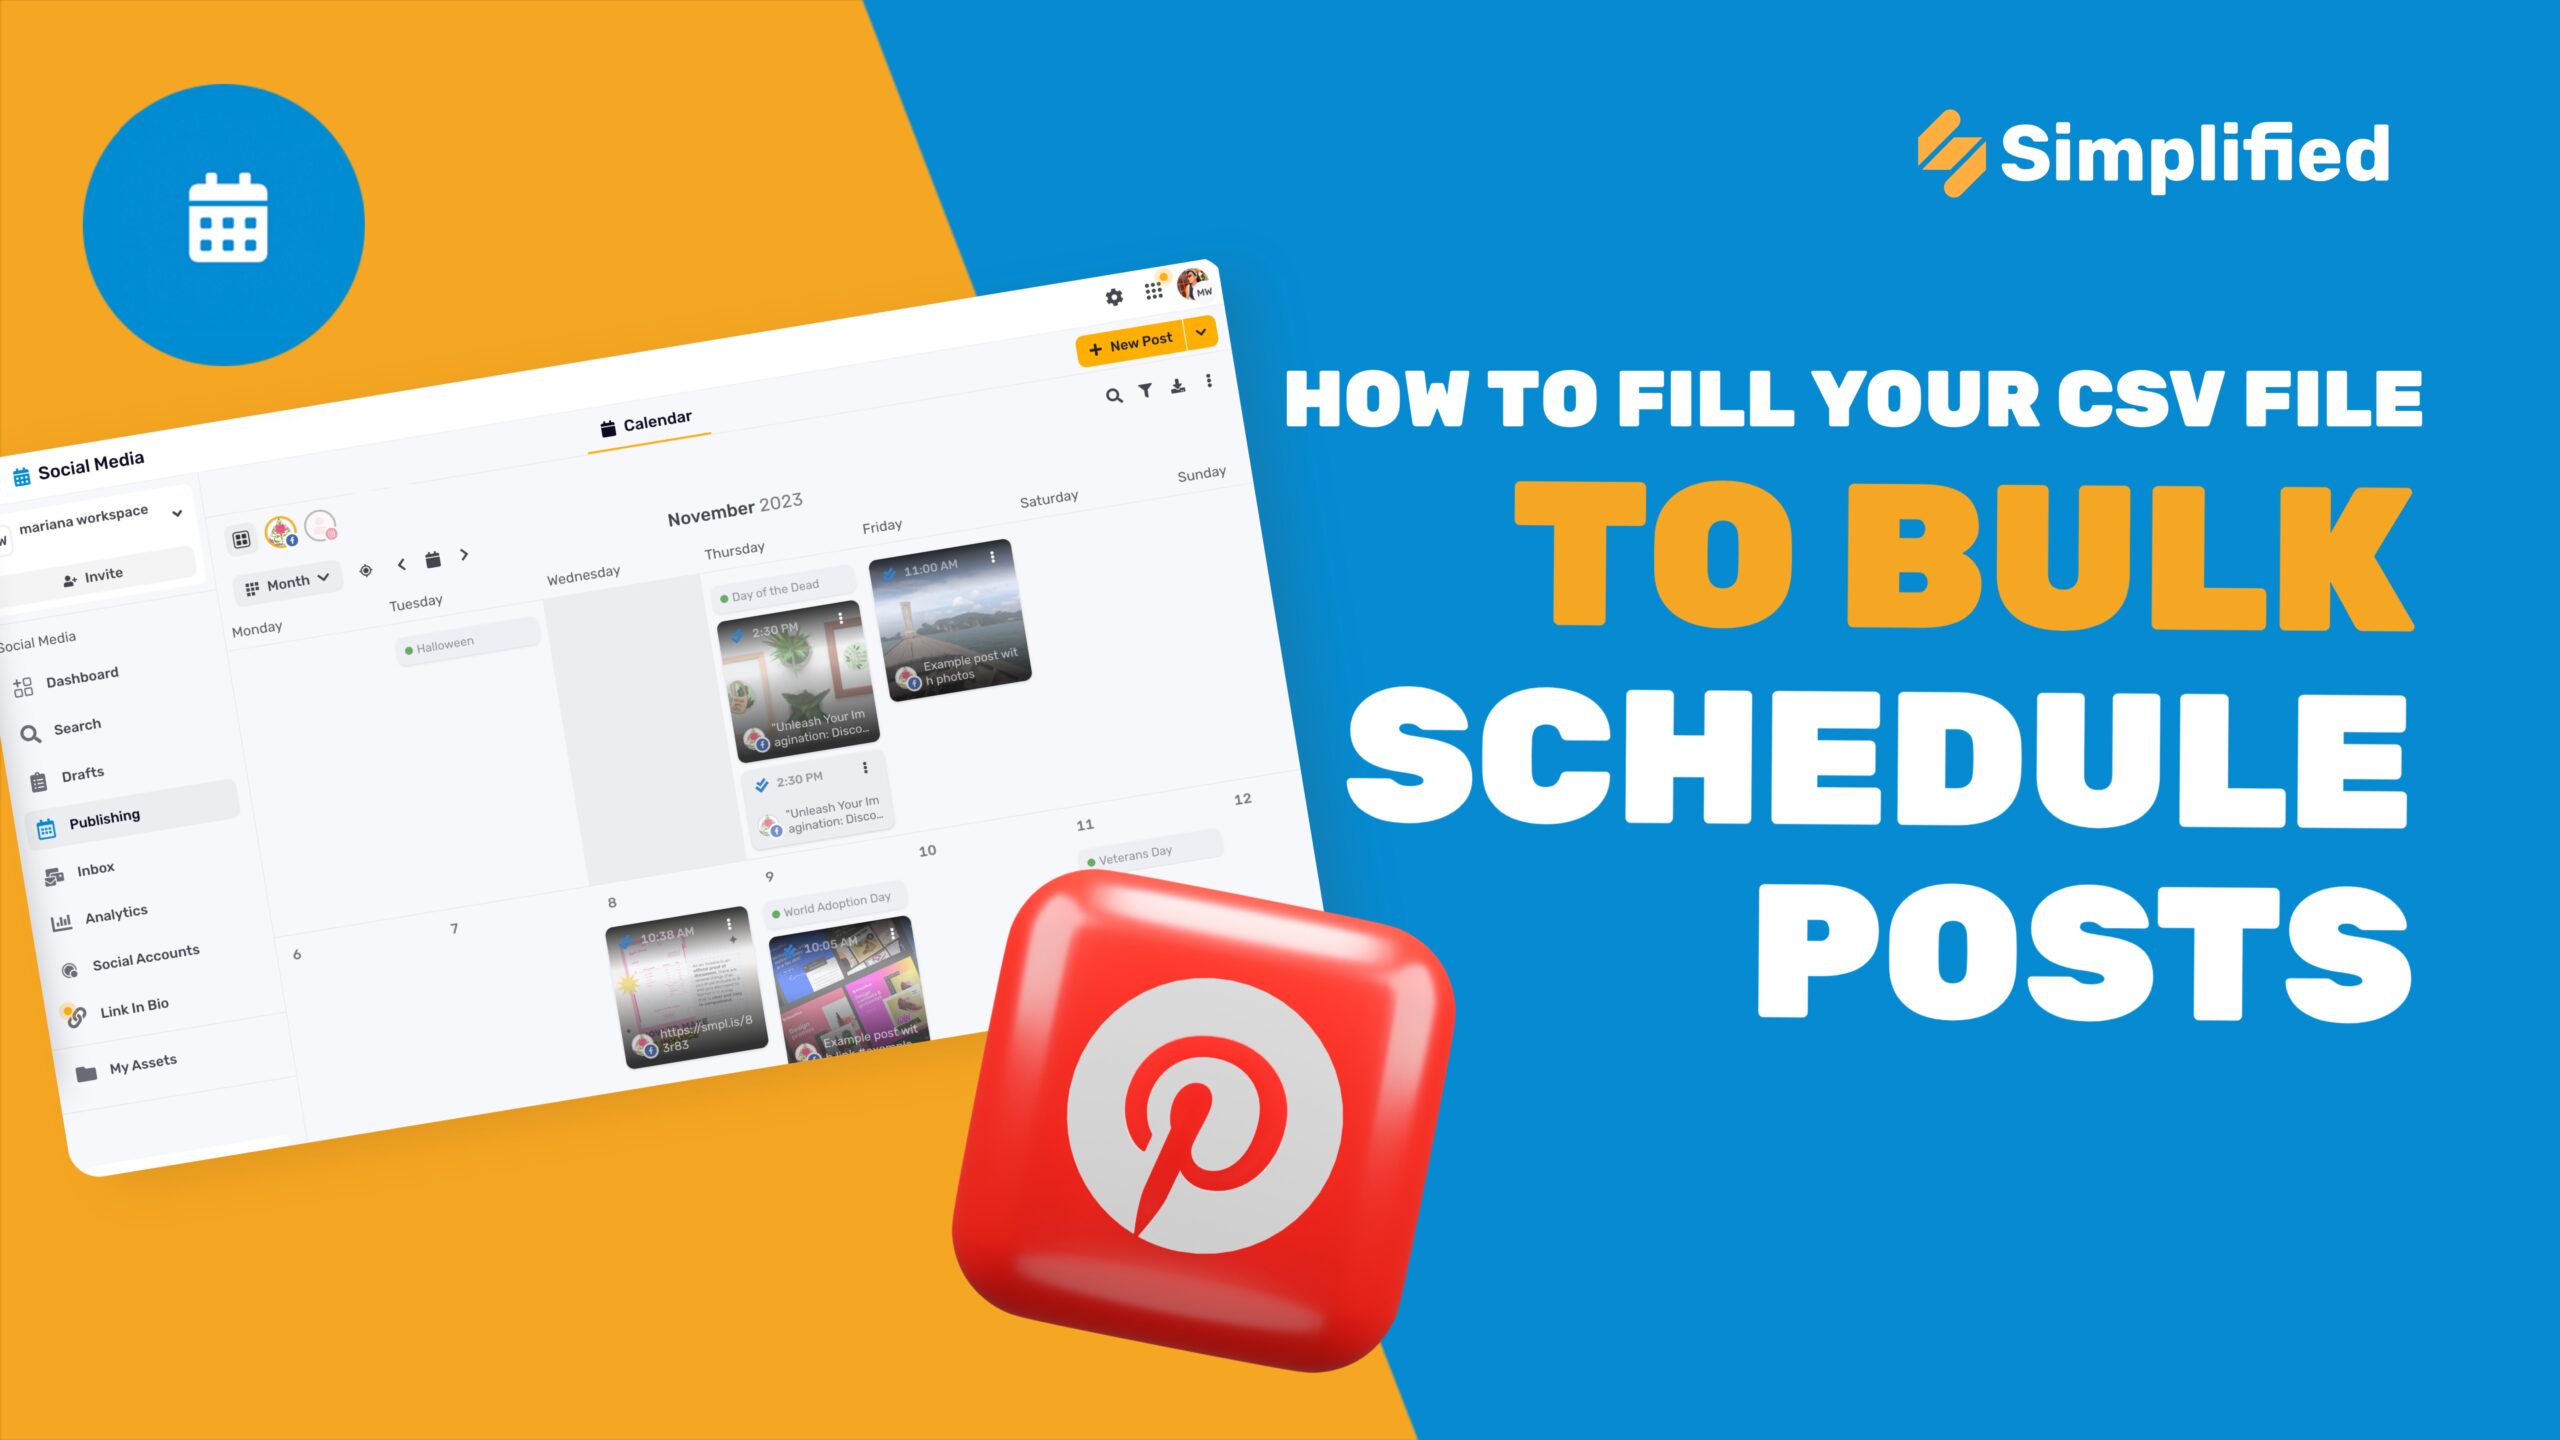
1- Begin under the Social Calendar homepage and come the the publishing tab found on the left hand side menu.
2- From here, you will see your calendar overview. To connect your personal Instagram account simply click the connected apps icon in the upper left hand side of your screen and then click the plus icon to add an account. Follow the instructions and login with your Instagram credentials.
3- Now let’s create a new post either by using the New Post icon in the upper right hand corner or go to your desired date and then click the plus icon.
4- Make sure that only your personal Instagram icon is highlighted in this new window. Add your media by using the plus icon, insert your caption (even use the AI here!), click the hashtag generator, add emoji’s and then hit publish. Select your desired date and time and then your post is ready to go!
5- For Instagram personal, these posts will not be published through Simplified but using the tool is a great way to keep reminders and organization for your post. Simply manually copy and paste the content that you’ve planned into the Instagram app and that’s it!
