Creating & Saving Drafts in the Content Calendar
With Simplified you can create new content and save this content as a draft, right within your social calendar. The drafts feature makes it easy to work on projects in real time with your team and your clients.
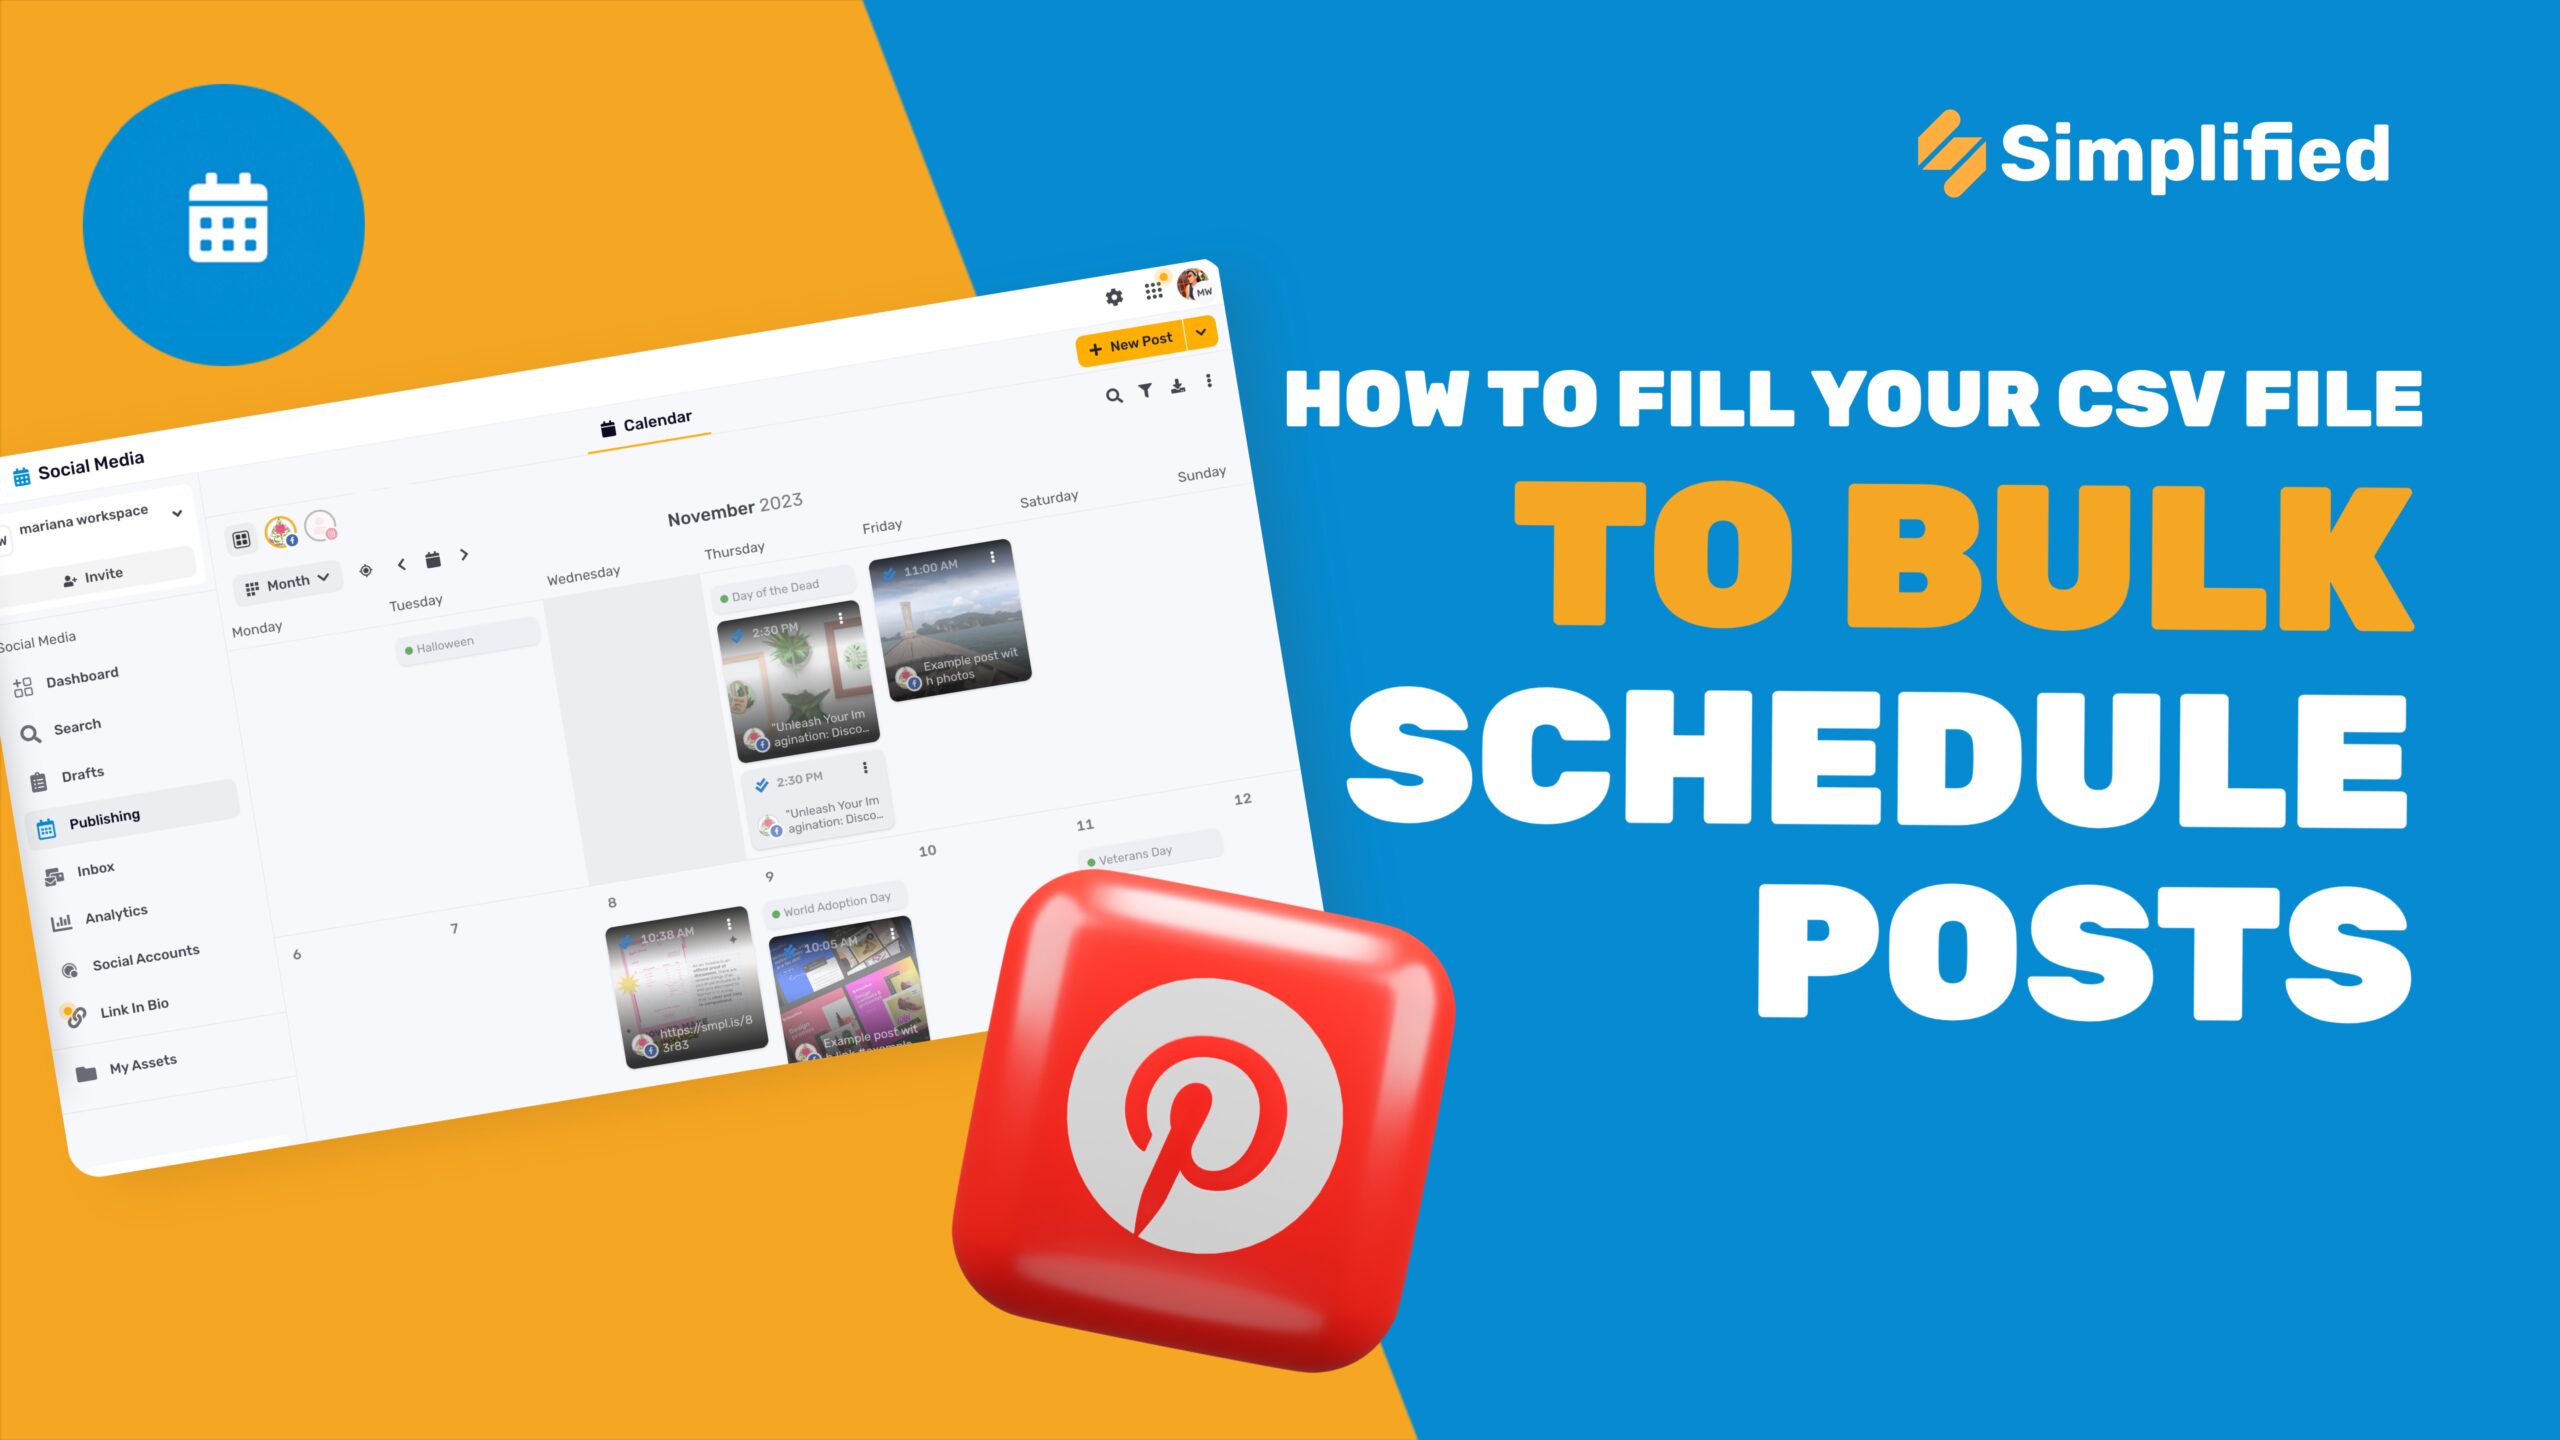
1- Create a new post right within the content calendar and then simply click save draft. This post will be added right to your drafts page. Then on the right-hand side a menu will open up where you can see all of your different drafts saved in one place. The second way you can go about creating and saving a draft is by hovering your mouse over the calendar icon, and then choosing social planner.
2- Within the content planner, you can see your drafts, posts waiting approval, and your posts that are ready to be published. We can create a new draft simply by clicking this yellow button in the upper right-hand corner that says new draft and creating our post.
3- Now, all that’s left to do is click at draft. Select the date and time that you think you want your draft to post and then click add draft. Now within our drafts planner, we can see our two different drafts. First, the one that we created in the content calendar and the second one that we created in the content planner. Each one is timestamped with the author. And from here, you can comment or send this post either to request approval, external approval. You can schedule it, edit or even delete it.
⚡️ About Simplified:
Simplified is an all-in-one design platform, powered by AI assistant Loki. Design, scale, and publish images, videos, and more— at lightning speed. All the content-creation tools you’ll ever need, in one app.
👉🏽 To try it out, sign up here: [https://simplified.com/](https://simplified.com/)
#simplified #creatingdrafts #contentcalendar


