Collaborative workspaces have been on the rise for the past decade – especially in the last year. Why the sudden surge? All companies, big or small, are embracing collaborative workspaces—and for good reasons. Whether you’re a solo entrepreneur working on launching your company or a university student working on design projects, collaborative spaces offer a wealth of benefits. Devising multiple workspaces will help you stick to deadlines and organize your all work on a single platform.
With Simplified, you can create multiple collaborative workspaces and switch between them within seconds! Read on to know how.

Source: Unsplash
Perks Of Creating Multiple Workspaces
The virtual shared workspace is where and how people at any company can collaborate online. It exists in the software and programs you use to communicate and work daily. From office favorites like Slack to user-friendly graphic design software like Simplified, your brand has increasing number of ways to collaborate and work together. Shared workspace can:
Promote Company Culture
Many designers communicate with each other over social media platforms. But they rarely work together that way. While marketing teams use social media to promote your company to the rest of the world, you need a way to collaborate on creatives internally.
Improve Workflow
Lacking a single place to store documents and conversations is a roadblock to a streamlined workflow. Transferring company docs via email or chat is a bad idea. As it’s one of the primary ways information gets lost.
How To Create A Shared Workspace On Simplified
Now that you are aware of the importance and need of a collaborative workspace, here’s how to make one on Simplified!
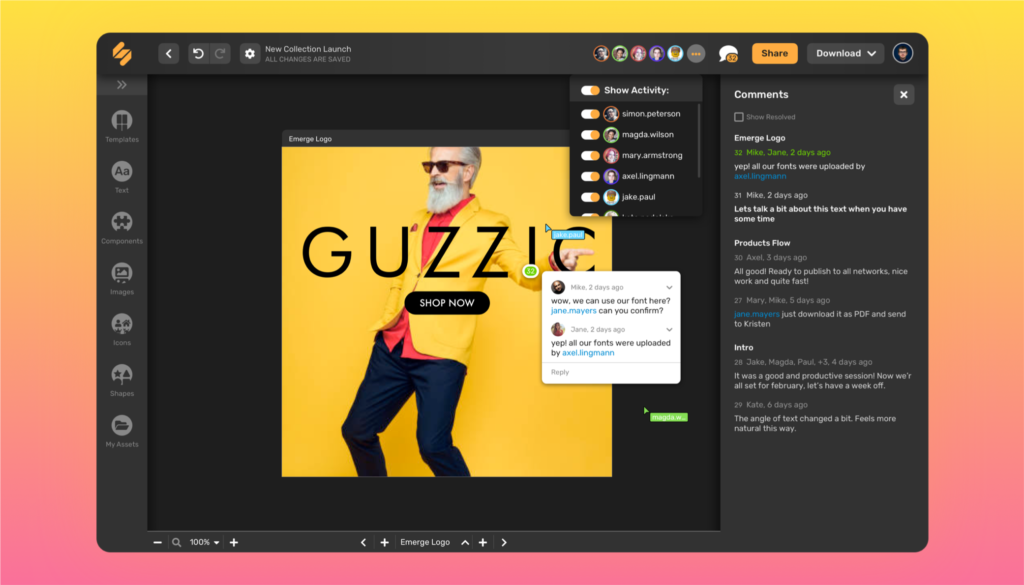
Step 1: Sign in to your profile on our website using your email, or alternatively, you can click ‘Continue with Google’.
You’ll land on your Home, where you can get acquainted with the wide range of tools and project templates available. The dashboard stores all designs together where your team members can access them easily.
Step 2: Click on ‘Settings’ on the side panel, and then click ‘My workspace’.
Step 3: Here, you’ll see a box to Update Workspace Name. You can name your collaborative workspace to anything you want!
For example, “Personal Designs” or “Simplified Workspace” and hit update to get started.
Step 4: Now, under the ‘Members’ option, click ‘Invite Member’ and enter the email addresses of people you wish to give access to and collaborate in your workspace.
Step 5: Click ‘Send invitation’
And you’re done! In the same way you can create multiple workspaces for different purposes. You will be redirected to your Home where you can create endlessly, alongside your colleagues or friends!
Tag & Comment On A Shared Project
Step 1: Open the Project you want to collaborate on from your Dashboard.
Step 2: Click on ‘Comment’ icon on the top panel
Step 3: Tag your team members!
For instance, “@Sutton Brady” or “@Richard Xavier”.
Step 4: Type your comment, feedback, suggestions or just a simple message to welcome them to the collaborative workspace!
Step 5: Hit ‘Comment’!
How To Switch Between Multiple Workspaces
Now that you have efficiently created multiple shared workspaces, let’s see how to switch between them in 2 simple steps.
Step 1: Click on ‘My Workspace’ from the side panel.
This would display a drop down menu with all the workspaces created.
Step 2: Click on the desired workspace to switch!
Refer to the video below to see how you can switch between multiple collaborative workspaces with ease!
A shared online space is all you need to store, edit, update, and share designs. Furthermore, using this tool on Simplified, you don’t have to send emails or chat messages asking for anything. Instead, you and your team members can just log into the shared workspace and access whatever you’re looking for. Thus, a collaborative workspace is all you need to kick-start your productivity in 2021. Create multiple workspaces and get create together!


