
Ever seen a faint logo or text faintly embedded in an image or document? That’s a watermark, a subtle yet powerful tool for protecting your digital creations. But how exactly do you add a watermark to Google Slides, and why is it important?
In this blog, we’ll show you step by step how to add watermark to Google Slides, whether it’s just one slide or many. Particularly for those of you who use Google Slides for professional or creative presentations maker, and helps you understand the process to add a watermark to Google Slides. Plus, we’ll introduce you to a great option that not only helps with watermarks but also covers all your presentation and design needs.
Let’s get started!
Bonus: How to Make a Quick and Impressive Slideshow in a Minute or Less
What Is A Watermark?
Source: LockWizard
Imagine a transparent stamp gently pressed onto your digital work, be it a photo, video, document, or presentation on your Google Slides. That’s the essence of a watermark. It’s a visible, yet unobtrusive, mark that identifies your ownership and discourages unauthorized use. Think of it as a digital signature, subtly declaring, “This belongs to me!”
Bonus: Logo Design 101: How To Create A Logo That Captures Your Brand Essence
Why Are Watermarks Important?
Now that we know what watermarks are, let’s understand why is it important to add a watermark to Google Slides. In the vast digital landscape, protecting your creative work is paramount. Watermarks act as a shield, offering two key benefits:
Copyright protection
Watermarks on Google Slides deter plagiarism and unauthorized use by visibly marking your content. They serve as a reminder that your work is protected by copyright, making it less likely for someone to steal it without permission.
Branding and ownership
Watermark on Google Slides acts like mini-billboards, subtly promoting your brand or name. They make it clear who created the content, increasing recognition and establishing your ownership.
Bonus: 5 Online Presentation Tools That Will Make Your Deck Stand Out
Add Watermark To Google Slides – Single Slide
Now let’s talk about how to watermark Google Slides. Here’s a step-by-step description of how you can add watermark to Google Slides:
Step 1:
Begin by opening your Google Slides presentation and selecting the specific slide where you intend to include a watermark.
Step 2:
Next, navigate to the “Insert” menu and choose “Image.” You’ll be presented with various options for inserting an image, such as uploading from your computer, searching the web, accessing Google Drive or Photos, using a URL, or capturing from your camera. For this tutorial, we’ll opt to upload an image from the computer.
Step 3:
Once the image is inserted, you can resize it to suit your preferences. Since watermarks are typically subtle, it’s advisable to keep them small in size and position them near a corner to avoid distracting viewers.
Step 4:
To further minimize distraction, you can adjust the transparency of the watermark. Click on the inserted image, then navigate to “Format options” > “Adjustments” > “Transparency.”
From there, you can fine-tune the transparency level to achieve the desired effect. Adjusting the transparency helps the watermark blend seamlessly with the slide content while still serving its purpose effectively. And voila, you have your watermark on Google Slides.
Bonus: 10 Insanely Creative Presentation Ideas You Can Steal
Add Watermark To Google Slides – Multiple Slides
When creating a presentation, it’s natural to want to add a watermark to multiple slides rather than just one. So, here’s a quick and easy step-by-step guide to help you add a watermark to multiple Google Slides.
Step 1:
Start by opening your Google Slides presentation.
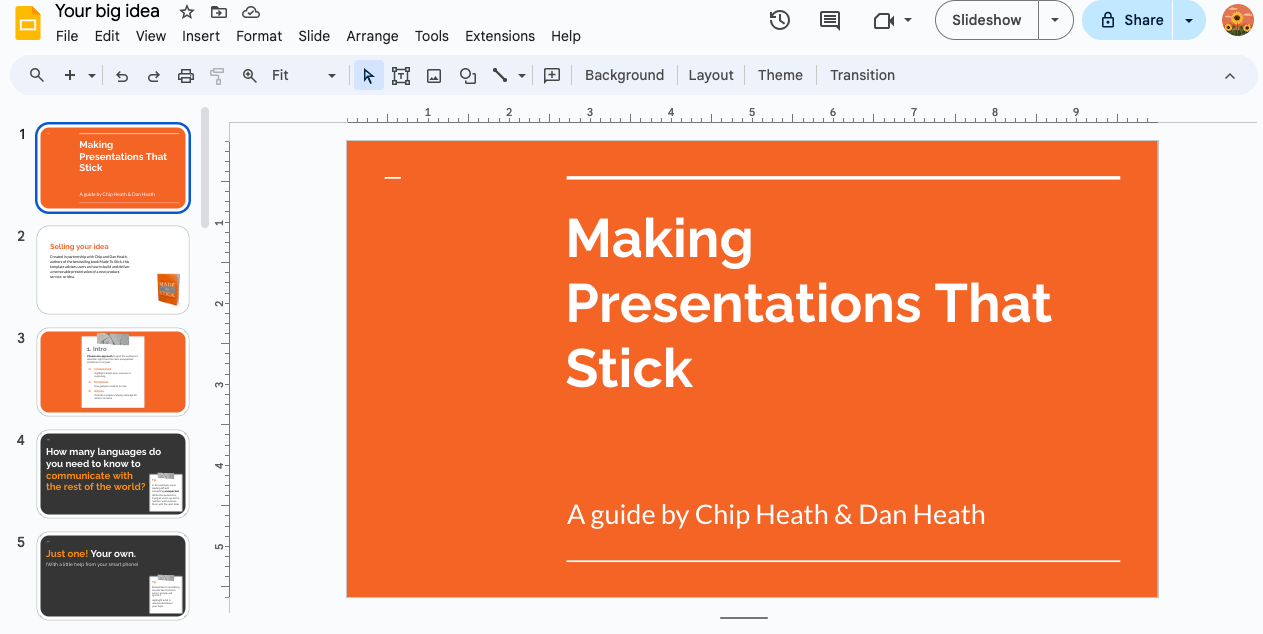
Source: Google Slides
Step 2:
Navigate to the “Slide” menu and choose “Edit Theme.”
Step 3:
On the left-hand side, select the first slide from the list. This is your slide master, which sets the design for all other slides in your presentation.
Step 4:
With the slide master selected, click on “Insert” and then choose “Image.” Opt for “Upload from computer” to upload an image for your watermark, as you did previously.
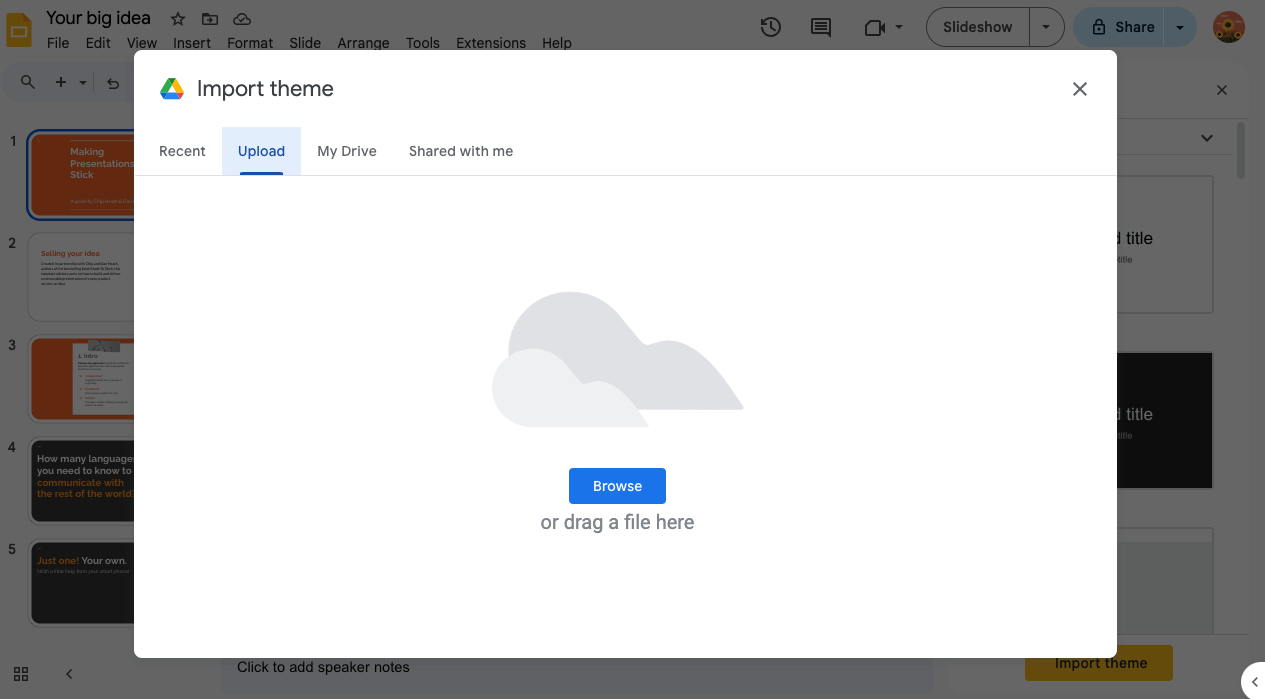
Source: Google Slides
Step 5:
Customize the inserted image to your liking. Keep in mind that watermarks should be subtle, so consider placing them near a corner and adjusting their transparency to blend seamlessly with the slide background.
Step 6:
Once satisfied with the watermark placement and appearance, click the “X” button in the top right corner to exit the master editor. Make sure to review all your slides to ensure that the watermark appears consistently across the entire presentation.
Bonus: 6 Different Types of Presentations Styles
Simplified: Your Perfect Choice For All Presentation Requirements
While Google Docs is typically the go-to software for many professionals, we want to introduce you to a fantastic alternative that goes above and beyond what Google offers.
Source: Simplified
Meet Simplified – the leading alternative to Google Slides. Simplified provides an AI-powered presentation maker that can effortlessly generate entire presentations. Just give Simplified’s AI some prompts, and it’ll craft your desired presentation within minutes.
How To Use Simplified’s AI Presentation Tool
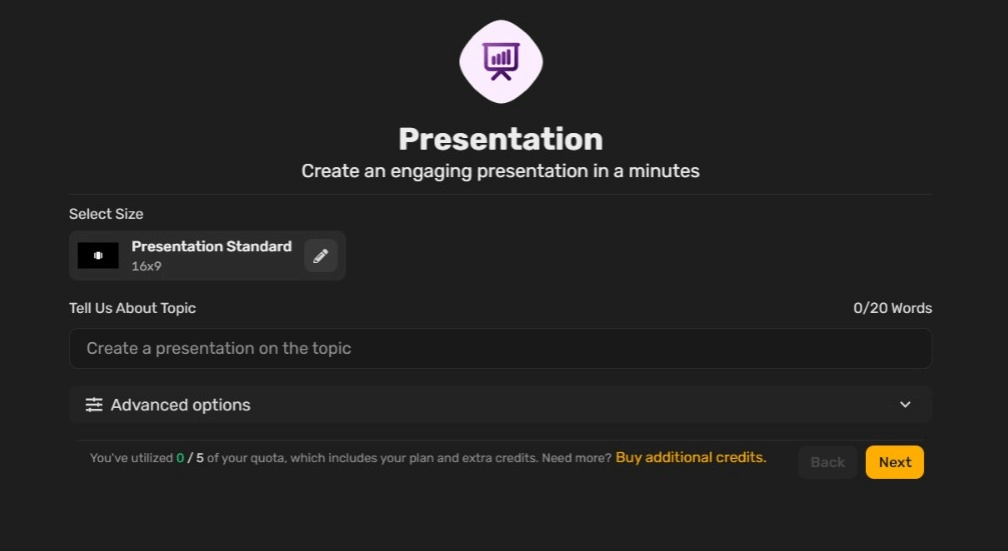
Step 1:
Begin by stating the topic of your presentation. With Simplified AI, you have advanced options such as creativity levels and multiple language options.
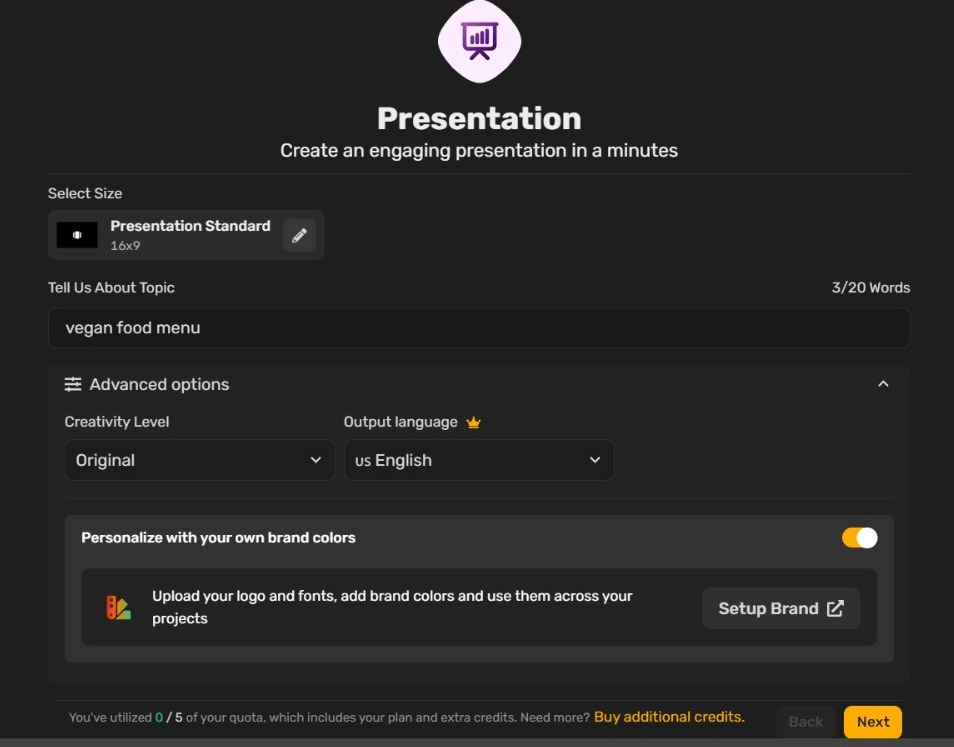
Source: Simplified
Step 2:
Press the Generate key and wait for the AI to work its magic.
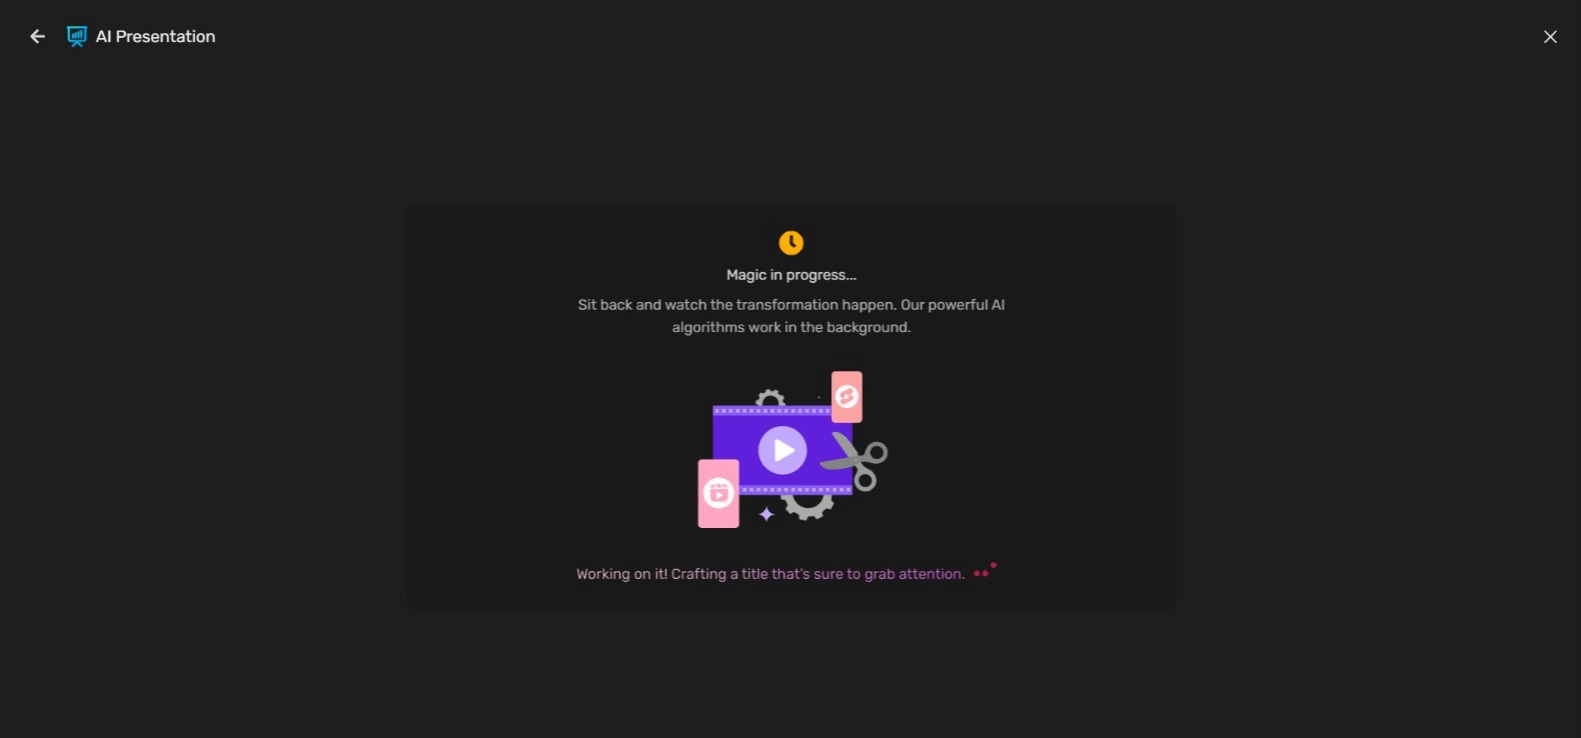
Source: Simplified
Step 3:
Your presentation slides will be ready, complete with various editing tool options to work with.
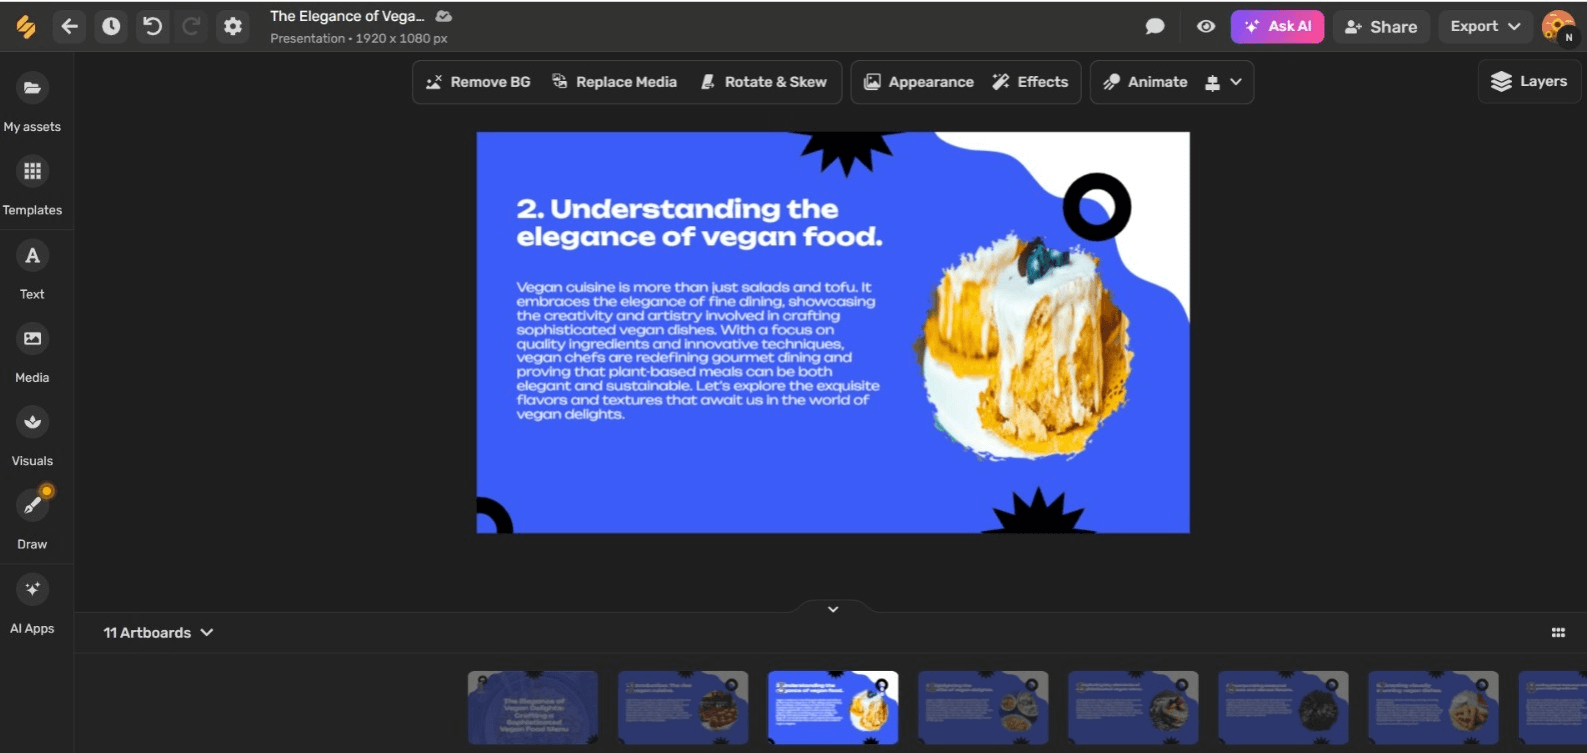
Source: Simplified
But that’s not all. Simplified also offers a diverse library of elements, photos, videos, and other media options to enhance your presentation’s aesthetics. Plus, it features a presentation editor, allowing you to easily add or edit any elements, including watermarks.
In essence, Simplified is your all-in-one tool for creating not just presentations, but also the following:
- Designing – Simplified AI Graphic Designing Tool
- Video Editing – Simplified AI Video Editing Tool
- Content Writing – Simplified AI Writer
- Social Media Management – Simplified AI Social Media Manager
With Simplified, you can access everything you need under one roof, eliminating the hassle of switching between multiple tools. It’s time to simplify your workflow and boost your productivity with Simplified!
Bonus: The 10 Best AI Graphic Design Tools You Need To Know About
In Conclusion
Adding a watermark to any professional document is crucial and incredibly straightforward. With our simple guide, you can effortlessly incorporate any watermark into your documents. And remember to explore Simplified for seamless and user-friendly tools for your upcoming presentations.


 and What to Avoid")
")

")


