
What makes a design great? When it comes to design, there’s really no wrong answer. Even a seemingly shabby stroke can inspire something meaningful. However, it’s important to utilize all resources that are available to you in order to give yourself the best chance for success. That’s where Simplified comes in! Your next great design project is just around the corner; let’s start by uploading media and images from your local system!
Uploading 101: How Uploading Media Elements Can Benefit Your Brand

Source: Pexels
Have you ever instantly identified a business by looking at its logo, even if its name isn’t a part of it? Perhaps you can even correctly guess a brand by looking at the color combinations used. The Starbucks logo above has become synonymous with great coffee even without the word coffee visible; that’s the power of great branding. Logos create a visual symbol that represents your brand. It’s incredible how our brain registers all this information!
Now let’s say you’re creating marketing content for your startup retail business. You would need your logo in all your promotional posts and videos for social media. You want to make sure that your products, business cards, and website leave an impression in the minds of your clients. This is why uploading media elements such as images, product videos, or snippets are essential for marketing designs.
Getting Started
You can start your journey to a stunning design by signing in to your profile on our website. If you’re a new user, Sign up using your email, or instead, you can hit ‘Continue with Google’.
On your dashboard you’ll see all the resources you need to become a great designer!
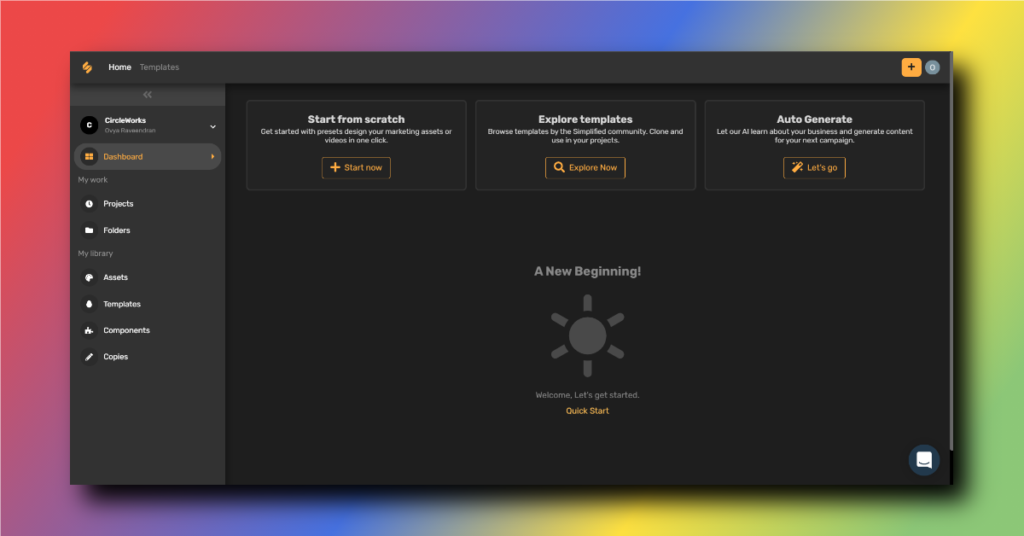
Select any one of the 3 options to work on your dashboard. You can:
- Use a template – Easy, ready-to-use and all-inclusive designs that save time!
- Start from scratch – Start crafting your own unique vision on a blank canvas.
- Auto Generate – Personalized AI generated content for your brand!
Uploading Media In 2 Simple Steps
On Simplified, uploading media is quick and convenient. After you select the dimensions you want to work with, start exploring the variety of tools available. Uploading media only takes a few seconds, here’s how!
Step 1: On the side panel click on ‘Assets’.
Step 2: Click on ‘Upload’. Now you can select images, videos as well as gifs to your assets! Check out the video below to see exactly how simple uploading media is!
Manage Your Assets After Uploading Media Files
A good designer must always keep their workspace organized. Simplified will help you with that! You can manage the assets you’ve uploaded on our website in a few simple steps:
1: On your dashboard, click on ‘My Library’.
2: Click on ‘Folders’.
3: Now, click on ‘Create a Folder’ and add a suitable name to it.

4: Go back to ‘My Library’ and select ‘Assets’.
5: To add your assets to a folder, click on the top left corner of the media file. This will select your asset. Now you can add it to the desired folder.
Check out the video below for a quick reference on uploading media assets to a folder!
Uploading media is a significant step in designing that allows you to have everything you need handy. By creating folders, you will save time looking for assets and will have more time to work on your designs.
There you have it, uploading images, videos, and gifs, Simplified. Get organized and create a design now!


![10 Best AI Image Restoration Tools to Try in 2025 [Free & Paid]](https://siteimages.simplified.com/blog/Best-AI-Image-Restoration-Tools-01.png?auto=compress&fit=crop&fm=png&h=400&w=400 "10 Best AI Image Restoration Tools to Try in 2025 [Free & Paid]")
![How to Use Photoshop AI Generative Fill Feature [2025]](https://siteimages.simplified.com/blog/How-to-Use-Photoshop-AI-Generative-Fill-01-1.png?auto=compress&fit=crop&fm=png&h=400&w=400 "How to Use Photoshop AI Generative Fill Feature [2025]")
![20 Podcast Thumbnail Ideas to Boost Your Show’s Visual Appeal + Best Practices [2025]](https://siteimages.simplified.com/blog/Podcast-Thumbnail-Ideas-to-Boost-Your-Show-02-1.png?auto=compress&fit=crop&fm=png&h=400&w=400 "20 Podcast Thumbnail Ideas to Boost Your Show’s Visual Appeal + Best Practices [2025]")


