![How to Use Photoshop AI Generative Fill Feature [2025]](https://siteimages.simplified.com/blog/How-to-Use-Photoshop-AI-Generative-Fill-01-1.png?auto=compress&fit=crop&fm=png&h=400&w=800 "How to Use Photoshop AI Generative Fill Feature [2025]")
Are you someone who loves editing pictures? Well, Photoshop just got even better with its newest feature: AI Generative Fill.
This groundbreaking tool is designed to tackle the age-old struggles of removing unwanted elements from images, filling in missing areas, and expanding the content.
If you’ve been eager to try out this feature but aren’t sure where to start, you’re in the right place.
In this guide, we’ll explain more about Photoshop’s AI Generative Fill and walk you through the steps to use the tool, providing tips and tricks along the way.
So, let’s dive in and unlock the power of this innovative tool together!
What is Photoshop AI Generative Fill?
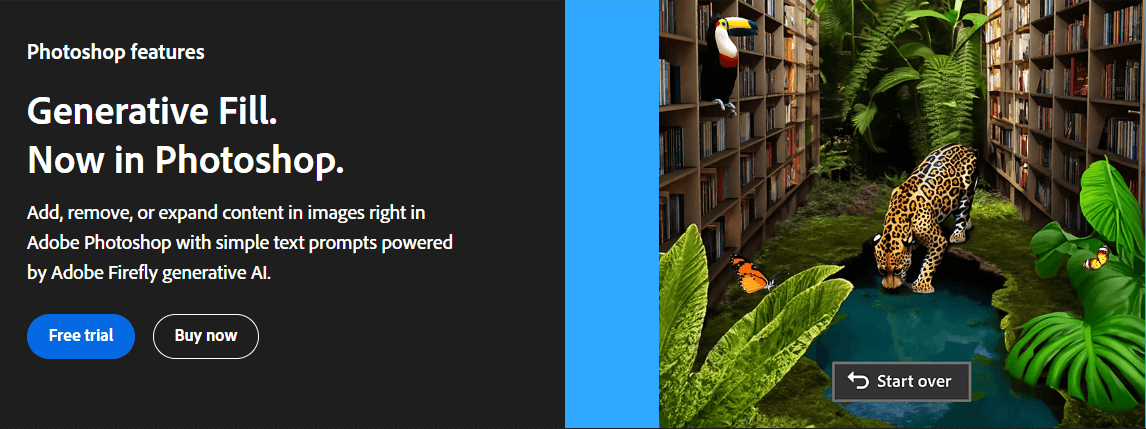
Source: Adobe
Photoshop AI Generative Fill is a feature in Adobe Photoshop that allows you to,
- Add new objects to your photo
- Replace the photo background
- Expand the background of the photo
Powered by Adobe Firefly generative AI, this new feature enables you to edit photos using simple text prompts in over 100 languages.
It uses AI to automatically align with the perspective, lighting, and style of your image, giving you more realistic results.
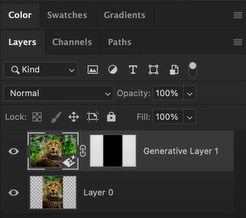
The best thing about the Generative Fill is that it keeps your original image intact. When you use this feature, it makes all the changes in a separate Generative layer, letting you experiment with other Photoshop tools.
Mihael Trifonov, Co-Founder of MConverter says, we regularly use Photoshop’s Generative Fill to clean up backgrounds in our marketing visuals; what used to take 20 minutes now takes under two. It’s one of those tools that actually feels like magic in production.
Features of Photoshop AI Generative Fill
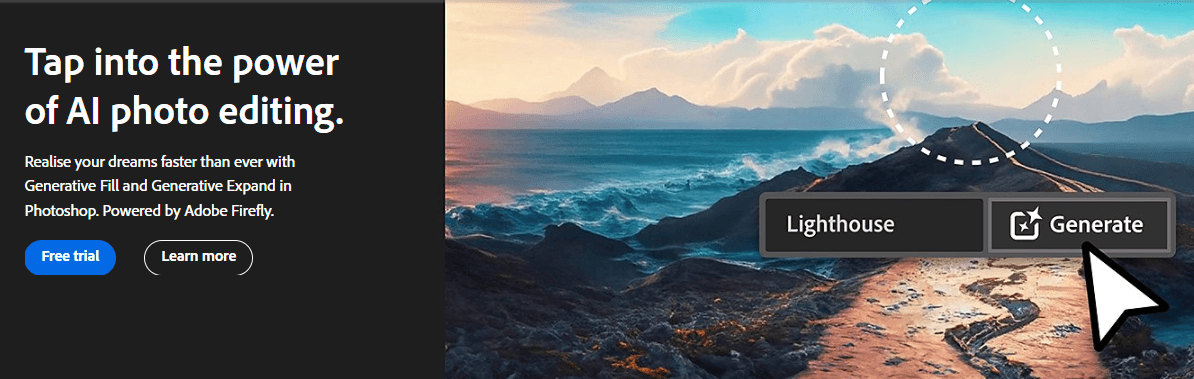
Source: Adobe
Photoshop’s AI Generative Fill comes with a range of powerful features:
1. Object Generation
You can select an area within an image and provide a text prompt to describe the desired addition or replacement of objects. The AI then generates these objects accordingly.
3. Background Generation
You can select the background behind a subject and prompt the AI to create an entirely new scene, seamlessly blending with the existing image.
4. Image Expansion
This feature allows users to expand the canvas of an image. Without prompts, it automatically extends the scene. With prompts, it adds content while expanding the rest of the scene.
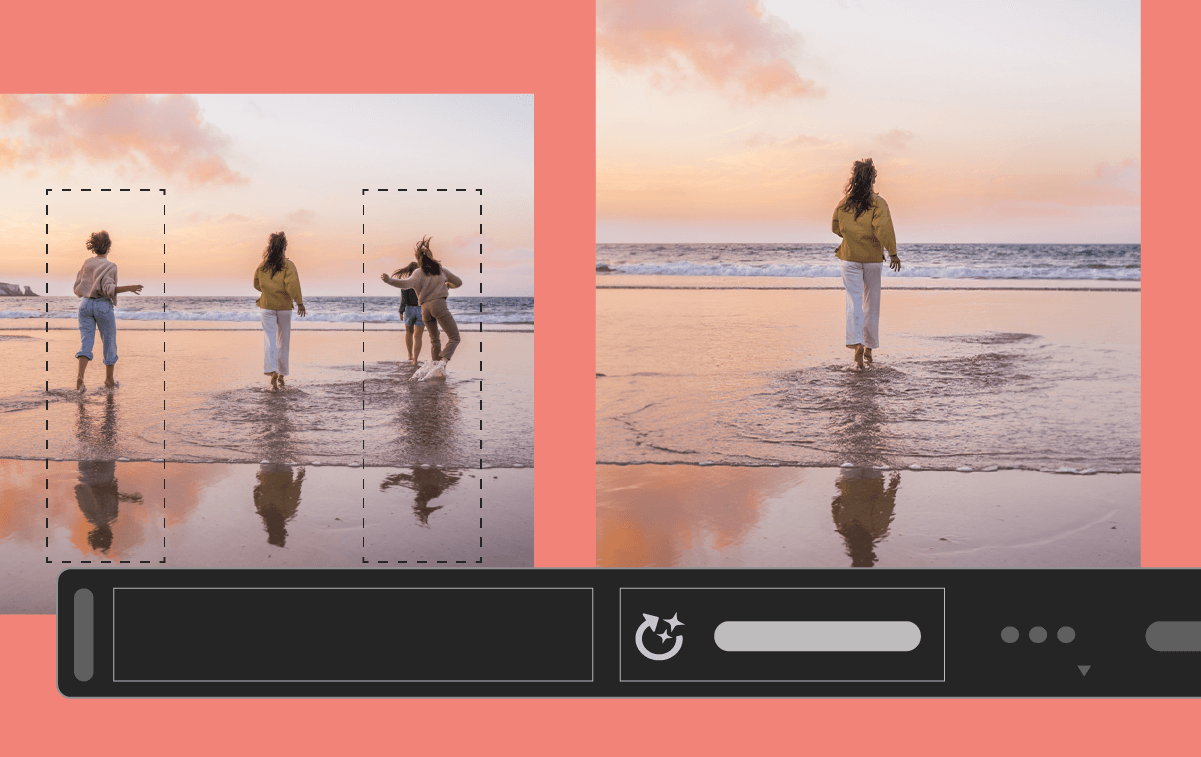
5. Object Removal
You can select an object for removal. The tool, when used without prompts, erases the selected object from the image.
6. Versatility
Generative Fill is incredibly versatile and flexible. It encourages you to experiment with various creative ideas, allowing for the exploration of different concepts.
How to Use Generative Fill on Photoshop to Generate an Object
Introduction to Generative Fill | Adobe Photoshop
If you want to use this tool to create a new object, follow these steps:
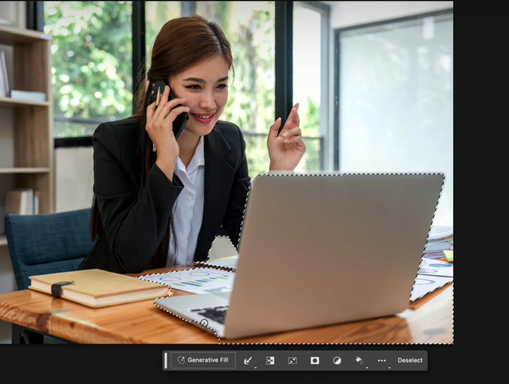
1. Select an Area
Use any selection tool in Photoshop to pick out an object or area in your image.
Source: YouTube
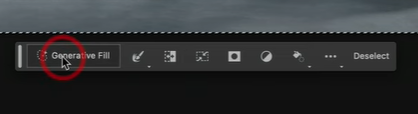
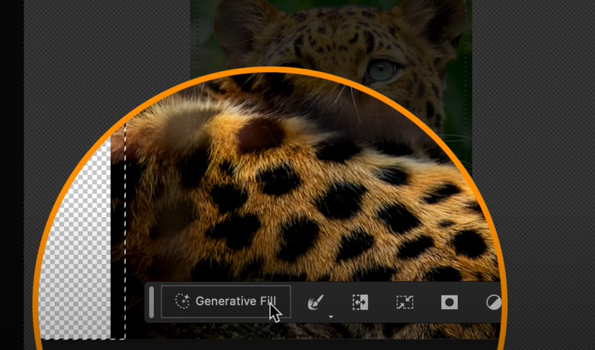
2. Access Generative Fill
Tap on the Generative Fill option in the Contextual Task Bar. You can also choose it by selecting “Edit” > “Generative Fill” from the application bar or by using the shortcut Ctrl/Right+click and choosing Generative Fill from the menu.
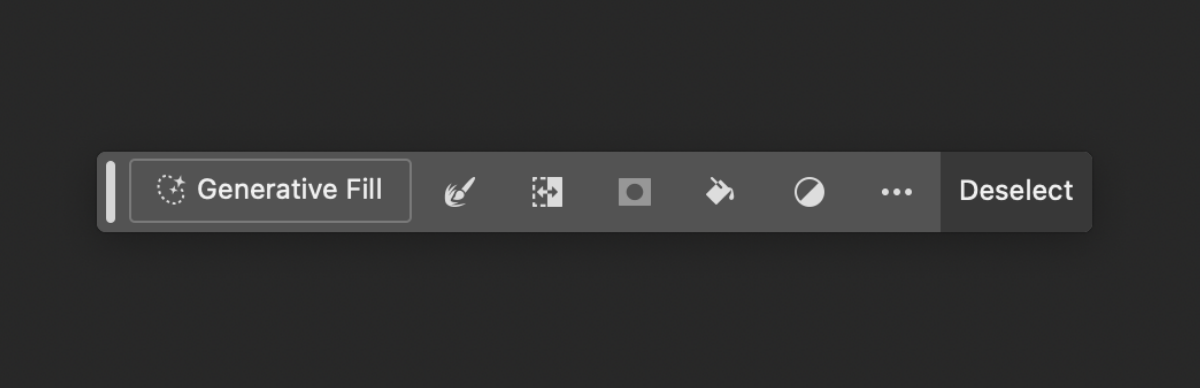
Source: Adobe
3. Accept User Guidelines
When you choose Generative Fill, a legal dialogue box will appear. Click ‘Agree’ to accept the User Guidelines or ‘Cancel’ to close the dialogue box.
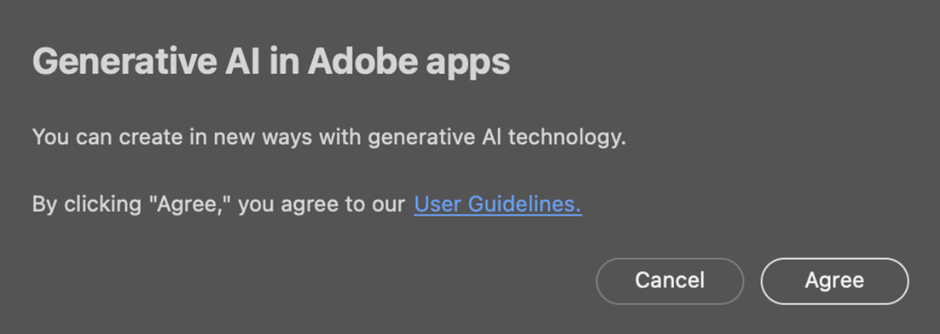
Source: Adobe
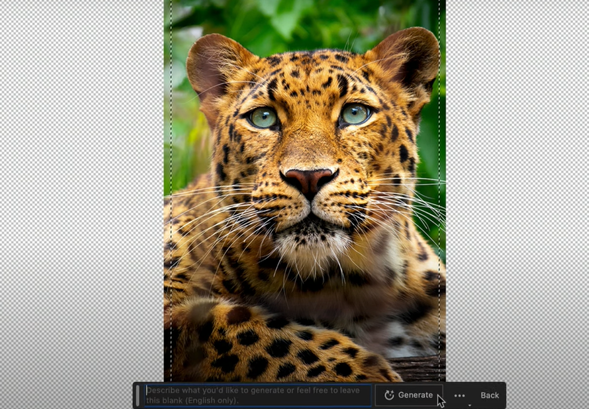
4. Add Your Description
Describe the object or scene you want to generate in the prompt box that appears. If left blank, Photoshop will generate based on the surroundings.
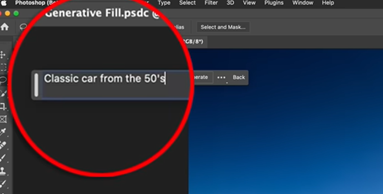
Source: YouTube
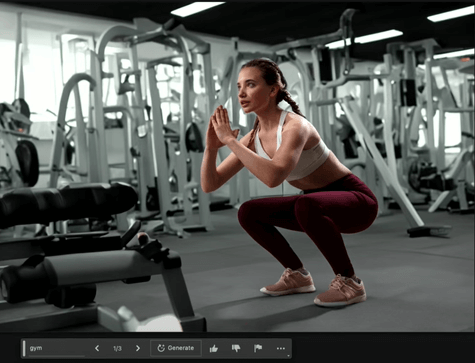
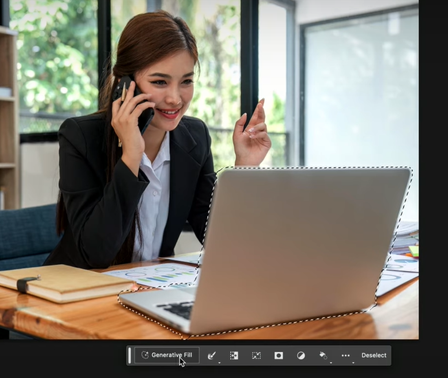
5. Generate and Review
Click “Generate” in the Contextual Task Bar to see previews of the variations created based on your description. A new Generative Layer will form in the Layers panel, allowing you to experiment without affecting your original image.
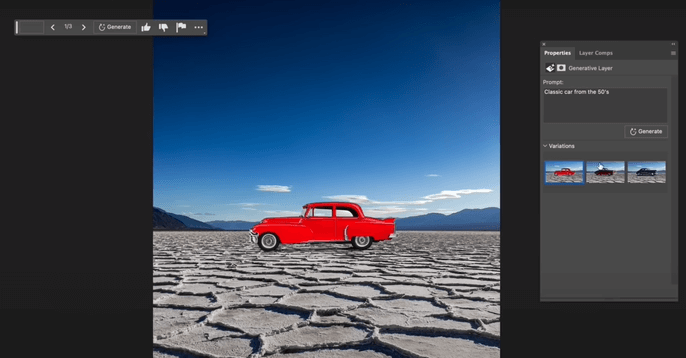
Source: YouTube
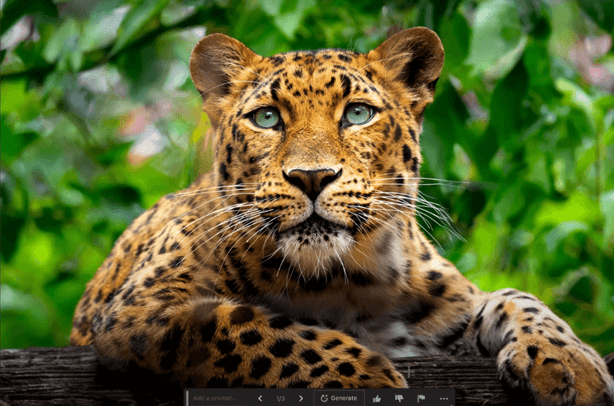
6. Create More Variations
If you want, click “Generate” again to generate more variations or modify the text prompt for different results. You can view and select the variations in the Properties panel to see their effects on your image.
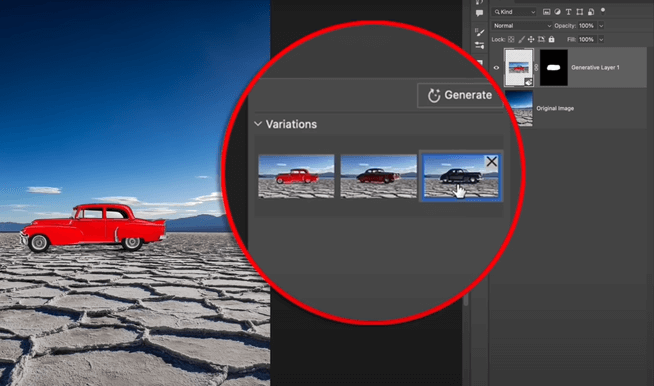
Source: YouTube
Bonus: Understanding Generative Art: Examples, Artists & Software
How to Use Generative Fill on Photoshop to Generate Backgrounds
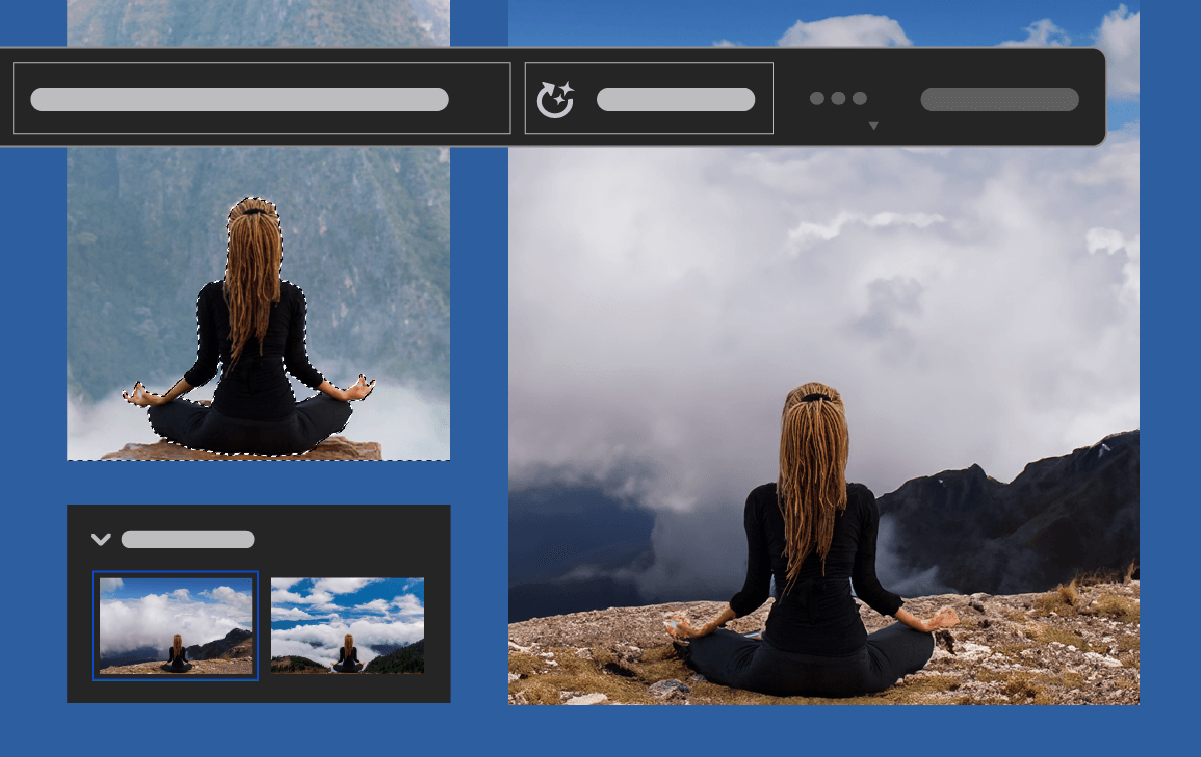
Source: Adobe
Here are the steps you need to follow to generate a new background using the Generative Fill feature:
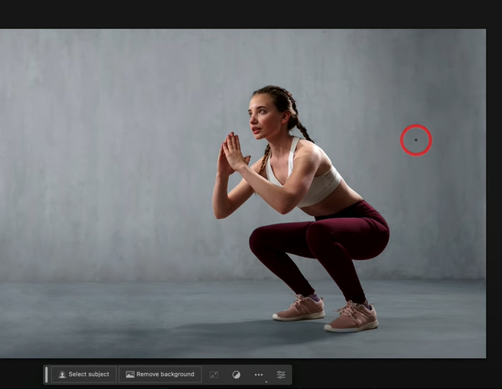
1. Select the Desired Image
Choose an image where you want to replace or extend the background using Generative Fill.
Source: YouTube
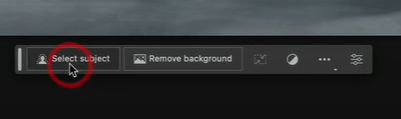
2. Select Subject
Use the “Select Subject” option to select your subject from the image.
Source: YouTube
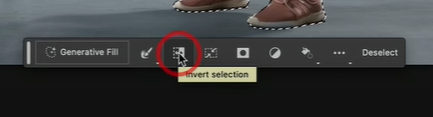
3. Invert the Selection
With the subject selected, click the “Invert Selection” tool to prepare for background replacement.
Source: YouTube
4. Access Generative Fill
Click the Generative Fill button to activate the background replacement feature.
Source: YouTube
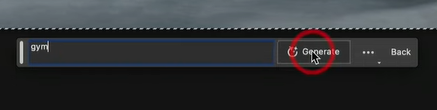
5. Enter Text Prompt
When prompted, type in the description of the background you wish to generate.
Source: YouTube
6. Generate the Background
Click the “Generate” button to create the desired background.
Source: YouTube
Bonus: 10 Best Artbreeder Alternatives For AI-Powered Generative Art
How to Use Generative Fill on Photoshop to Expand Images
Source: Adobe
If you want to expand the image or add new content, follow these steps:
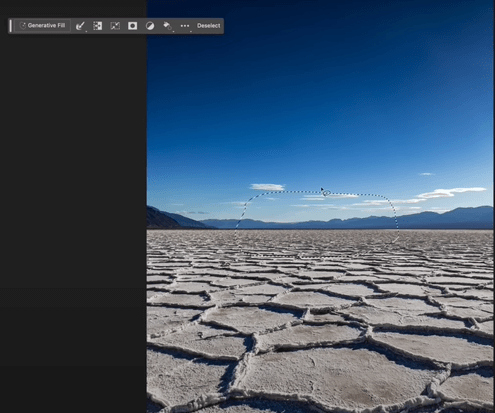
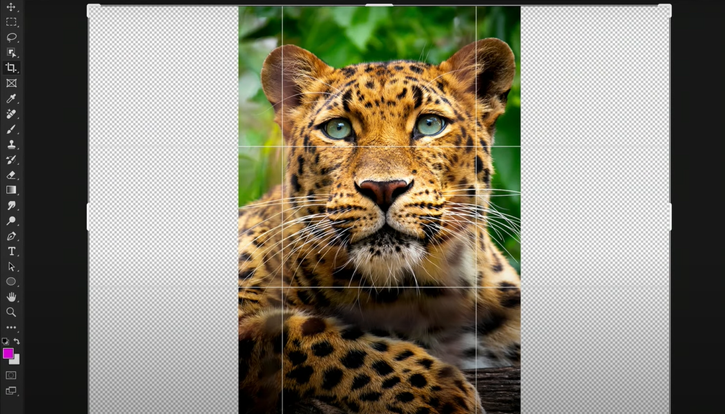
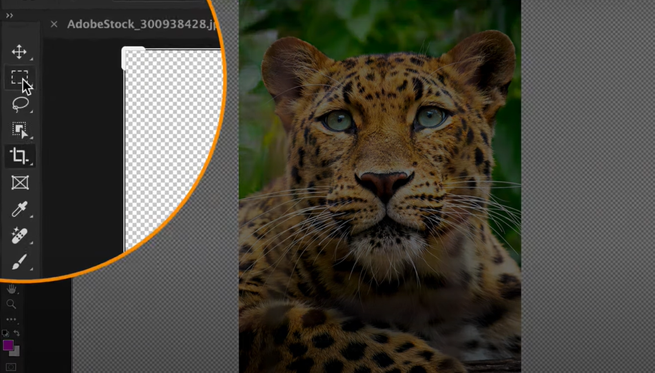
1. Prepare the Canvas
Open the image in Photoshop and identify the white areas on the canvas that need to be filled.
Source: YouTube
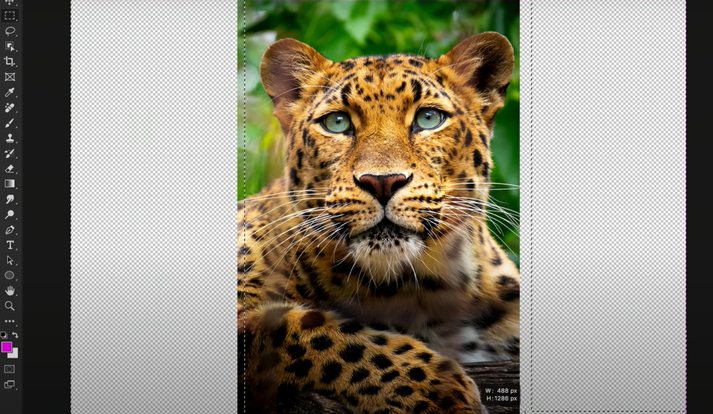
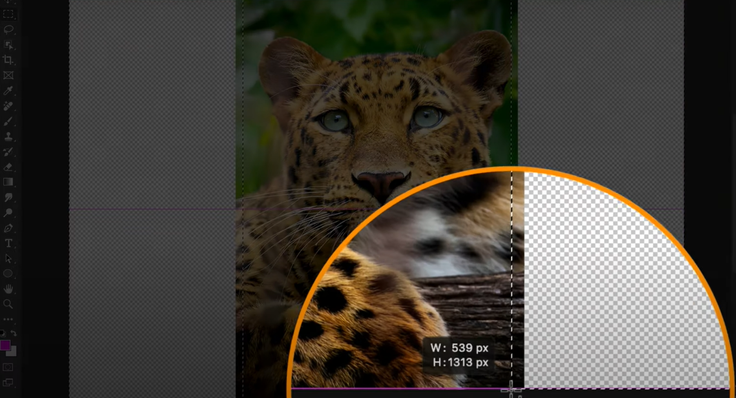
2. Make a Selection
Select the Rectangular Marquee tool and create a selection around the edges of the canvas, including the white areas. Use the Shift key to add multiple selections if necessary. Drag the selection to cover the white regions, ensuring to include some original image pixels.
Source: YouTube
Source: YouTube
Source: YouTube
3. Use Generative Fill
Click the “Generative Fill” button to fill in the selected areas.
Source: YouTube
4. Handle Text Prompt
The Generative Fill taskbar might display a text prompt input box. For this instance, leaving the box empty lets Photoshop AI examine and extend the pixels in the selected area within the image. Click “Generate” to initiate the filling process.
Source: YouTube
5. View the Changes
Check the image to see the results after the white areas have been filled.
Source: YouTube
6. Explore Variations
After applying Generative Fill, you’ll have three variations available in the Generative layer properties. Each variation provides different results. These variations are created on a new layer with a mask, preserving the original image.

Source: YouTube
7. Adjust and Iterate
If you’re unsatisfied with the results, click “Generate” to get new variations. You can repeat this process until you achieve the desired outcome. Remove any undesired variations to manage the file size.
Source: YouTube
How to Use Generative Fill on Photoshop to Remove Objects
Source: Adobe
Here’s a step-by-step guide to utilizing Photoshop AI’s Generative Fill for object removal:
1. Identify the Object
Open the image in Photoshop and determine the object you want to remove while retaining the surrounding area.

Source: YouTube
2. Make a Selection
Utilize the Selection tool to create a selection around the object you wish to remove.
Source: YouTube
Source: YouTube
3. Apply Generative Fill
After making the selection, click on the Generative Fill tool.
Source: YouTube
4. Tap on Generate
Click “Generate” to instruct Photoshop to replace the selected object with surrounding pixels from the image.

Source: YouTube
Source: YouTube
5. Optional Text Prompt
If you intend to add something in place of the removed object, input a description in the text prompt. Otherwise, leave the prompt empty.

Source: YouTube
6. Review the Changes
Observe the image to see the removal of the selected object. The Generative Fill feature aims for a seamless blend of the surrounding pixels, ensuring an almost imperceptible difference in the modified area.

Source: YouTube
Tips to Use Photoshop AI Generative Fill

Source: Freepik
Here are some effective tips for using Photoshop AI Generative Fill:
1. Leave Prompts Blank for Removal
To remove elements, use the tool without entering any text prompt. This ensures seamless removal without adding new content.
2. Precision in Selections
Create selections that closely match the size and shape of the element you want to add or remove. Accurate selections result in better outcomes.
3. Use Descriptive Prompts
When using text prompts, employ descriptive nouns and adjectives rather than instructive words for more effective results. Less detail often leads to better outcomes.
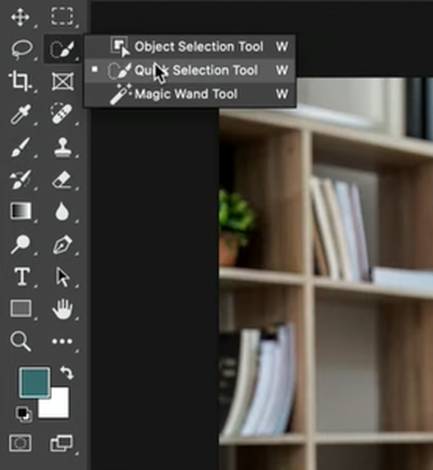
4. Opt for an Object Selection Tool
Utilize Photoshop’s object selection tool to make clear, visible selections for better precision and visual representation of the area being worked on.
5. Combine with Other Photoshop Features
Experiment with blending modes, filters, and other Photoshop tools after using Generative Fill to further enhance and refine your edited images.
6. Practice for Best Results
Practice different types of images to understand the tool better and get more adept at achieving desired outcomes.
7. Manage and Organize Layers
Keep track of the Generative Layers created and organize them effectively. This helps manage different variations, making it easier to compare and select the best results.
Simplified: Free Alternative to Photoshop’s Generative Fill Feature
Source: Simplified
If you’re looking for a more affordable and user-friendly alternative to Photoshop’s AI Generative Fill, Simplified is the perfect choice for you.
Simplified’s Generative Fill is an AI-powered tool that can help you add the right elements to your images and make them look perfect.
With this AI-powered tool, you can effortlessly replicate the capabilities of Photoshop’s Generative Fill with a single click, and that too for FREE!
Here’s how you can use the tool:
1. Access the Simplified’s Generative Fill tool.
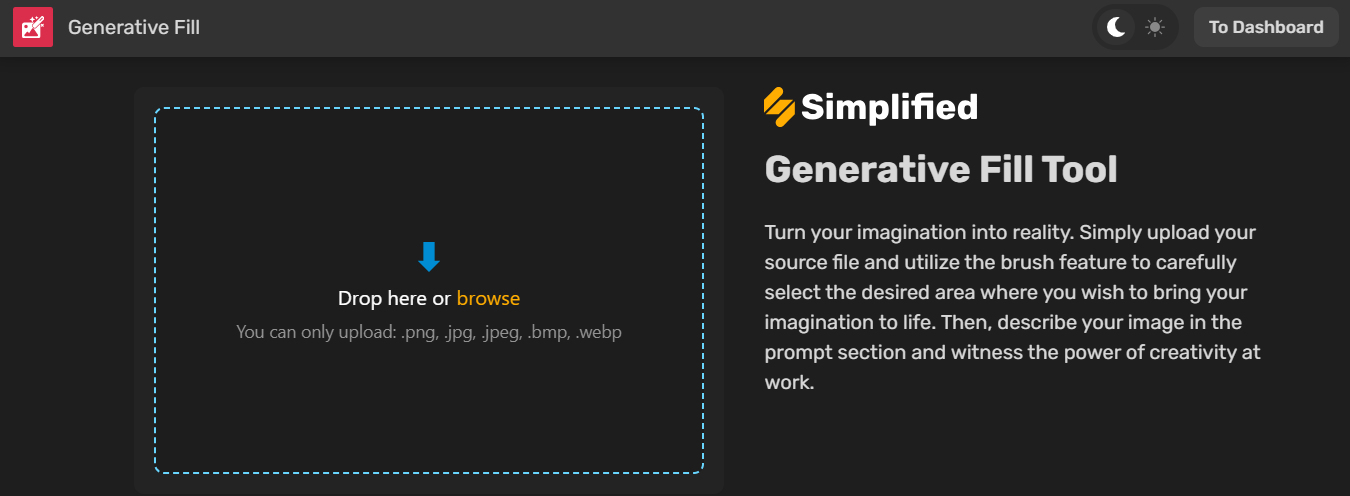
Source: Simplified
2. Upload the photo you want to edit.
Source: Simplified
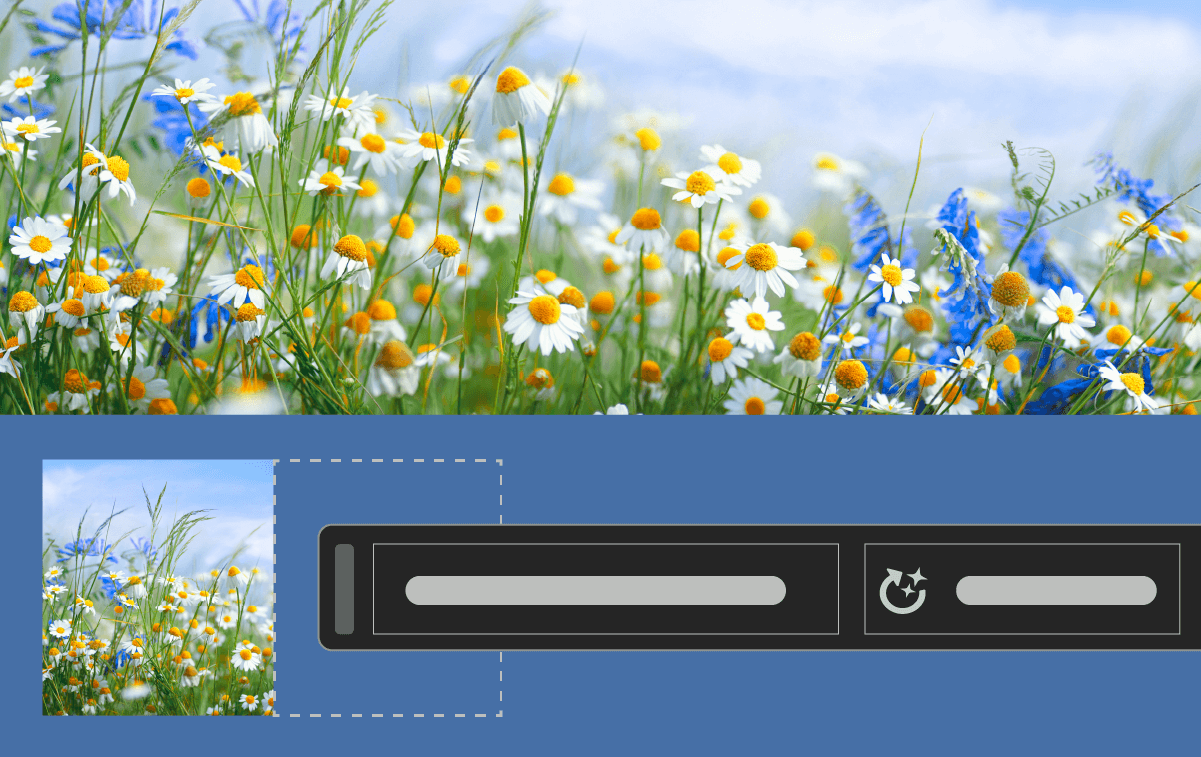
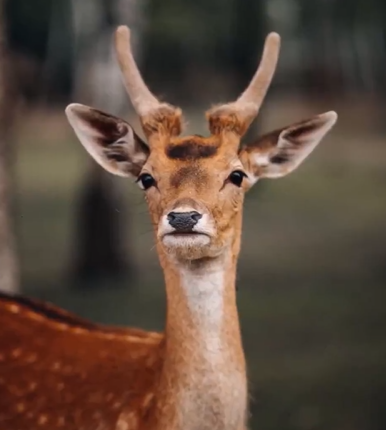
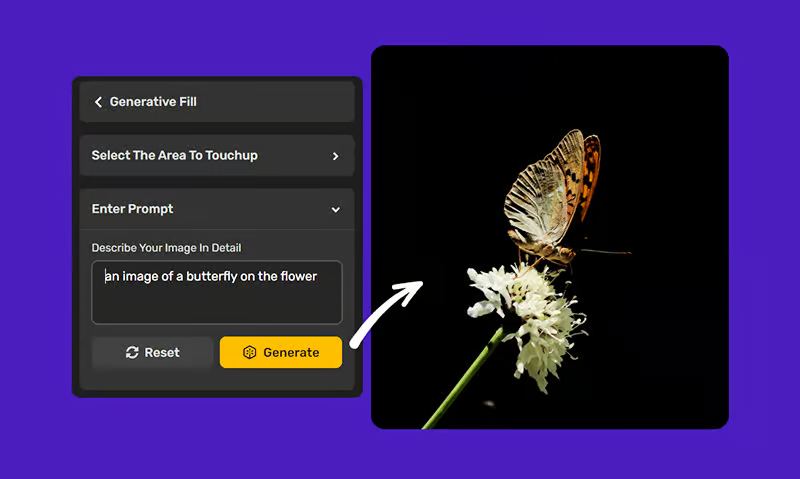
3. Select the area using the touchup brush.

Source: Simplified
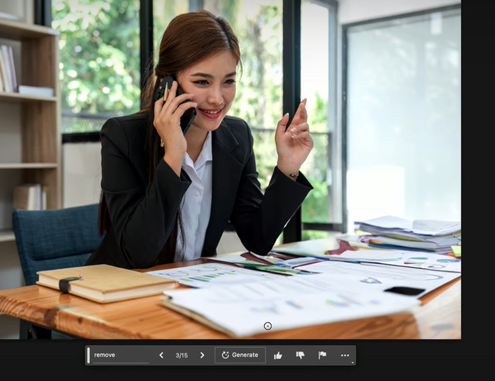
4. Express your vision in simple words, then click “Generate.”
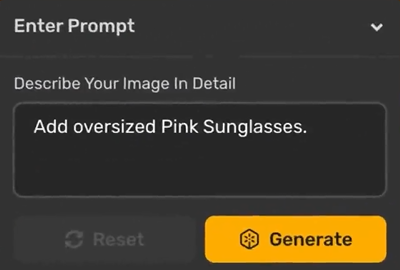
Source: Simplified
5. Watch as this AI tool turns your ideas into stunning visuals.
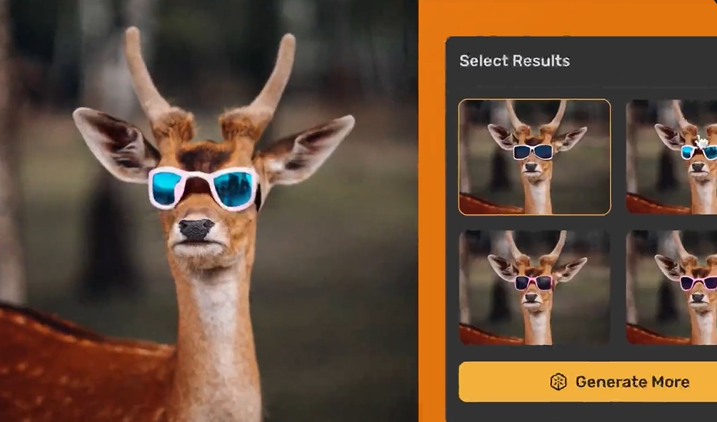
Source: Simplified
Here are some more examples:
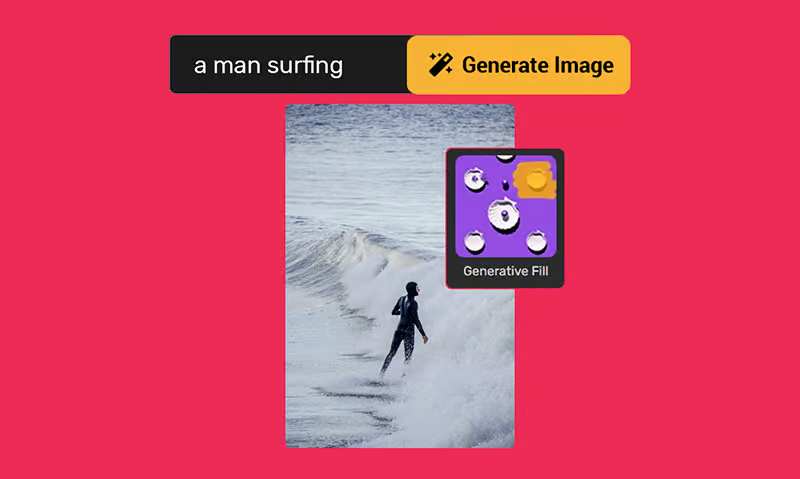
Source: Simplified
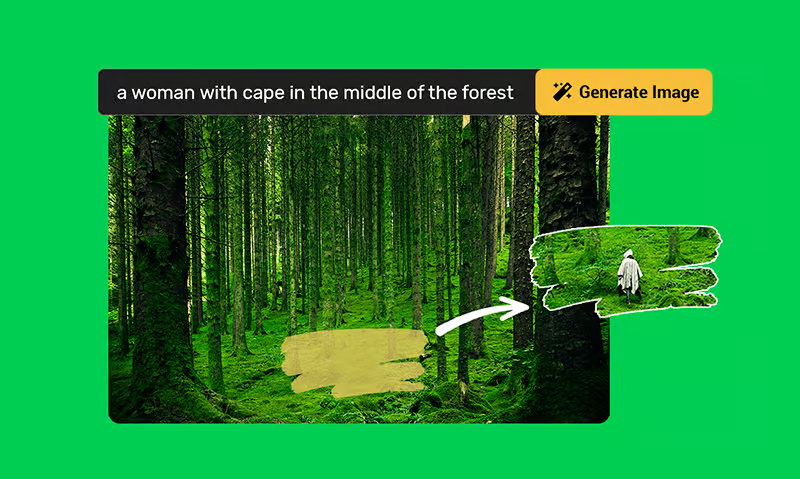
Source: Simplified
Source: Simplified
Say goodbye to the struggle of turning ideas into designs. Whether it’s adding a sun or fields of flowers, Simplified makes it easy. No design skills are required – it’s your bridge to stunning visuals.


![10 Best AI Image Restoration Tools to Try in 2025 [Free & Paid]](https://siteimages.simplified.com/blog/Best-AI-Image-Restoration-Tools-01.png?auto=compress&fit=crop&fm=png&h=400&w=400 "10 Best AI Image Restoration Tools to Try in 2025 [Free & Paid]")
![20 Podcast Thumbnail Ideas to Boost Your Show’s Visual Appeal + Best Practices [2025]](https://siteimages.simplified.com/blog/Podcast-Thumbnail-Ideas-to-Boost-Your-Show-02-1.png?auto=compress&fit=crop&fm=png&h=400&w=400 "20 Podcast Thumbnail Ideas to Boost Your Show’s Visual Appeal + Best Practices [2025]")


