Captivating visual content is the cornerstone of captivating design. And when it comes to creating eye-catching designs, removing backgrounds plays an important role. Imagine a stunning product image without distracting clutter or a captivating logo with a transparent background. It can help designers elevate their creations, allowing the focus to be on the subject properly.
Adobe Illustrator is a powerful graphic design software widely used by professionals and enthusiasts alike. One of its essential features is the ability to remove backgrounds from images, allowing you to isolate objects and create seamless digital designs. In this blog post, we will take you through a step-by-step guide on how to remove backgrounds in Illustrator, enabling you to unlock new possibilities in your design projects.
How to Remove Background in Illustrator in 2 Methods!
Method 1: Using the Magic Wand Tool
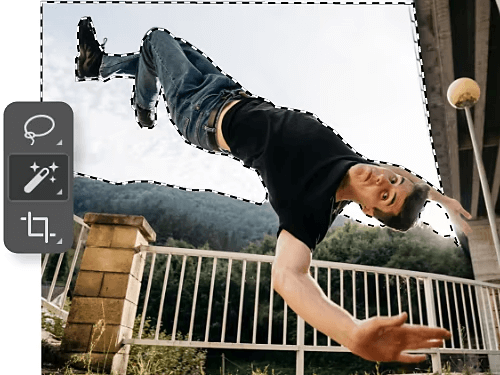
Using the Magic Wand tool is a quick and straightforward method to remove backgrounds in Illustrator. With its adjustable settings and selection refinement options, you can achieve precise selections that enhance your designs.
- Selecting the Magic Wand Tool and Adjusting its Settings
- In Adobe Illustrator, locate the Magic Wand tool in the toolbar on the left side of the screen.
- Click on the tool to select it, and then adjust the tool’s settings in the options bar at the top of the screen.
- Set the tolerance value to determine the tool’s sensitivity to color variations. A higher tolerance selects a broader range of colors, while a lower tolerance is more selective.
- Clicking on the Background to Create a Selection
- Position the Magic Wand tool on the background area you want to remove.
- Click on the background to create a selection based on the tool’s tolerance settings.
- The Magic Wand tool will select contiguous areas of similar color based on the clicked point and tolerance level.
- Refining the Selection and Removing the Background
- After creating the initial selection, you may need to refine it to ensure accuracy.
- Use the Shift key to add to the selection or the Alt/Option key to subtract from it. Click and drag over additional areas to expand or contract the selection as needed.
- To smooth jagged edges or transitions, access the “Smooth” option in the options bar and adjust the slider.
- Once the selection accurately encompasses the background, press the “Delete” key to remove it, leaving a transparent background behind.
Method 2: Utilizing the Pen Tool
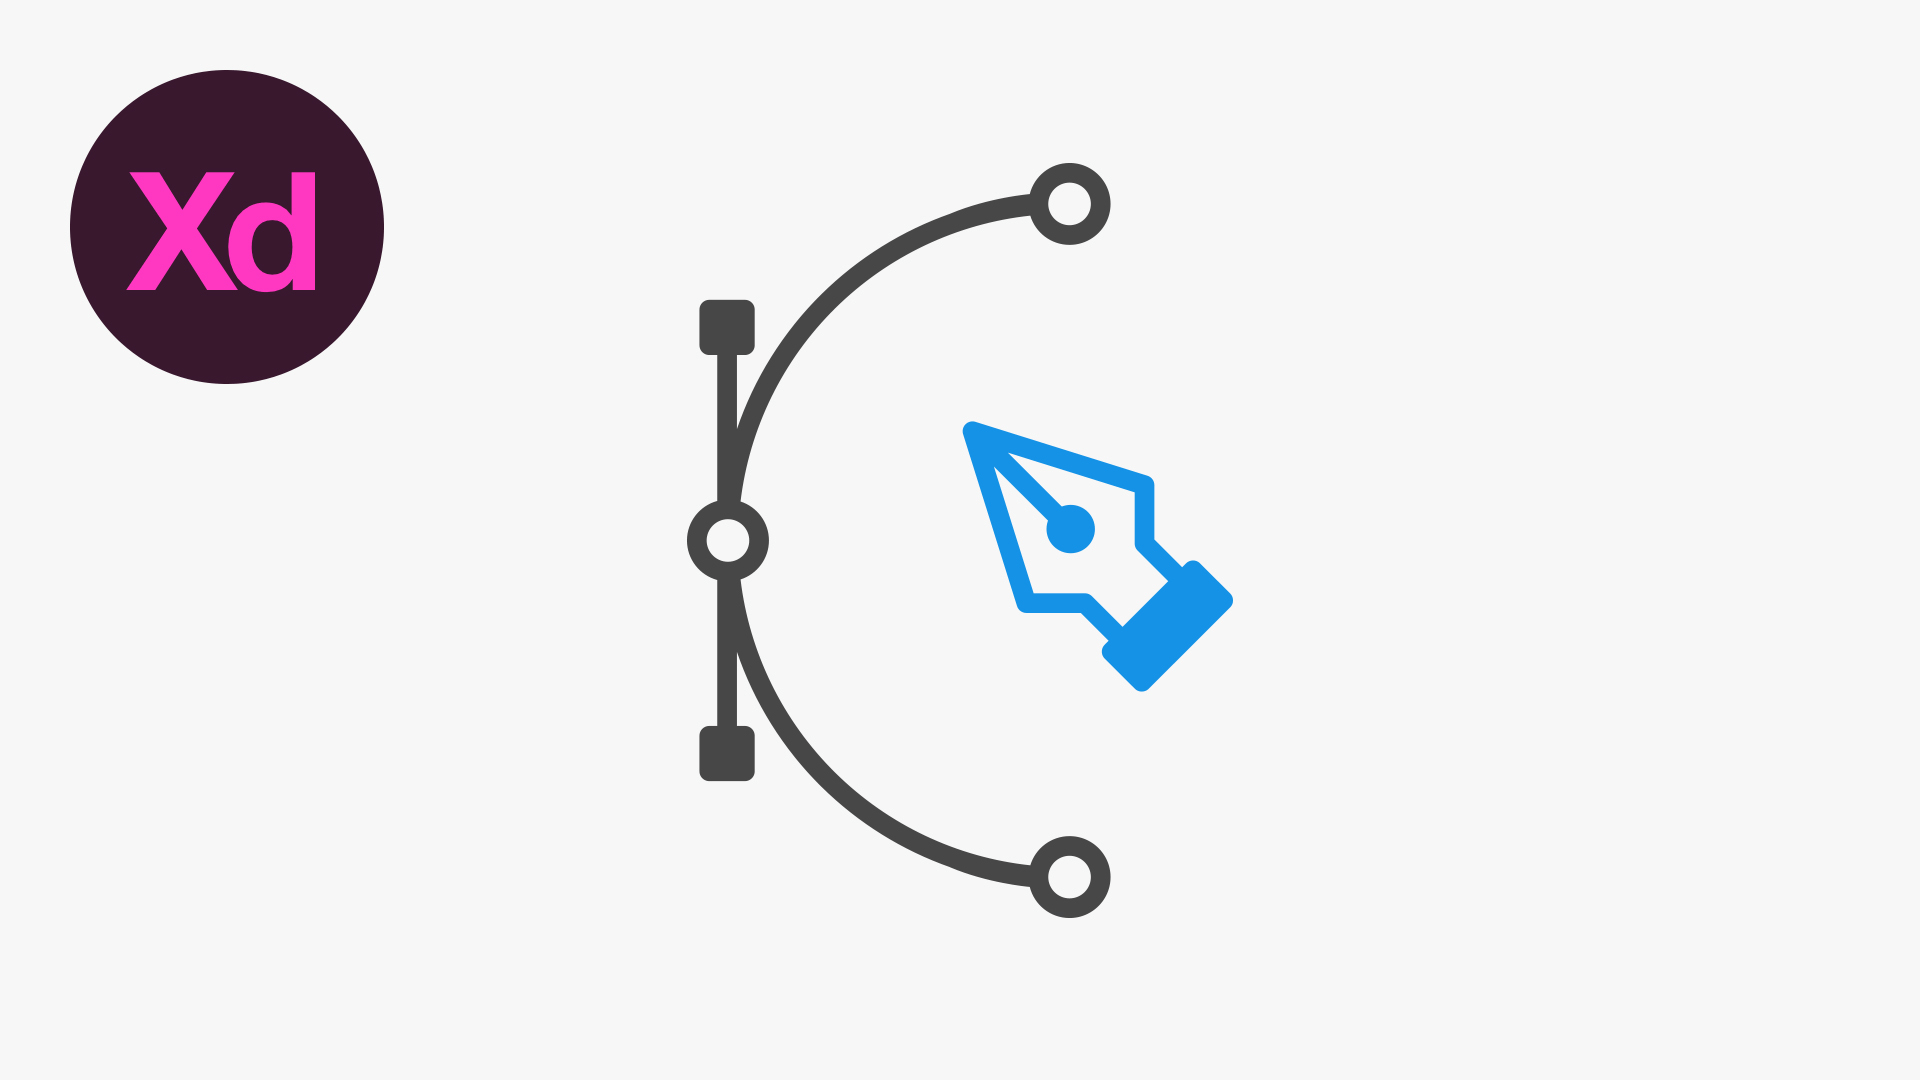
Utilizing the Pen tool gives you precise control over creating paths, allowing you to achieve accurate selections for background removal in Illustrator. By tracing the subject’s outline, converting the path into a selection, and deleting the background.
- Selecting the Pen Tool and Configuring its Options
- Locate the Pen tool in the toolbar on the left side of the screen in Adobe Illustrator.
- Click on the Pen tool to select it, and then configure its options in the options bar at the top of the screen.
- Choose the desired path mode: “Pen” for straight lines or “Curvature” for smooth curves. Adjust other settings such as stroke weight, color, and fill as needed.
- Tracing the Outline of the Subject to Create a Path
- Position the Pen tool on the edge of the subject you want to isolate from the background.
- Click to place an anchor point and continue clicking along the outline, placing anchor points at key points of the subject’s shape.
- For curved areas, click and drag to create curved anchor points, adjusting the direction handles to control the curve’s shape.
- Converting the Path into a Selection and Removing the Background
- Once you have traced the entire outline of the subject, close the path by clicking on the initial anchor point.
- With the path selected, go to the “Select” menu and choose “Load Selection.”
- A selection will be created based on the path you’ve created. You can now remove the background by pressing the “Delete” key, leaving a transparent background behind.
Bonus: 10 Of The Best Background Remover Tools (Reviewed And Ranked)
Bonus Method: Try Simplified’s One-Click Background Remover Tool
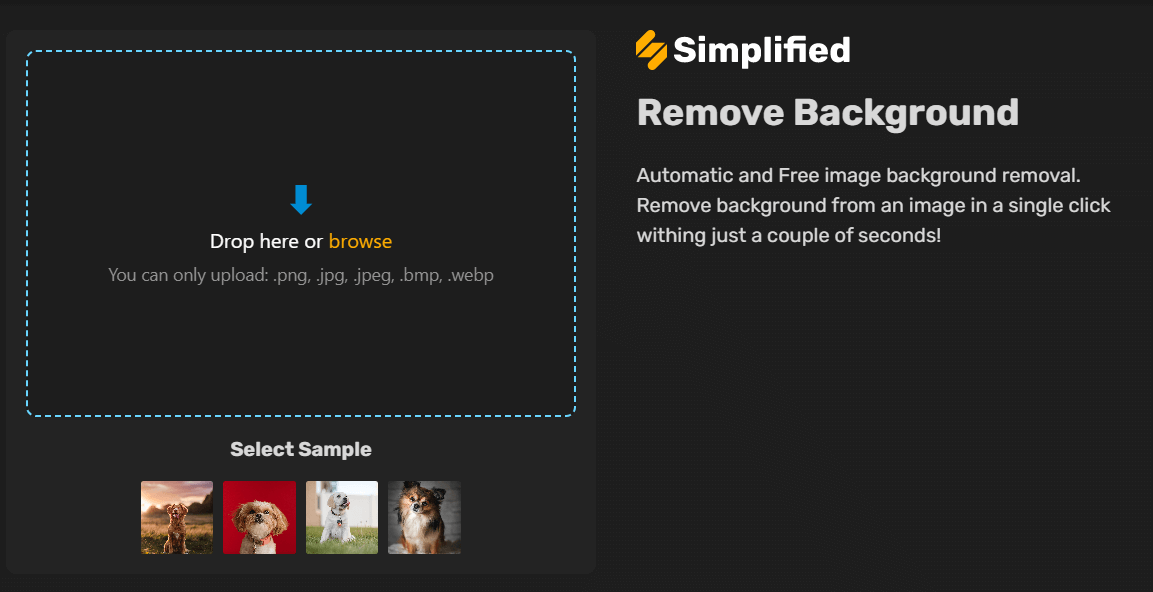
Simplified’s Background Remover tool is a reliable and free alternative for background removal. With its user-friendly interface and AI features, you can quickly and efficiently remove backgrounds from your artwork. You can further fine-tune the results with the graphic design editor to get the best visual effects.
- Accessing Simplified’s Background Remover Tool
- Visit Simplified’s website or navigate to the Background Remover Tool page.
- Simply create an account using your email ID, and you can access a plethora of content-creation tools for free!
- Uploading the Artwork and Applying the Background Removal
- The background removal option is super easy to use. Drag and drop your image in the space provided.
- Once the image is uploaded, the background remover tool will analyze it and automatically remove the background.
- Downloading the Edited Image
- After the background removal process is complete, you’ll be presented with the edited image.
- Click on the “Download” button, and the image will be saved in the best quality.
Tips for Professional and Visually Appealing Designs

- Choose background designs that complement and enhance the subject, aligning with the overall design concept.
- Experiment with gradients, textures, patterns, or custom-made backgrounds to add depth and visual interest.
- Use adjustment layers or tools in Simplified to fine-tune brightness, contrast, saturation, or hue.
- Apply filters or effects to the subject and the background to create a cohesive visual style.
- Refine the edges of the subject using tools like the Eraser tool, Feather tool, or layer masks to create smooth transitions.
- Experiment with layer blending modes to blend the subject with the new background seamlessly.
- Pay attention to lighting and shadows to ensure the subject integrates naturally into the new environment.
Re-discover Great Designs with Simplified!

With its user-friendly interface, advanced algorithms, and exceptional ease of use, Simplified empowers designers of all skill levels to achieve perfection.
Simplified’s Online Background Remover tool offers an efficient solution that saves both time and effort. With just a few clicks, you can effortlessly remove backgrounds, allowing your creative vision to take center stage.
And the best part is that it’s absolutely free to use! Eliminating the need for expensive software or complicated plugins, you can simply upload and see the magic. With Simplified, you also have access to plenty of templates and fonts based on the latest design trends.
Step into the world of Simplified and experience the magic of AI like never before. Embrace the ease of use, embrace the cost-efficiency, and let your designs shine with Simplified by your side.


![10 Best AI Image Restoration Tools to Try in 2025 [Free & Paid] 10 Best AI Image Restoration Tools to Try in 2025 [Free & Paid]](https://siteimages.simplified.com/blog/Best-AI-Image-Restoration-Tools-01.png?auto=compress&fit=crop&fm=png&h=400&w=400)
![How to Use Photoshop AI Generative Fill Feature [2025] How to Use Photoshop AI Generative Fill Feature [2025]](https://siteimages.simplified.com/blog/How-to-Use-Photoshop-AI-Generative-Fill-01-1.png?auto=compress&fit=crop&fm=png&h=400&w=400)
![20 Podcast Thumbnail Ideas to Boost Your Show’s Visual Appeal + Best Practices [2025] 20 Podcast Thumbnail Ideas to Boost Your Show’s Visual Appeal + Best Practices [2025]](https://siteimages.simplified.com/blog/Podcast-Thumbnail-Ideas-to-Boost-Your-Show-02-1.png?auto=compress&fit=crop&fm=png&h=400&w=400)


