
You know, at first, I used to think video compression was some kind of tech voodoo reserved for video editors and computer whizzes. But after struggling with uploading some vacation videos last summer—which dragged on forever with my spotty Wi-Fi—I finally gave an online video compressor a shot. And honestly? It was a game changer. Well, that’s if you ignore my impatience while waiting for that one 15-minute clip to process. But hey, isn’t that part of the charm?
Understanding Video Compression
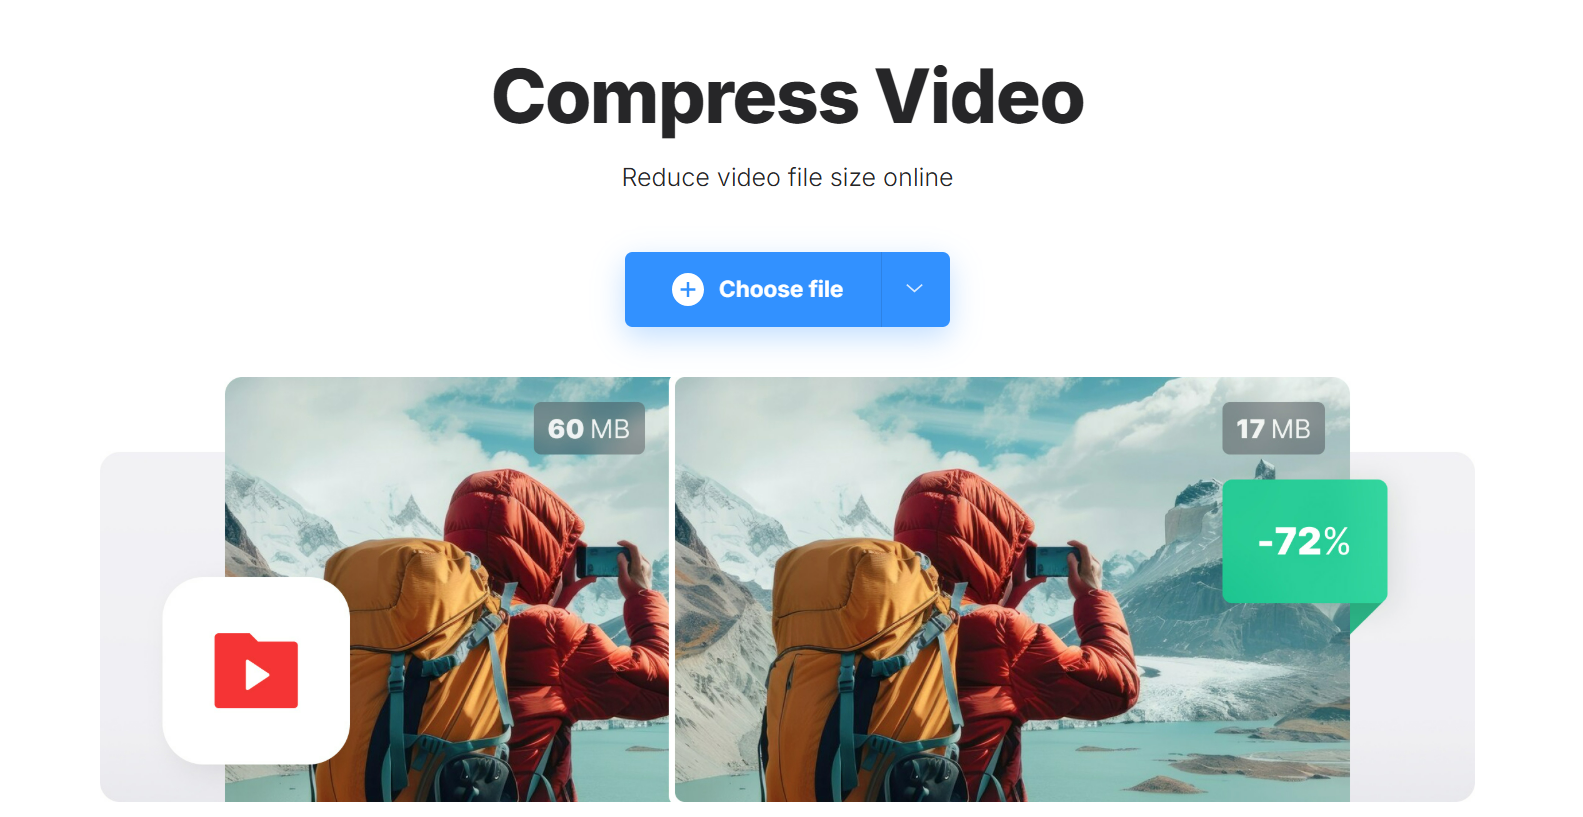
So, what’s the deal with video compression, anyway? Basically, it’s a way to shrink your video file size without destroying the quality (at least not too much—there’s always some trade-off, like anything in life). Think of it as vacuum-packing your clothes before a trip: you’re not tossing any shirts out; you’re just squeezing them tighter to save space.
Technically, compression algorithms analyze the video data and remove redundancies—like frames that don’t change much or repeated colors—so the file gets lighter. That’s why sometimes your seemingly long video might turn into a file that’s half or even a quarter of its original size.
Benefits of Compressing Videos
I’m guessing you want to know why anyone would bother, right? Well, there’s a bunch of perks that make compression worth it:
- Faster Uploads and Downloads: Ever tried sending a huge video through email only to get a “file too large” error? Compressing solves that nightmare. Plus, it saves your data plan from crying.
- Storage Savings: Especially if you’re like me, hoarding videos on your laptop’s nearly full hard drive, trimming file size means more room for that mountain of photos you swore you’d organize one day.
- Smoother Streaming Experience: Smaller files mean less buffering agony when you’re streaming on shaky internet. Trust me, watching a shaky cat video freeze mid-yawn is way less entertaining.
- Compatibility: Some platforms have strict size limits—compressing makes sure your masterpiece doesn’t get rejected at the virtual door.
Who Can Benefit from Video Compression?
Honestly, nearly everyone who ever deals with video files could find something to gain here. But if I narrow it down a bit:
- Content Creators and Social Media Buffs: If you’re posting videos on Instagram, TikTok, or YouTube, smaller files mean quicker uploads and saves your viewers from dreaded buffering.
- Remote Workers and Educators: Sharing presentations or recorded lessons? Compressing videos means your coworkers or students won’t stare at loading bars forever.
- Everyday Folks Like Me: Whether it’s sharing family videos or archiving your life’s precious moments, compression helps keep things manageable without sacrificing memories.
To be honest, once I started using an online video compressor, it felt like suddenly my tech frustrations eased up quite a bit. Sure, it can be a little nerve-wracking wondering if quality will take a nosedive, but many tools nowadays do a pretty slick job balancing size and sharpness. And hey, when you’re faced with a 2GB monster clip and only 30 minutes to upload before dinner plans, a little compression magic feels like a lifesaver.
Top 7 Free Online Video Compressors You’ll Actually Want to Try

Alright, so you’ve got this amazing video that you want to share but—oh no!—the file is just way too big. You know that sinking feeling when you’re ready to upload or email a video and the size is a total nightmare? I’ve been there more times than I’d like to admit. Luckily, there are some pretty solid free online video compressors out there to save the day, and guess what? You don’t need to download bulky software or mess with confusing settings.
Here’s the deal: I’ve tried quite a few, and I’m sharing my top picks that balance ease of use, features, and yes, they won’t cost you a dime. Let’s walk through them—I’ll give you the lowdown on what each one brings to the table, so you can pick your favorite without wasting hours testing every site.
1. Simplified – More Than Just Video Compression
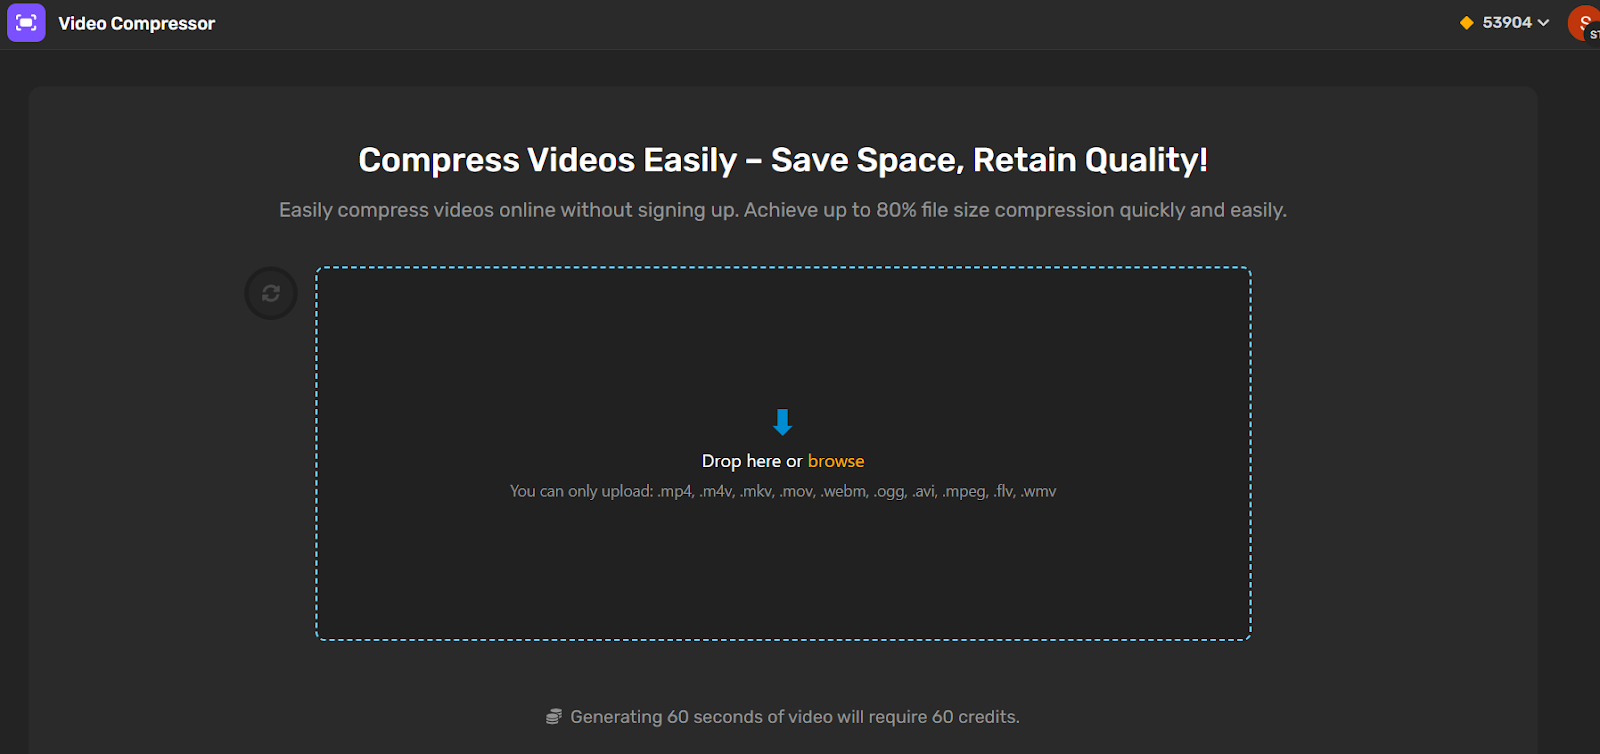
You know what’s interesting? When most people hear “Simplified,” they think design, AI writing, or social media planning. But what a lot of folks miss is that Simplified also comes with a super handy video compressor—and it’s tucked right into their free media toolkit.
Why it stands out: Personally, I’ve used Simplified’s video tools when creating social content for clients on a deadline. Whether it’s a product reel or a behind-the-scenes clip, I just upload, pick the resolution or size I want, and boom—it’s done in seconds. No downloads, no watermarks, no hoops to jump through.
Key Features/ Highlights::
- 100% free online video compressor
- No watermarks—even in the free plan
- Supports MP4, MOV, and more
- Built into a full creative platform (so you can edit, resize, subtitle, and compress—all in one place)
- Works on browser—no installs required
- Smart compression that balances size and quality automatically
Best for: Anyone already working with video content—marketers, content creators, small business owners, or freelancers—who want to compress and publish fast without hopping between tools.
And here’s the bonus: because it’s part of the larger platform, you don’t just stop at compression. You can trim, subtitle, add AI voiceovers, or schedule videos to post on your social media channels. It’s kind of like having a video editor, brand manager, and file optimizer all in one tab.
2. FreeConvert
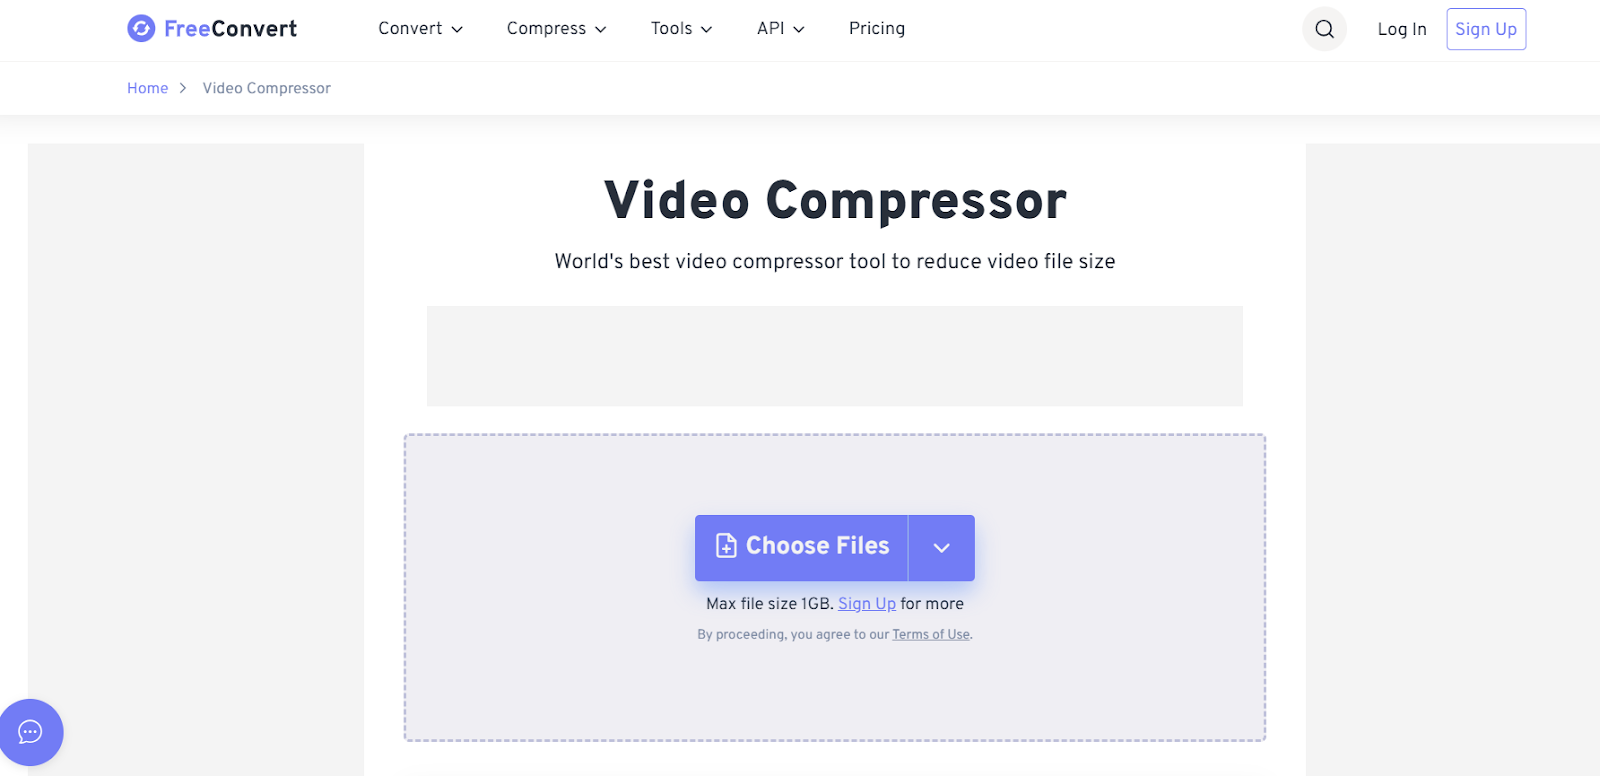
FreeConvert is ideal if you’re a bit more tech-comfortable and want to change file settings manually—like changing codec types or advanced compression levels.
Why it stands out:
It doesn’t just compress based on file size. You can set target resolutions, choose compression methods, and even crop or trim within the same workflow.
Highlights:
- Supports large files (up to 1GB free)
- Advanced compression settings
- Also supports audio, docs, images
- No watermark on compressed videos
Note: It does run ads on the site, but it’s a fair tradeoff for the powerful options you get for free.
Perfect for: Video editors, YouTubers, or small business owners who want more control over quality vs. size.
3. VEED.IO

VEED.IO isn’t just a video compressor—it’s actually a full online video editor with a clean interface that includes trimming, subtitles, filters, and yes, compression.
Why it’s on this list:
I’ve used VEED when I needed to compress and add subtitles or cut parts all in one go. It’s really handy for creating quick, polished clips for social media or client previews.
Highlights:
- User-friendly, drag-and-drop interface
- Upload, compress, edit, and export—no switching tools
- Compress by size or quality preference
- Works entirely in-browser
- No watermark on basic compression
Things to note: While many features are free, high-res exports and advanced editing require a paid plan. But for quick, simple compressions, the free version works well.
Perfect for: Creators and marketers who need a little more than just compression—especially if you’re doing content batches or social clips.
4. Compress2Go
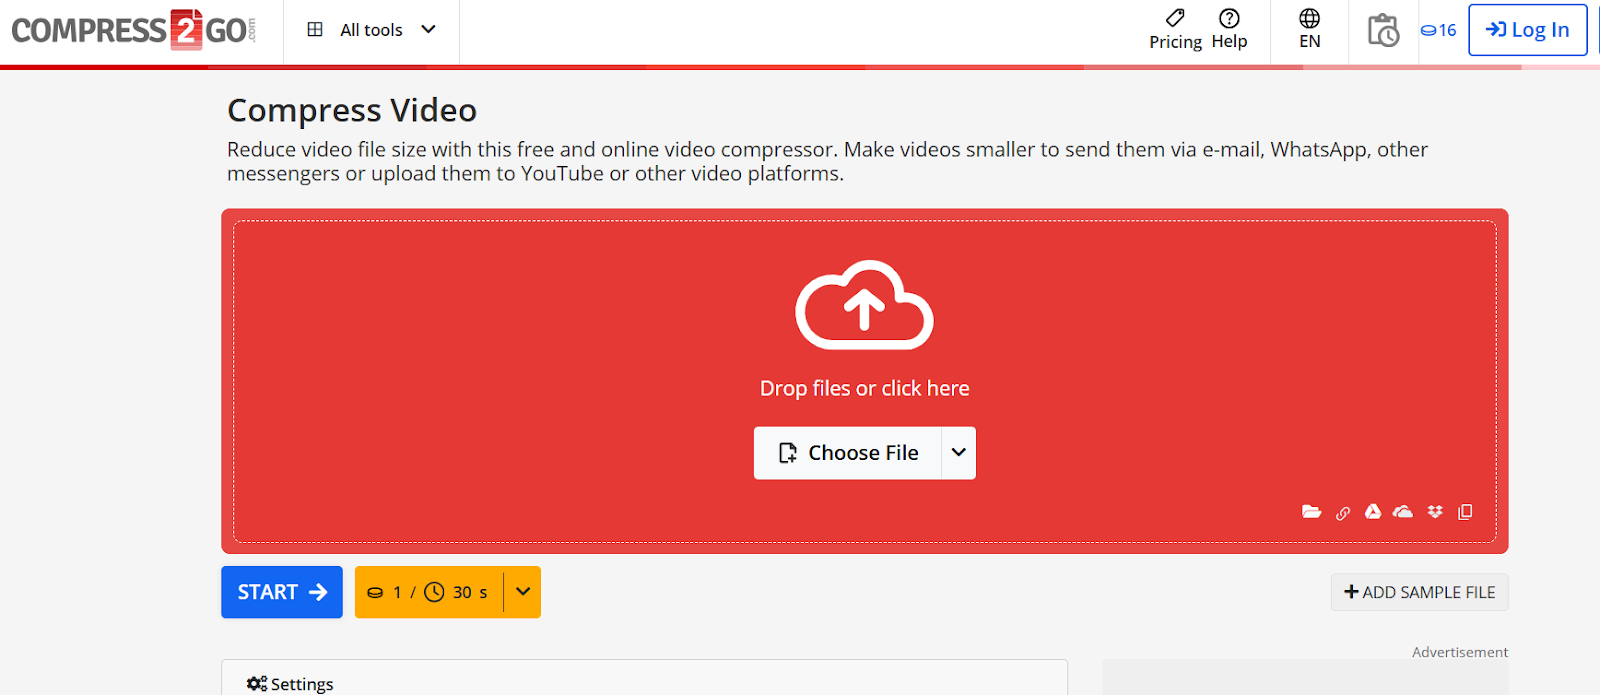
If you’re looking for a tool that’s straightforward and no-fuss, Compress2Go is a solid pick. It works entirely online and supports a wide range of video formats—MP4, MOV, AVI, and even some less common ones.
Why it’s useful: I’ve used Compress2Go when I had to quickly reduce file sizes for client feedback loops—no registration, no waiting around. Just upload, change your compression settings, and go.
Highlights:
- Free to use, no watermark
- Control over compression level (basic vs. strong)
- Supports a broad set of formats
- File limit: up to 100MB for free users
- Fast processing and downloads
Best for: Anyone who wants a clean, no-login experience with customizable compression levels.
5. Rotato Tools
Rotato is known for 3D device mockups and app demos, but their video tools are surprisingly handy. While not a traditional video compressor, Rotato Tools offers basic compression features ideal for social media clips, app previews, or polished brand visuals.
Why I included it: I tested Rotato for quick format update and lightweight compression, especially for uploading short demo reels. It’s made with creatives in mind, so you’ll love it if you care about how things look.
Highlights:
- Lightweight compression for short-form video
- Great for app demos, UI videos, and trailers
- Export options include social formats
- Clean UI, fast output
- Free limited version available
Best for: Designers and content creators who need compressed visuals that still look sharp on screen.
6. 8MB.Video
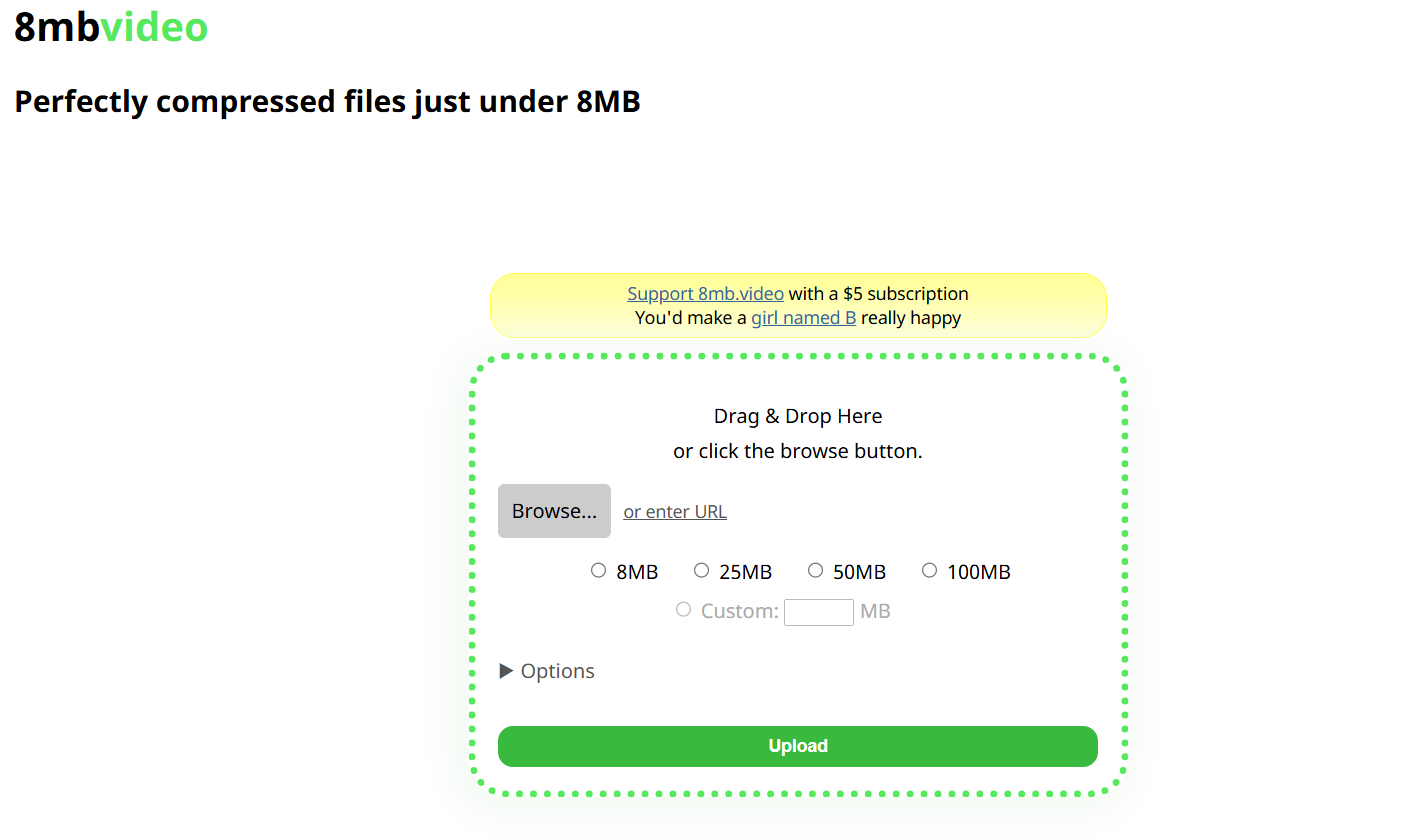
Now here’s one that’s built for pure size reduction—8MB.Video is a fan-favorite for gamers, meme creators, and Reddit users who need to get files under a specific size (yep, even exactly 8MB or less).
What’s great about it: I’ve used 8MB.Video when a platform had a strict upload limit—like Discord. It strips down the file but keeps the playback smooth, especially for short clips.
Highlights:
- Compress videos under 8MB, 50MB, or 100MB
- No watermarks
- Super simple interface
- Automatic resizing and trimming
- Doesn’t require an account
Best for: Anyone needing to shrink files for Discord, Reddit, or older upload systems with low file caps.
7. Clideo
Clideo is one of those tools you stumble on and think, “Why didn’t I use this earlier?” It’s a browser-based platform that offers multiple tools—compressor, cutter, resizer, and more—all wrapped in a super clean interface.
Why it stands out:
You just drag and drop your video in, and Clideo automatically compresses it for you. You don’t even need to touch any settings unless you want to. The compression happens pretty quickly, too, even for longer videos.
Highlights:
- Drag-and-drop interface
- Automatic compression
- Supports major formats (MP4, AVI, MOV, etc.)
- Free version available (with watermark)
Heads-up: The free plan adds a watermark, but it’s small and often not a dealbreaker if you’re using the video casually.
Perfect for: Anyone who wants fast, no-fuss compression with a slick UI—even if you’ve never edited a video before.wants fast, no-fuss compression with a slick UI—even if you’ve never edited a video before.
Comparing Key Features and Ease of Use

When diving into video tools, I’ve often found myself stuck between juggling formats, improvised quality, and just trying not to get lost in complicated menus. So, trust me when I say that understanding these features side-by-side really saves you headaches down the road.
Supported Video Formats
Okay, so first off—supported video formats. This might sound like a boring checklist, but it’s super important. Have you ever tried uploading a file only to be greeted by some frustrating “unsupported format” error? Yeah, me too. It’s the kind of sink-your-teeth-in annoyance that can ruin your flow.
Most decent software covers the usual suspects—MP4, MOV, AVI, and sometimes MKV. But here’s the catch: some tools are picky about codecs, and others throw in extra formats like WMV or even WebM for web videos. I remember once wrestling with a client’s raw footage in AVCHD format—turns out not every app plays nice with those. So, if you’re working with high-end professional footage, do check which exact formats and codecs are supported.
Compression Quality Options
Now, compression is a bit of a tightrope walk, isn’t it? On one hand, you want to keep your video crystal clear; on the other, you don’t want a file that turns your hard drive into a hoarder’s paradise. Actually, the way compression options are presented can reveal a lot about the software’s flexibility.
Some platforms give you a simple slider from “low” to “high” quality—easy peasy—but if you’re anything like me, you want more control. Bitrate settings, encoding presets, variable vs. constant bitrate—these terms might seem like jargon, but fiddling with them can vastly improve your output. I’ve spent hours tweaking bitrates late at night just to get that perfect balance for client deliverables.
But here’s the kicker: not all tools offer those detailed options. Some are more “plug-and-play,” which is great if you want speed, but can feel restricting otherwise.
User Interface and Navigation
Alright, let’s talk UI—because honestly, the smoothness of the interface often makes or breaks my experience. Have you ever opened a program that felt like trying to pilot a spaceship with no manual? Well, I have, and it’s that sinking feeling you never want.
The best software strikes a balance—clean, intuitive layouts with clear labels, but also layered features you can dig into when you’re ready. I appreciate when things are laid out logically—maybe a side panel for your file library, a main preview window, and easy access to key tools like trimming or filters.
Navigation quirks can be weird though. Some apps rely heavily on right-click menus, others on drag-and-drop, and a few bury features behind multiple tabs. For me, muscle memory counts—a certain workflow rhythm helps avoid frustration. One app I used recently had this oddly hidden export option that made me hunt around for a good five minutes. Not fun.
So yeah, when comparing, don’t just glance at feature lists—spend a little time clicking around. It tells you a lot about the learning curve and how accessible the software will be when you’re in the thick of editing.
How to Choose the Right Compressor for Your Needs

You know, picking the right video compressor can feel like standing in front of a candy store with way too many options—exciting but also kind of overwhelming. I’ve definitely been there, staring at countless formats and settings wondering, “Okay, what exactly do I need here?” Well, let’s break it down so it’s a bit less daunting.
Consider Your Video Type and Purpose
This is honestly the first thing you want to nail down. Are you compressing a vlog you shot last weekend, a high-res documentary, or maybe some quick social media clips? The kind of video you’re working with actually changes the game. For example, if you’re putting together something casual for Instagram, you might not need super high-fidelity compression—speed and file size might be your priority. But if you’re working on a short film or something that’ll be shown on a big screen, quality takes front seat, no question.
In my experience, simple formats like MP4 using H.264 work wonders for general videos—good balance between size and quality, and pretty much every device loves it. But if you’re dealing with 4K footage or want to keep every tiny detail, then codecs like HEVC (H.265) are better suited even if they take a bit longer to process.
Evaluate Compression Quality Requirements
Alright, so here’s where things get a little personal—or at least, personalized. What’s your tolerance for quality loss? Because, let’s be honest, compressing video is pretty much a trade-off dance between file size and how crisp or smooth the final thing looks.
For me, I’ve wrestled with this while trying to upload travel videos—getting that sinking feeling when the sharp mountain views went a bit blurry after compression. Honestly, I think it pays off to test a few settings rather than just sticking with defaults. Try compressing a short clip at different qualities and give your eyes a good workout. Sometimes a 10% difference in bitrate makes a huge visual difference but barely changes file size.
Also, keep in mind the final platform. YouTube, for instance, re-encodes videos anyway, so ultra-high quality might be overkill. But if you’re sending a client a preview or archiving, that extra fidelity counts.
Think About Additional Features
Now, I don’t want to overwhelm you, but these extra bells and whistles can actually make a difference depending on your workflow. Some compressors offer batch processing, letting you crunch dozens of files overnight without babysitting the computer. Trust me, that’s a lifesaver if you’re juggling multiple projects.
Others give you advanced controls like setting keyframe intervals, updating audio compression separately, or adding filters to reduce noise before compression. You know what’s interesting? Sometimes that little noise reduction step saves so much headache later, especially when shooting in less-than-ideal lighting.
If you’re tech-savvy or just curious, look for compressors that provide previews before fully encoding; it saves tons of time. Personally, I avoid anything that feels like a black box—I want to see what I’m getting before committing several hours to processing a file.
At the end of the day, it’s about balancing these things with what feels right for you. Don’t stress the perfect compressor—your perfect tool is the one that fits your content, your patience, and your eye.
Practical Tips for Compressing Videos Without Sacrificing Quality
Alright, let’s talk video compression. It’s one of those tasks that sounds straightforward—just shrink the file, right? But anyone who’s spent time on this knows there’s a fine line between making that file manageable and ending up with something that looks like it was filmed through a foggy window. Personally, I’ve wrestled with this on countless projects, especially when working with clients who demand crisp visuals but also need quick sharing options. So, how do you keep that balance? Let me share some hands-on tips that have saved me from endless frustration.
Adjust Resolution and Bitrate: Finding That Sweet Spot
You know what’s interesting? Resolution and bitrate often get lumped together, but they each play distinct roles in quality. Think of resolution as the number of pixels—the actual size of your video frame—while bitrate controls how much data is used per second of video. Dropping resolution too low can make things look pixelated, but a too high bitrate at a large resolution might create unnecessarily big files.
From my experience, here’s a simple approach: if you’re aiming for online sharing, sometimes reducing from 4K to 1080p barely impacts perceived quality for most screens but cuts file size dramatically. As for bitrate, you want to pick a value that matches your resolution and the complexity of your footage. For example, a 1080p video at around 8 Mbps usually strikes a nice balance between smooth playback and size for most platforms.
But hey, don’t just blindly follow numbers. If your video has lots of fast motion—like sports or dance—you might need to crank that bitrate a bit higher to avoid those ugly compression artifacts. Conversely, slow, static scenes can get away with less data.
Choose the Right Compression Format: More Than Just a File Extension
Actually, let me rephrase that—choosing a compression format is like choosing the right tool for the job, and it often surprises folks how much impact it has on quality retention. You might think MP4 is the default, and sure, it’s widely supported. But it’s really the codec inside the container that matters most—H.264, H.265, VP9, and so on.
Based on what I’ve seen working with different editors and platforms, H.265 (also known as HEVC) offers significantly better compression efficiency than H.264—meaning smaller files for the same quality. The catch? Not every player or device supports it fully yet. So if compatibility is key, sticking with H.264 might be safer, even if the files are a bit bigger.
One weird thing I stumbled upon is that sometimes converting older videos into VP9 can punch up quality without bloating size, especially on YouTube. It’s a bit of a niche, but if you’re uploading there, it’s worth experimenting.
Preview and Test Compression Settings: Because Guesswork Is the Enemy
Now, here’s where a lot of people skip the crucial step—and I admit, I’m guilty of rushing too. Previewing your compression settings before finalizing can save heartaches. Seriously, take a moment to encode a short clip and watch it full screen on the device(s) your audience will use.
Why? Because sometimes those tiny changes in bitrate or resolution show up as annoying blockiness or weird color shifts only once you’re watching on a big monitor or a phone. I remember a time I compressed a client’s corporate video, confident it would be perfect, only to get frantic feedback about the colors looking “off.” Turns out, the compression settings messed with the saturation a bit. Lesson learned.
So, I always recommend:
- Encode a 30-second section rather than the whole file to save time
- View it on a few devices—laptop, phone, tablet—to catch different quirks
- Adjust settings based on what you see, rather than sticking rigidly to presets
Honestly, it’s a little extra work but feels so worth it instead of having to redo the entire process later.
At the end of the day, compressing videos without a noticeable drop in quality is a bit like making a great cup of coffee: it’s all about the right balance and a little patience. Once you find that groove, your videos won’t just be easier to share—they’ll still look sharp and professional, which is what we all want, right?


")


