Every graphic design begins with a blank artboard. Then come the elements such as the logo, text, photographs, illustrations, and more. The placement of these elements on the artboard is crucial in determining how effective the design will be. That’s why one of the first things designers do when they start working on a new design is to decide what the arrangement of elements will be. With Simplified, you can learn how to rotate elements on your digital artboard to ensure the highest quality possible!
Simplified gives you plenty of space to experiment with your ideas, work with a variety of elements, and explore design options.
The Designer’s Point of View
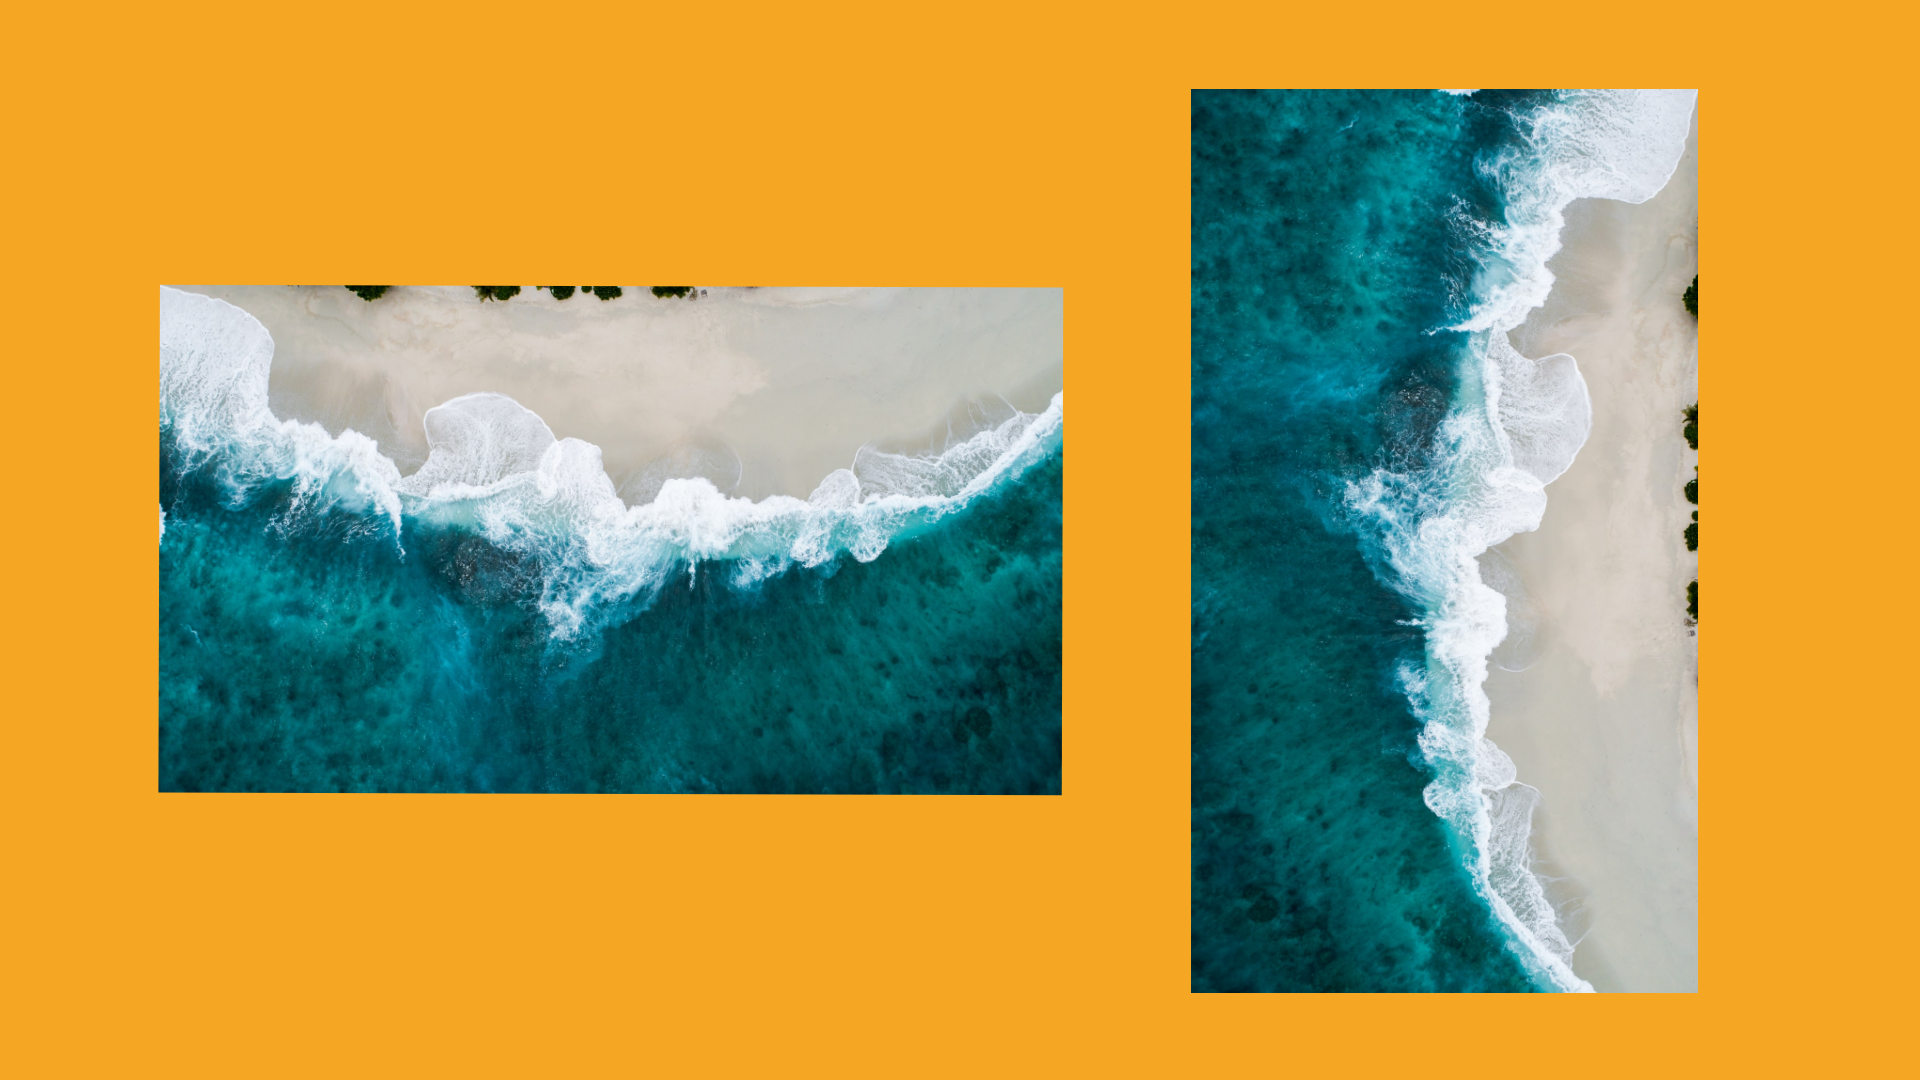
In design, a graphic designer must consider whether rotating an element on the artboard fits into the visual appeal of the project.
- Harmony and Balance – Does the element mesh well with the rest of the design? Or is it a visual distraction? The element that is rotated, whether an image or a graphic visual, should be balanced within the design. It should not call unnecessary attention to itself.
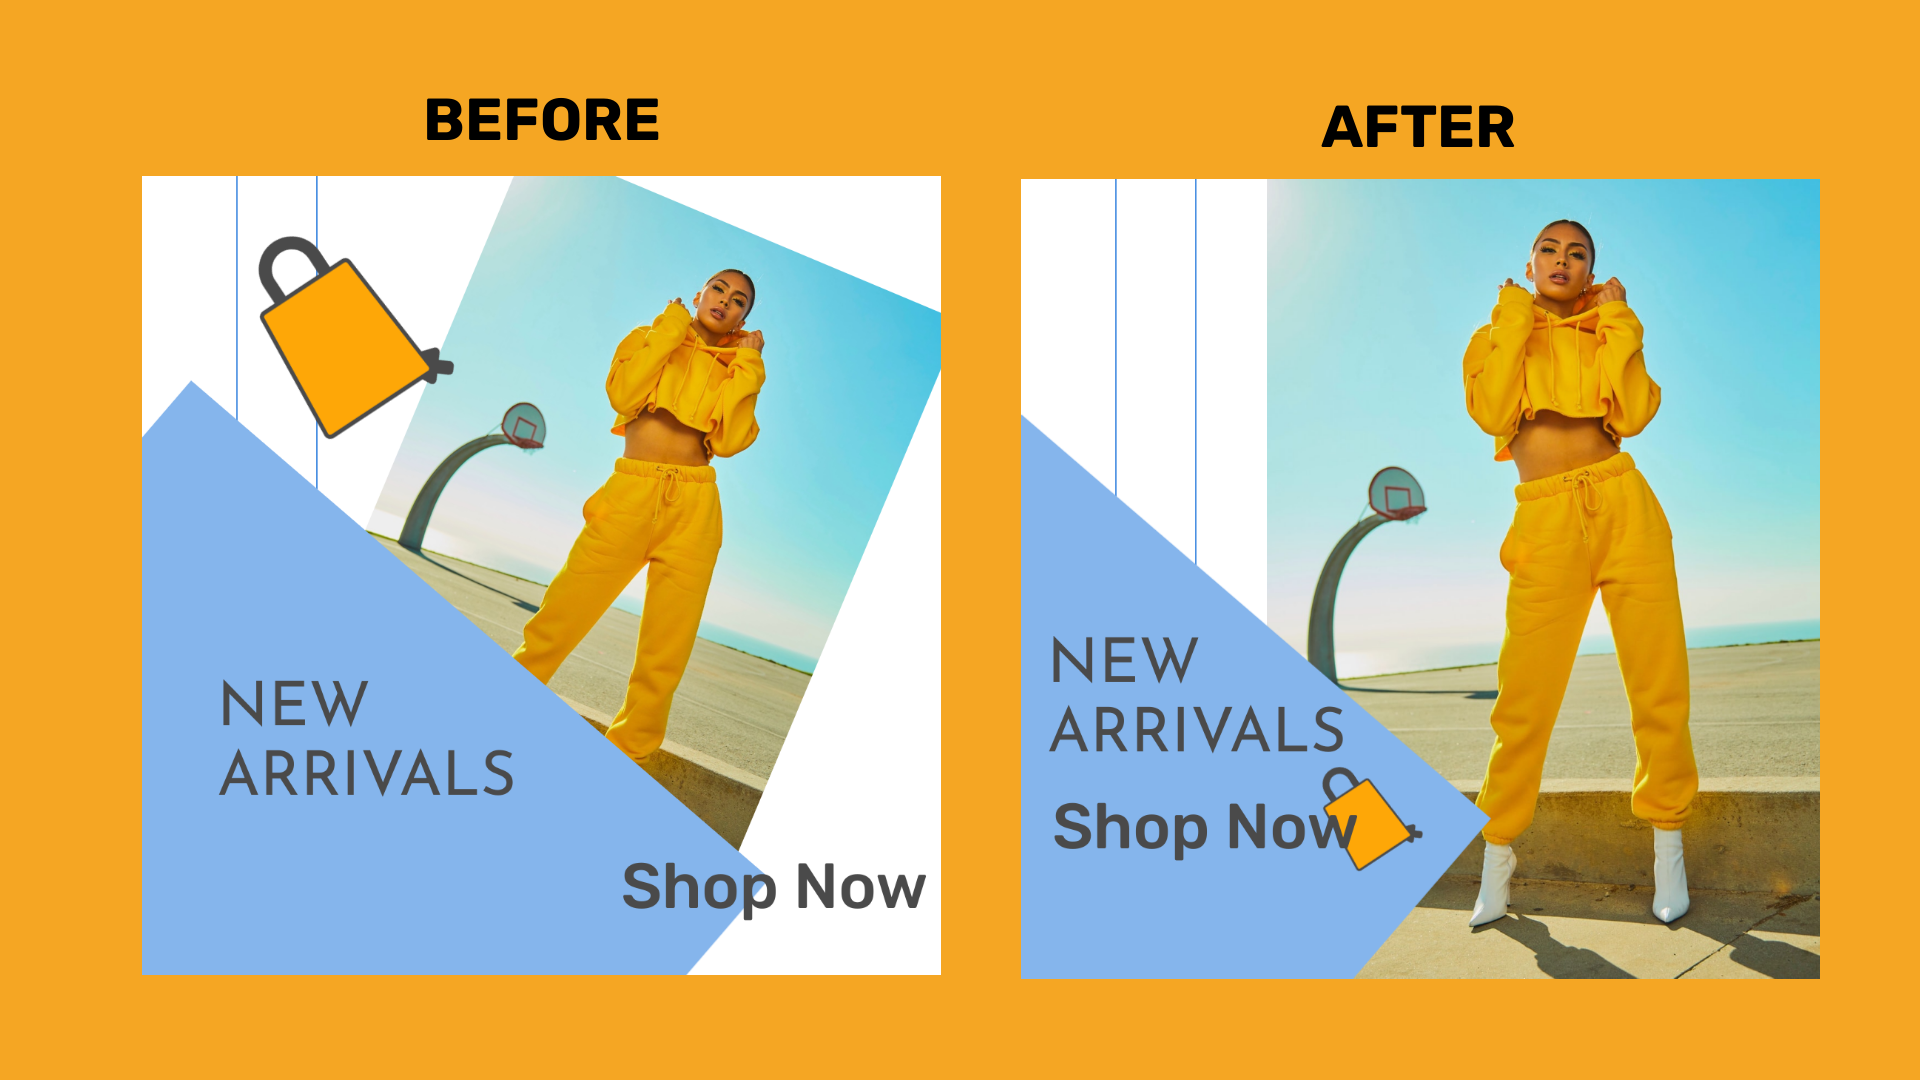
- Useful – Does rotating an element better convey the message to the audience? Does it help them find the information they’re looking for?
- Distraction – Is the rotated element causing a distraction? Can the user still easily locate the CTAs (Calls-To-Action)?
Incorporating these simple pointers throughout different components of the design can help to visually unify the space, while still leaving enough variation to keep it from feeling boring.
Getting Started On Simplified
Start by signing in to your profile on our website. If you’re a new user, sign up using your email, or instead, you can ‘Continue with Google, the easier of the two options.
Next, choose any one of the 3 options on your dashboard. You can:
- Use a template – Easy, ready-to-use designs that save time!
- Start from scratch – Start creating your own unique designs on a blank canvas!
- Auto Generate – Personalized AI generated content for your brand!
Before designing, choose the artboard size that you want to start with from wide ranging dimensions, catering to all social media channels!
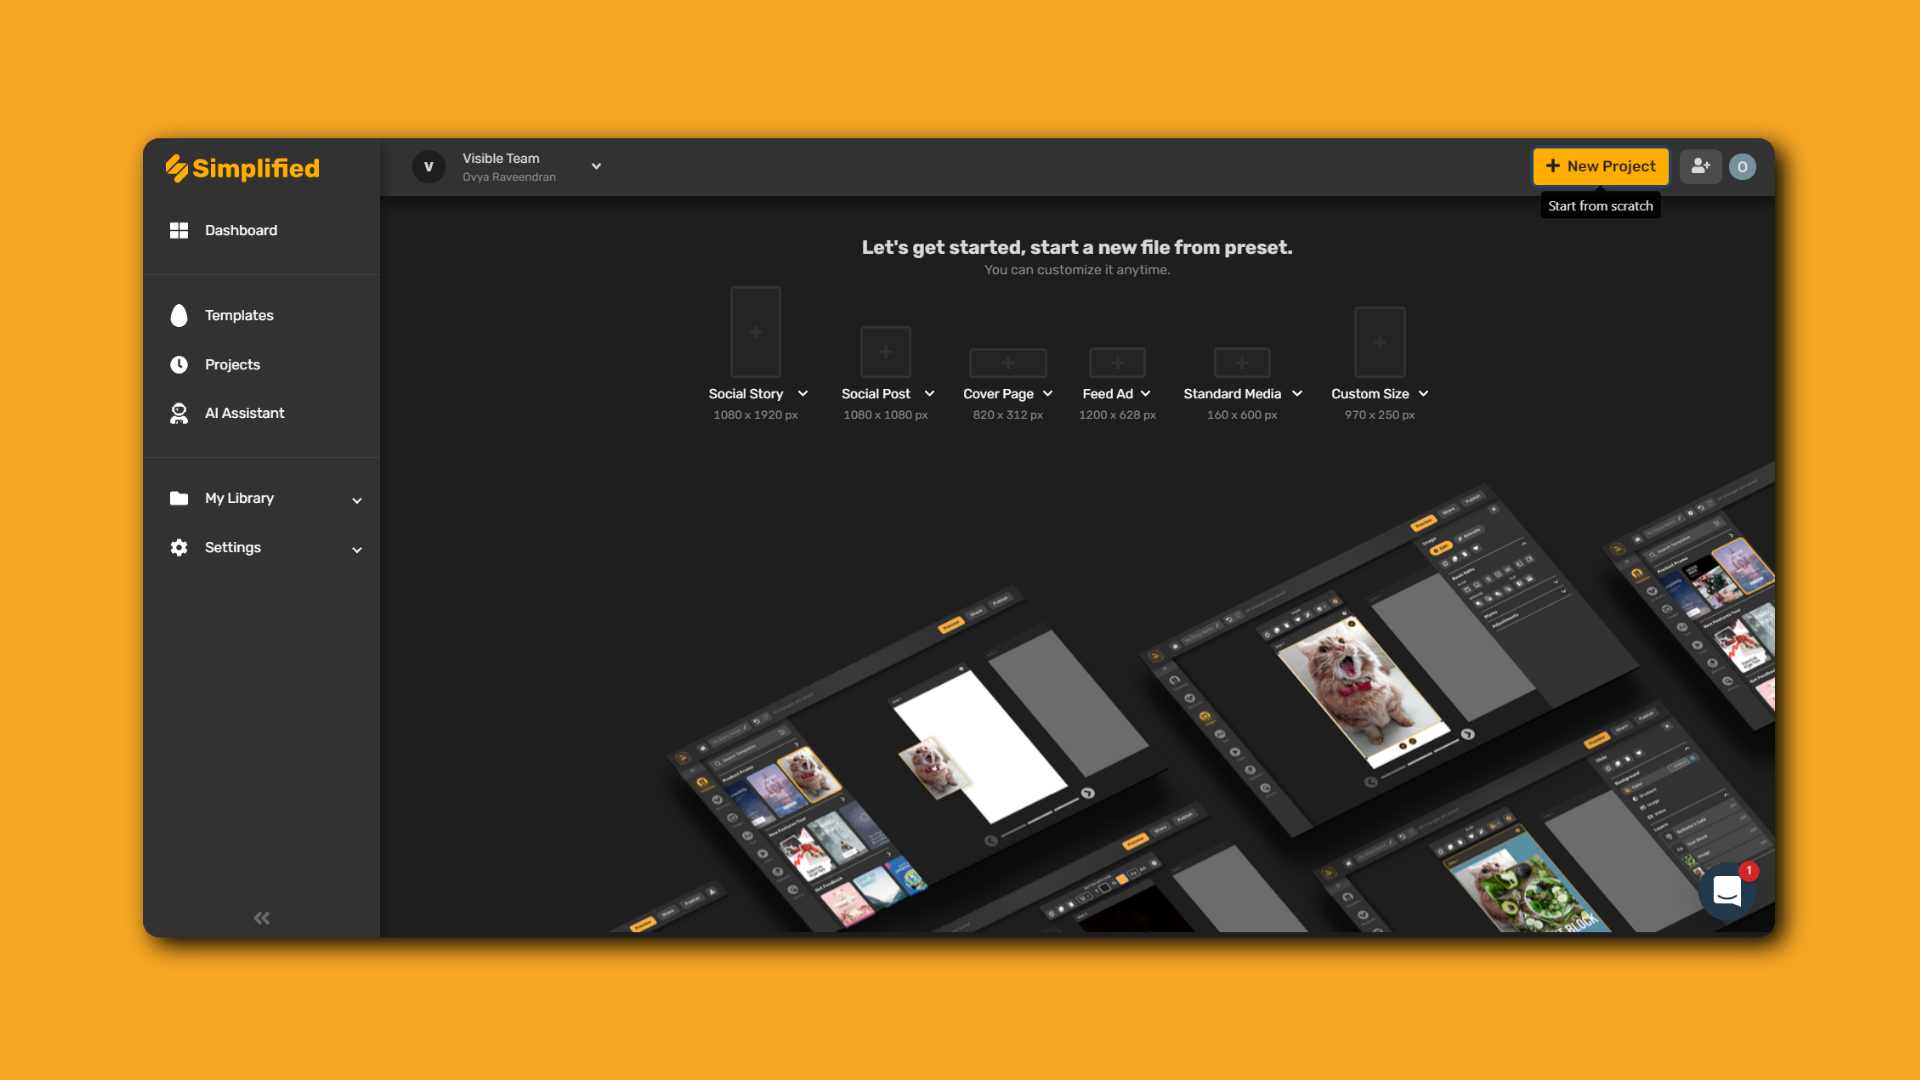
Simplified’s digital artboard gives you infinite flexibility for your projects. You can configure your workspace any way you need it before, during, or after you design. This enables you to customize and resize your artboard anytime!
To grab and move your artboard around, click on ‘✊🏽 icon’ on the bottom left. Then, drag to move the artboard!
![]()
Now that you are logged in, we’ll show you how to make use of the rotation tools!
Bonus: 12 Basic Principles of Layout and Composition In Design
Rotate Elements On Your Artboard
Step 1: When you click on the element on the artboard, a bounding box will appear.
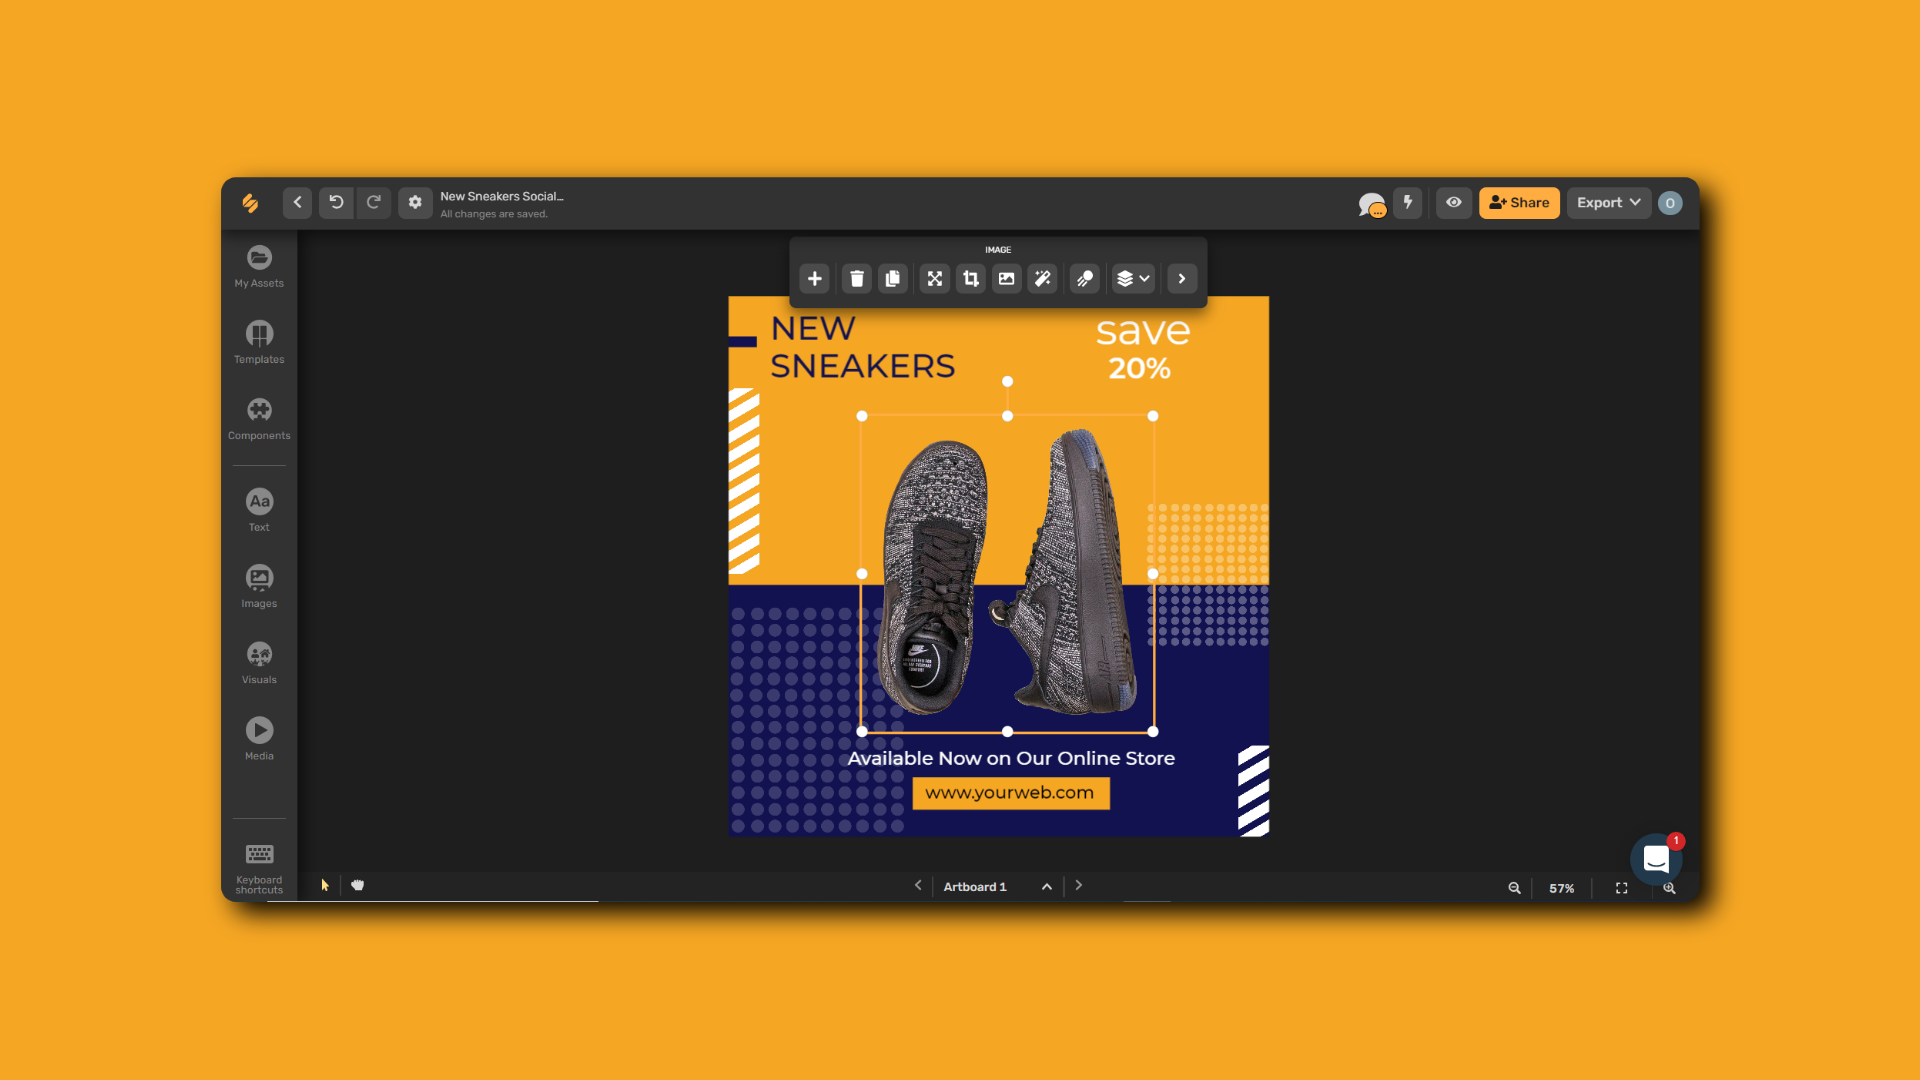
Step 2: Click and drag the reference point on the bounding box to rotate the element.
Rotate Elements From Tool Panel
Step 1: Click on the element to be rotated
Step 2: Click on the ‘More >’ icon, this will open the side tool panel.
Step 3: Click on ‘Style’
Step 4: Drag the bar to rotate to any angle or simply, add a degree of rotation.
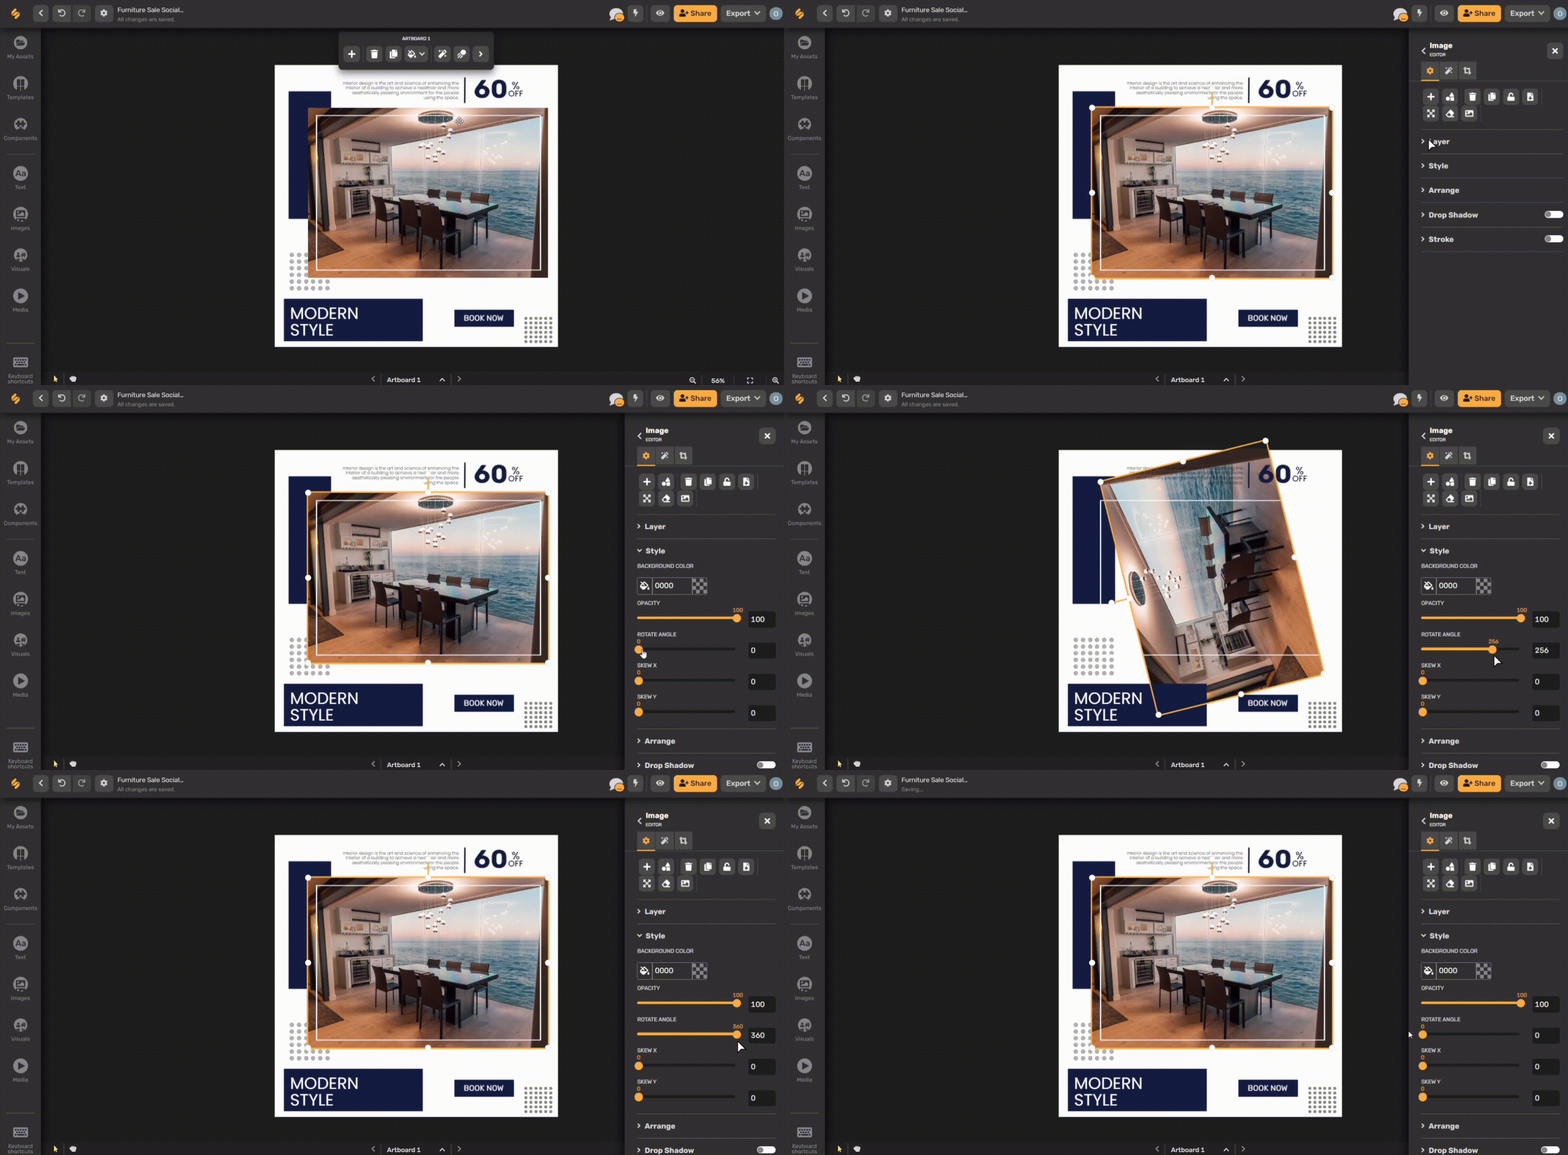
And you’re done!
To flip images click on Layers > Arrange > Flip!
Of course, you don’t have to use all techniques in a single project. If the space feels cohesive and if your eyes move around it easily, leave your design as is. On the other hand, if something feels off, keep making slight adjustments to your digital artboard until you feel satisfied.
If you accidentally rotate or flip the wrong detail, simply undo it (Ctrl+Z) and then make the right selection.
Checkout the video below to see just how easy and effective rotating elements on artboard can be!
It’s never too late to explore your ideas, design on a digital artboard, and export just what you need on Simplified.


![10 Best AI Image Restoration Tools to Try in 2025 [Free & Paid] 10 Best AI Image Restoration Tools to Try in 2025 [Free & Paid]](https://siteimages.simplified.com/blog/Best-AI-Image-Restoration-Tools-01.png?auto=compress&fit=crop&fm=png&h=400&w=400)
![How to Use Photoshop AI Generative Fill Feature [2025] How to Use Photoshop AI Generative Fill Feature [2025]](https://siteimages.simplified.com/blog/How-to-Use-Photoshop-AI-Generative-Fill-01-1.png?auto=compress&fit=crop&fm=png&h=400&w=400)
![20 Podcast Thumbnail Ideas to Boost Your Show’s Visual Appeal + Best Practices [2025] 20 Podcast Thumbnail Ideas to Boost Your Show’s Visual Appeal + Best Practices [2025]](https://siteimages.simplified.com/blog/Podcast-Thumbnail-Ideas-to-Boost-Your-Show-02-1.png?auto=compress&fit=crop&fm=png&h=400&w=400)
