Layers are used in digital designing and editing to separate different elements of an image. They can be compared to a transparency on which images, texts and patterns are applied and placed over or under an image. In graphic design, art layers form a basic yet integral feature. The concept of layering on an artboard is not complex. In fact, you’ll find it Simplified to a great extent on our platform.
Just as layers, we’ll take you through the basics of layering, all the way to the top.
What Are Layers?
There isn’t a perfect definition for a layer, but the word speaks for itself. Layers can be described as a level on which you can place an image or graphic. They are stacks of different levels for the placement of elements to put together a digital creative.
Bonus: Developing an Easy and Effective Design Process
Why Are Art Layers Used In Design?
Odds are, when you think about layering, it’s most likely in relation to clothing. In fashion, designers use layering to make an outfit more dynamic.
Design works in much the same way. Take a second to consider all of the separate elements that go into pulling a poster together. While each of these things on the artboard plays its own role, your design only comes into being once they all work together.
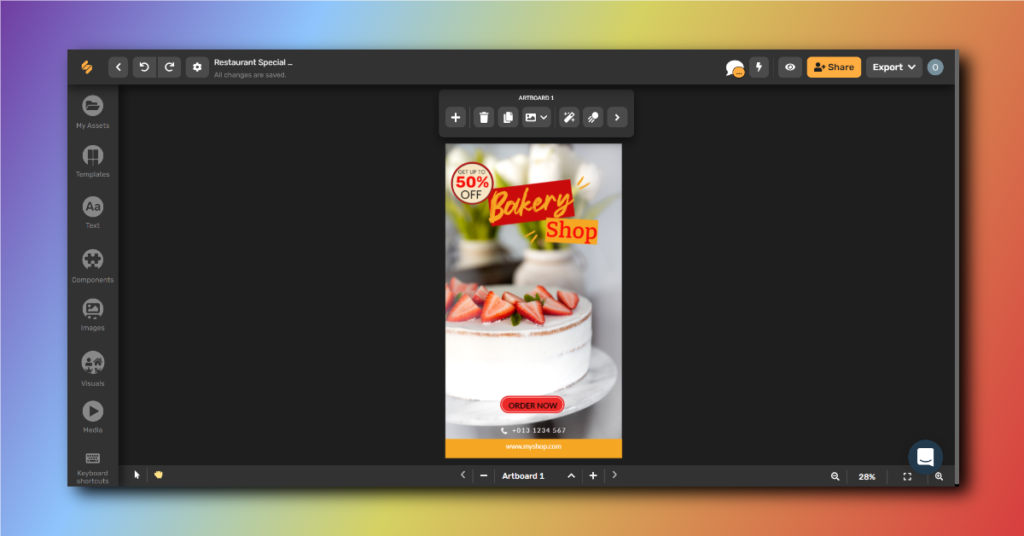
Take the design template below, for instance. Most of the design elements feel individual and eclectic, yet there are a few unifying features.
Hence layering artwork is the act of building a design from the ground up. They allow you to modify your image, add text, change colors and put two pictures on the same page without modifying your original base. It’s about taking each of those individual design elements and pulling them together to form a cohesive look.
Which Design Elements Can Be Layered?
Once you know what layering is, the next step is knowing how to make it happen. In order to start layering artwork effectively, you need to be aware of each component in a design.
Here’s a breakdown of the elements to keep in mind:
- Text
- Images
- Shapes
- Patterns
- Visuals
- Callouts
- Stickers
Consider each of these categories its own separate layer on the artboard. Each is an important part of a successful design and should be taken into account as you put your creative together. Focus on building the design by adding, one layer at a time.
Bonus: Designing Content For Social Media In 3 Simple Steps!
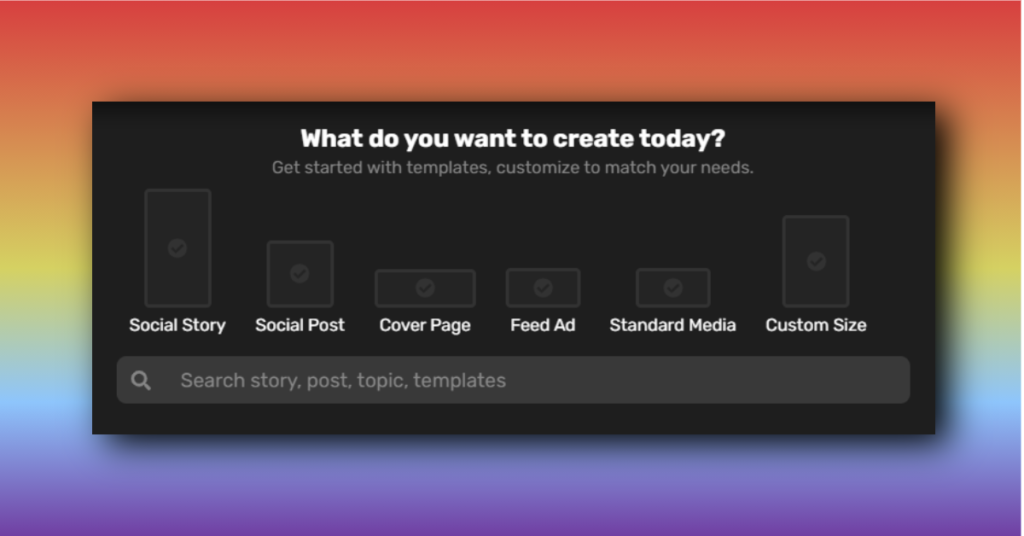
Getting Started With Simplified
Now that we’ve learnt the importance of art layers for design workflow, let’s put our knowledge into practice.
- After you sign in on our website, you can choose if you want to start from scratch or rework a template.
- Next, choose the dimensions of your artboard from the wide range of presets available.
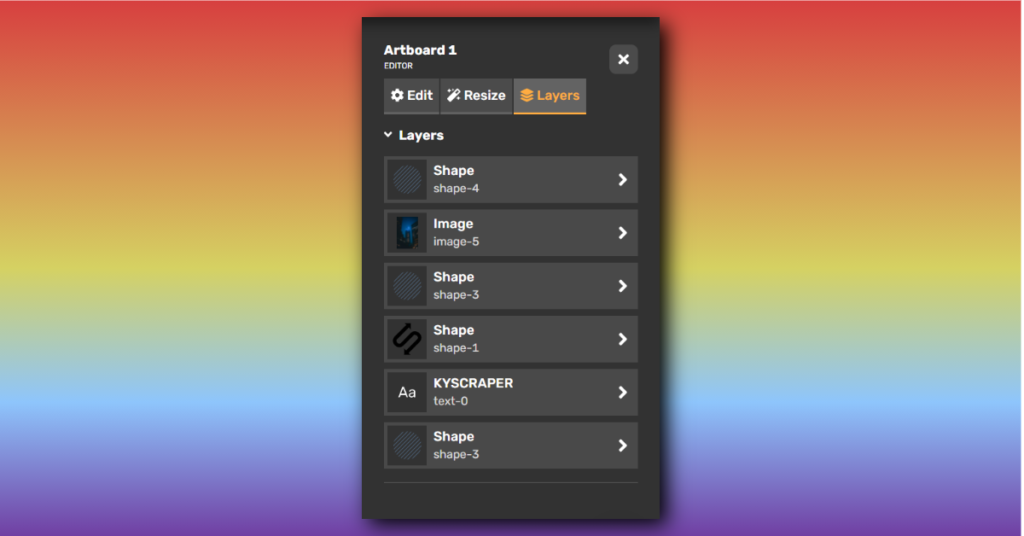
Ordering Layers On Your Artboard
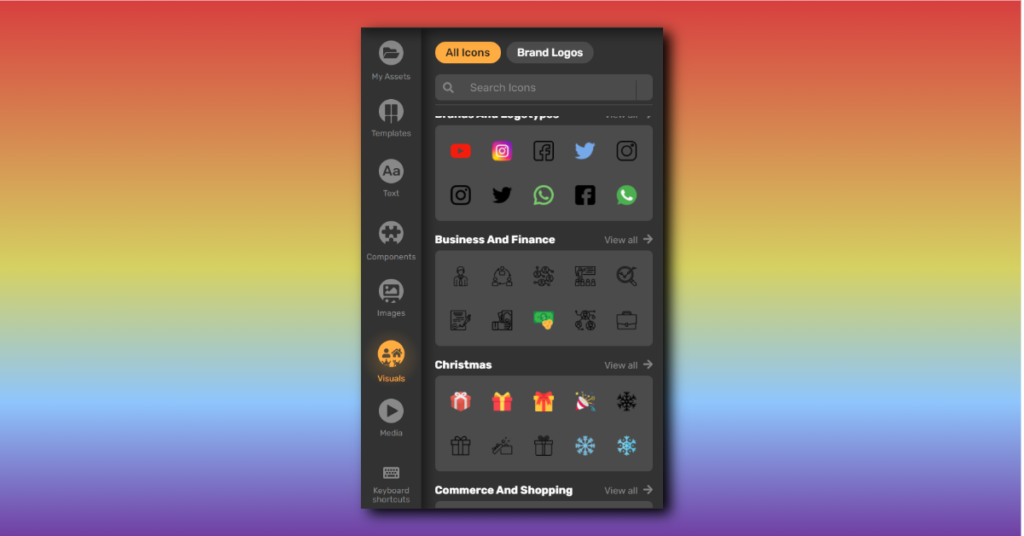
Explore the tools on the side panel so you can utilize the best resources available.
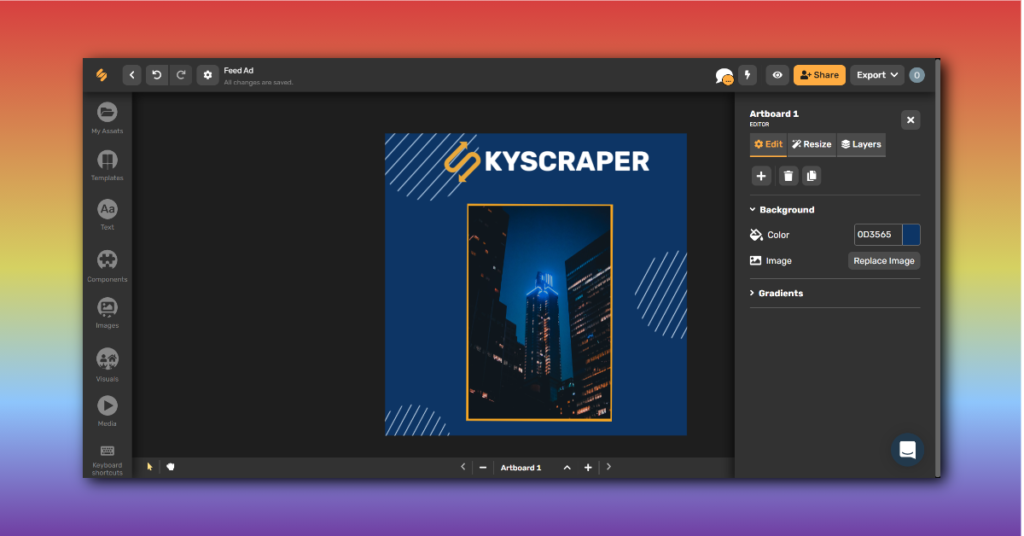
Step 1: Choose a background color
Creating layers on your artboard based on your brand’s color theme, personalizes the design and takes it from utilitarian to engaging.
Step 2: Click on ‘Text’ to add a heading & body text
Step 3: Use a defining Shape. You’ll find this under ‘Components’
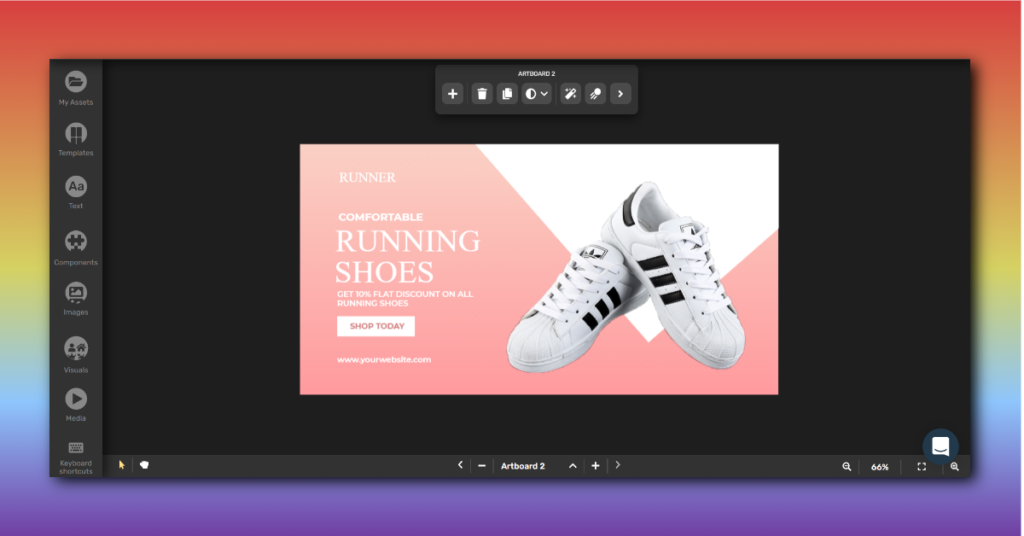
Stick to one shape, a circle that acts as a contrast in the back of an image or a rectangle that highlights ‘Call to Action’ button.
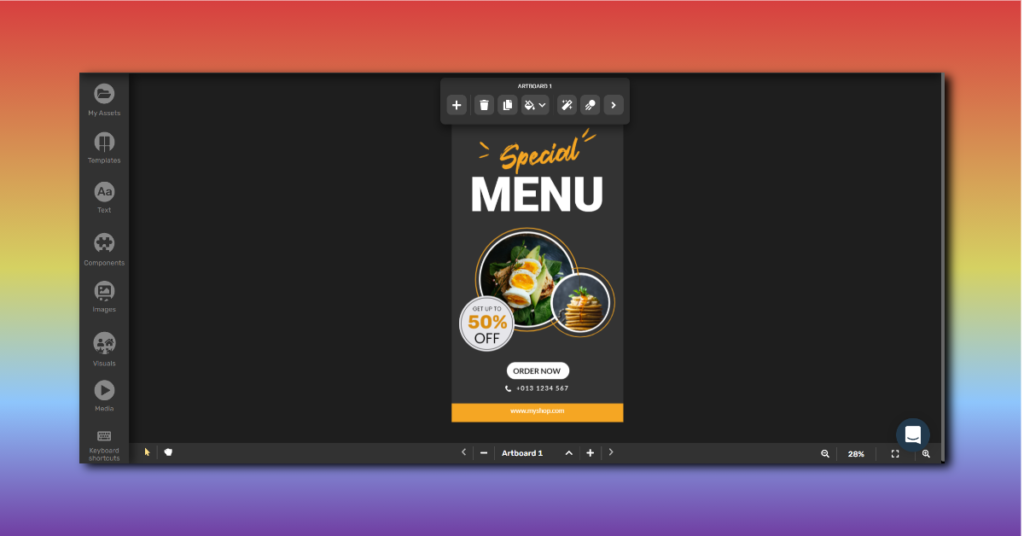
Simplified Tip: Create plenty of contrast! Layers are most effective when you can clearly differentiate between them. Not only does this help make each design choice stand out more clearly, it makes the artboard more visually interesting.
Contrast isn’t one-size-fits-all, but here are some ways to make it happen:
- Colors: Choose opposite shades on the color wheel
- Patterns: Pair a bold design with a solid color
- Size: Place different proportions of shapes together for a stronger visual effect. Refer to the design layout above.
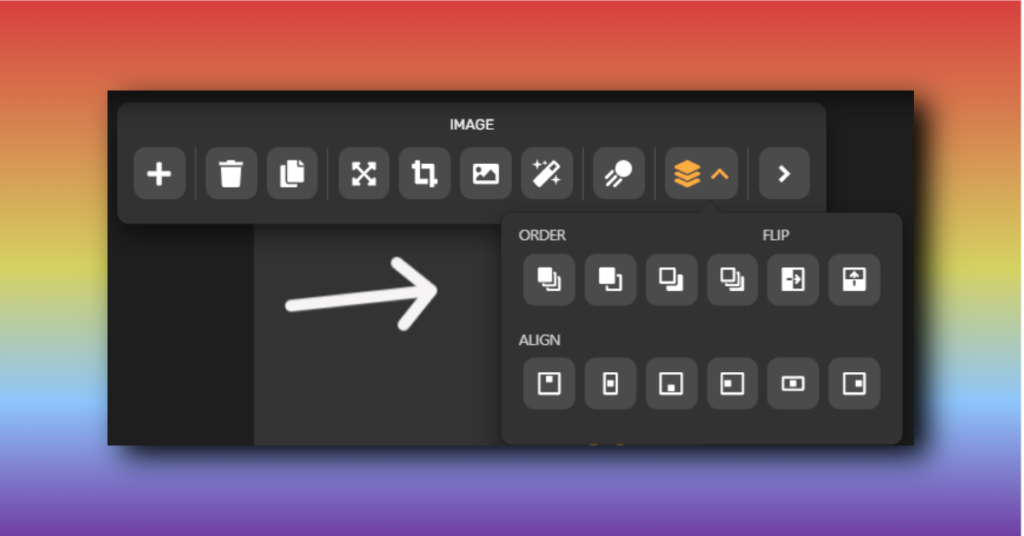
Step 4: To move the layers, right click on a specific layer and choose where to place it. Or select the order from the panel above your artboard.
Simplified Tip: Include some common threads**.** While contrast is certainly important, it only works if you include a few common elements to help tie the design together.
Step 5: Play around adjust your layers until your design appeals to your brand’s vision.
Step 6: Export! You can export your template design as a PNG or JPG image or in a small video format.
And you’re done! Refer to the video below to get a gist on layering artwork on your artboard with ease.
It’s time to get on board, with your artboard! If you’re ready to have your designs be on par with the pros, keep this post close at hand. A little layering can go a long way!


![10 Best AI Image Restoration Tools to Try in 2025 [Free & Paid]](https://siteimages.simplified.com/blog/Best-AI-Image-Restoration-Tools-01.png?auto=compress&fit=crop&fm=png&h=400&w=400 "10 Best AI Image Restoration Tools to Try in 2025 [Free & Paid]")
![How to Use Photoshop AI Generative Fill Feature [2025]](https://siteimages.simplified.com/blog/How-to-Use-Photoshop-AI-Generative-Fill-01-1.png?auto=compress&fit=crop&fm=png&h=400&w=400 "How to Use Photoshop AI Generative Fill Feature [2025]")
![20 Podcast Thumbnail Ideas to Boost Your Show’s Visual Appeal + Best Practices [2025]](https://siteimages.simplified.com/blog/Podcast-Thumbnail-Ideas-to-Boost-Your-Show-02-1.png?auto=compress&fit=crop&fm=png&h=400&w=400 "20 Podcast Thumbnail Ideas to Boost Your Show’s Visual Appeal + Best Practices [2025]")


