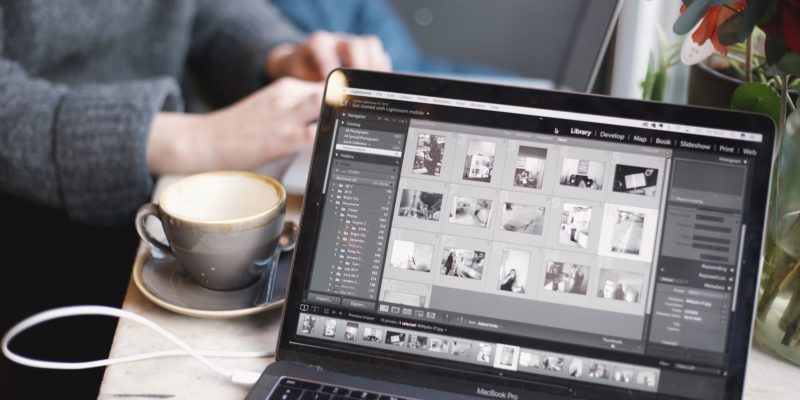
Having great photos of your product on your website and social media takes your brand to the next level. They make your brand look and feel more professional and sophisticated, which attracts potential customers. From photoshoots to editing, here is how you can up your product photography game to make your brand appealing!
Clicking photos for your brand
While you can edit product photos to make them look the way you want, making a good photo starts at the shoot. Depending on the size and needs of your brand, you can either choose to hire a professional in product photography or shoot the photos yourself.
Hiring a professional photographer
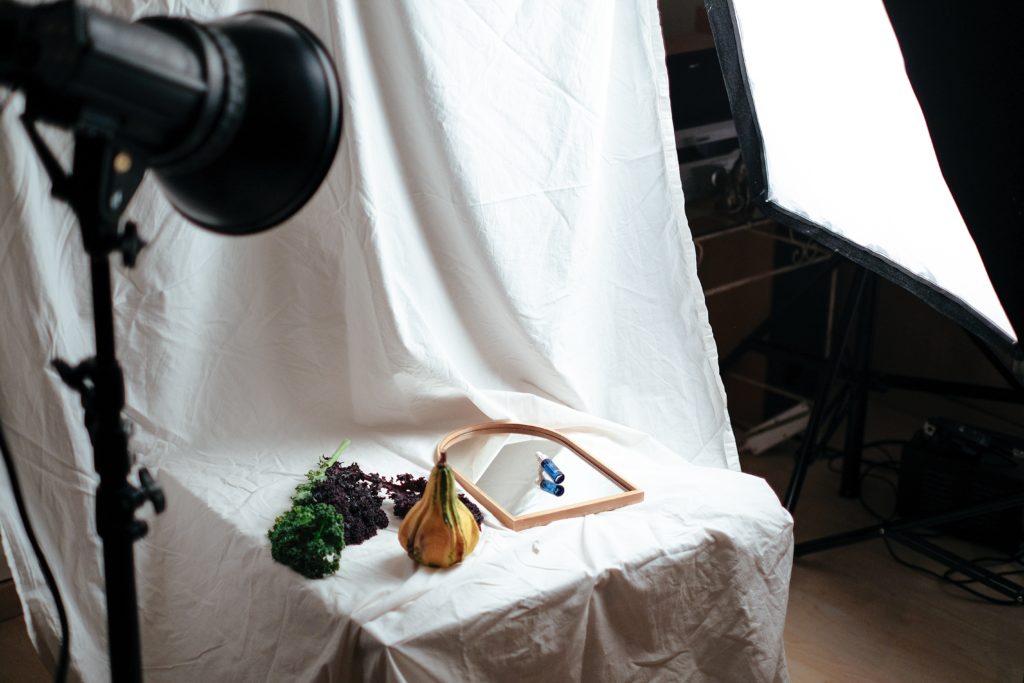
If you’re working on a big-budget product photography project, it’s best to leave it to the professionals to shoot and edit product photos. They bring a whole pool of resources, experience, and knowledge that take your photos to another level! Make sure you choose the right photographer and consider their experience and skills. Additionally, go through their portfolio to make sure they have the ability to get the kind of shots you want.
Clicking photos yourself

For smaller shoots, you can get great results if you shoot and edit product photos yourself. If you have a DSLR or Mirrorless camera, you can capture professional-looking stills with great quality. Also, you can shoot and edit on a mobile device, which is convenient when you’re working away from the office. When shooting, use the manual mode on your camera or the ‘pro’ mode on your phone for best results. They let you control aspects of your photo like white balance, focus, exposure, etc.
Related: The Importance of Photography In Graphic Design
How do I edit product photos?

Editing is the make-or-break stage of the photography process and can greatly impact the way your product photography looks. Here are some of the parameters you can edit and tweak to get the best results!
1. Exposure
Exposure is the amount of light in your photos and is one of the most important ways to change the look of your photos. An overexposed photo has too much light in it, and the bright areas will look washed out and lack detail. Similarly, an underexposed photo does not have enough light in it and will look dark with details and shadows not visible. Exposure can be corrected by using the exposure slider or changing the value till your photo looks right.
2. Highlights and Shadows
These two refer to the bright and dark areas of your photos and can be used to fix discrepancies in brightness. You can reduce or increase the exposure or brightness of an area by using the highlights and shadows. For example, if the bright areas of the photos are too bright compared to the dark areas, you can reduce the highlights slider or decrease the value until they look balanced.
3. White balance
White balance is the ‘color temperature’ of the image, with orange tones being called ‘warm’ and blue tones being called ‘cool.’ If your photo was taken in white light, it could look cold and lifeless. And under tungsten lighting, it can look orange and unnatural. This can be corrected by changing the white balance or color temperature values till you get a look you like.
4. Contrast
Contrast is the difference between the different hues and colors in an image. When you edit product photos, try to play with the contrast slider or values to see how it affects your image. This will vary for each image and is a matter of preference to see what suits your product photography best.
5. Saturation
This value or slider will affect how much the colors in your photos ‘pop.’ In other words, saturation is how pronounced the colors in your image are. If the saturation is too high, your images can look unnatural, while reducing saturation to zero will leave you with a black and white image.
Related: Top 10 Apps To Edit Aesthetic Photos On Your iPhone
Where can I edit product photos for free?
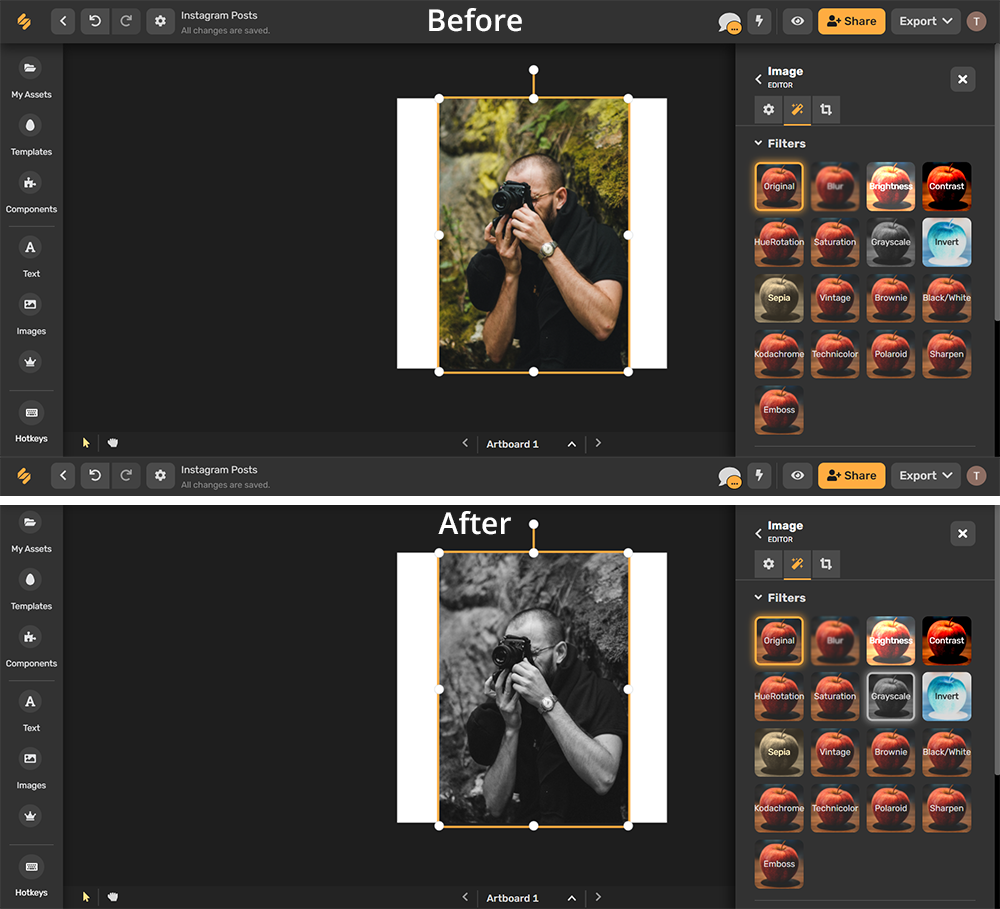
Now that you are ready to edit your photos, here are some great free options for you to get started. While software like Adobe’s Photoshop and Lightroom are the industry standard to edit your photos, they come with pricy monthly plans. On the other hand, Simplified is completely free and does not require your credit card details to sign up.
Requiring no download and available on any device with a web browser, Simplified offers a clean and easy-to-use workspace with collaborative features. It offers all the basic tools like brightness, saturation, and contrast to edit your photos. Additionally, there are also great filters that you can apply to your photos to quickly get them looking better!
How to use Simplified’s free background remover
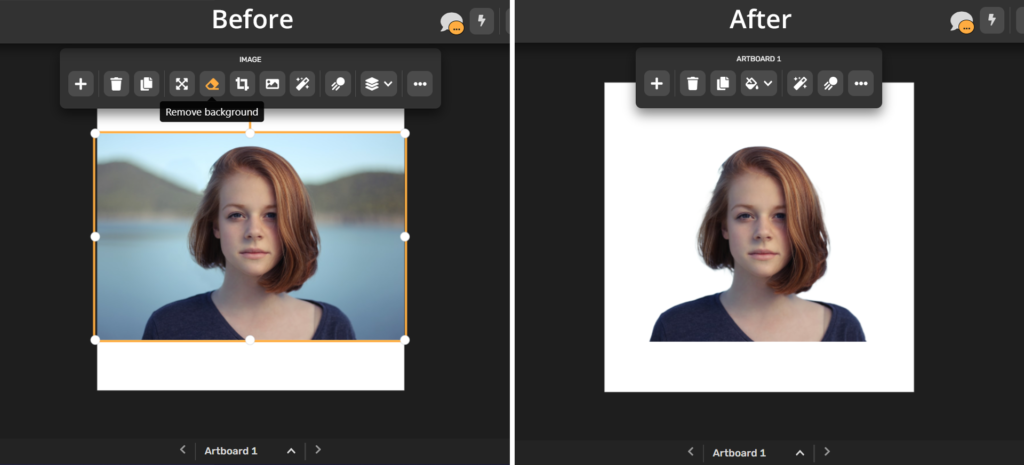
Removing the background from your product photography is essential if you want to use the photo for posters, ads, social media post designs, etc. While some editing apps and software come with a background remover, it is usually a paid feature or complicated to use. However, Simplified comes with a free, one-click tool so you can remove backgrounds with ease.
Simplified’s background remover helps you easily remove the background from images in seconds. If you want a simple way to separate your subject, this is it! Simply open the image, select the background remover and sit back as it analyzes the photo and removes the background.
If you want to remove the background from images and use it to create posters, posts, ads, and more, Simplified is the best one-stop for it all. You can use the background remover to separate the subject and edit product photos with the built-in tools. Simplified can also help you create designs for all your needs with templates and AI tools. If all this sounds like what you need, head over to the one Free app to design, collaborate, and scale your work – try Simplified today.


![10 Best AI Image Restoration Tools to Try in 2025 [Free & Paid] 10 Best AI Image Restoration Tools to Try in 2025 [Free & Paid]](https://siteimages.simplified.com/blog/Best-AI-Image-Restoration-Tools-01.png?auto=compress&fit=crop&fm=png&h=400&w=400)
![How to Use Photoshop AI Generative Fill Feature [2025] How to Use Photoshop AI Generative Fill Feature [2025]](https://siteimages.simplified.com/blog/How-to-Use-Photoshop-AI-Generative-Fill-01-1.png?auto=compress&fit=crop&fm=png&h=400&w=400)
![20 Podcast Thumbnail Ideas to Boost Your Show’s Visual Appeal + Best Practices [2025] 20 Podcast Thumbnail Ideas to Boost Your Show’s Visual Appeal + Best Practices [2025]](https://siteimages.simplified.com/blog/Podcast-Thumbnail-Ideas-to-Boost-Your-Show-02-1.png?auto=compress&fit=crop&fm=png&h=400&w=400)


