
Ever looked at a collection of photos and wished you could capture the story in a moving video? Creating engaging videos from static images is easier than you think.
This guide will equip you with the skills and techniques to transform your photos into dynamic, shareable videos whether you’re a seasoned pro or a complete beginner.
3 Simple Ways To Create Video with Photos
These three ways help you create a video with photos. Let’s explore each one.
1. Online Video Maker Tools
Tons of online video maker tools let you create awesome videos from your photos, and they’re super easy to use. Some popular ones include Canva, Veed, Visme etc.
Source: Unsplash
1. Pick your favourite video maker tool. Do a quick web search about the features of each tool and pick the one that suits you best.
2. Start a new project. Select the format and size required for your video.
3. Upload the photos you wish to add and arrange them based on your requirements. You can also add stock images, as many tools have that option.
4. Customize elements. Add text, transitions, music, animations etc.
5. Once you create the complete video, export and share.
That’s all. Your free video creation from photos is ready to rule the social media world.
Bonus: The 10 Best AI Photo Editors to Make Your Photos Perfect
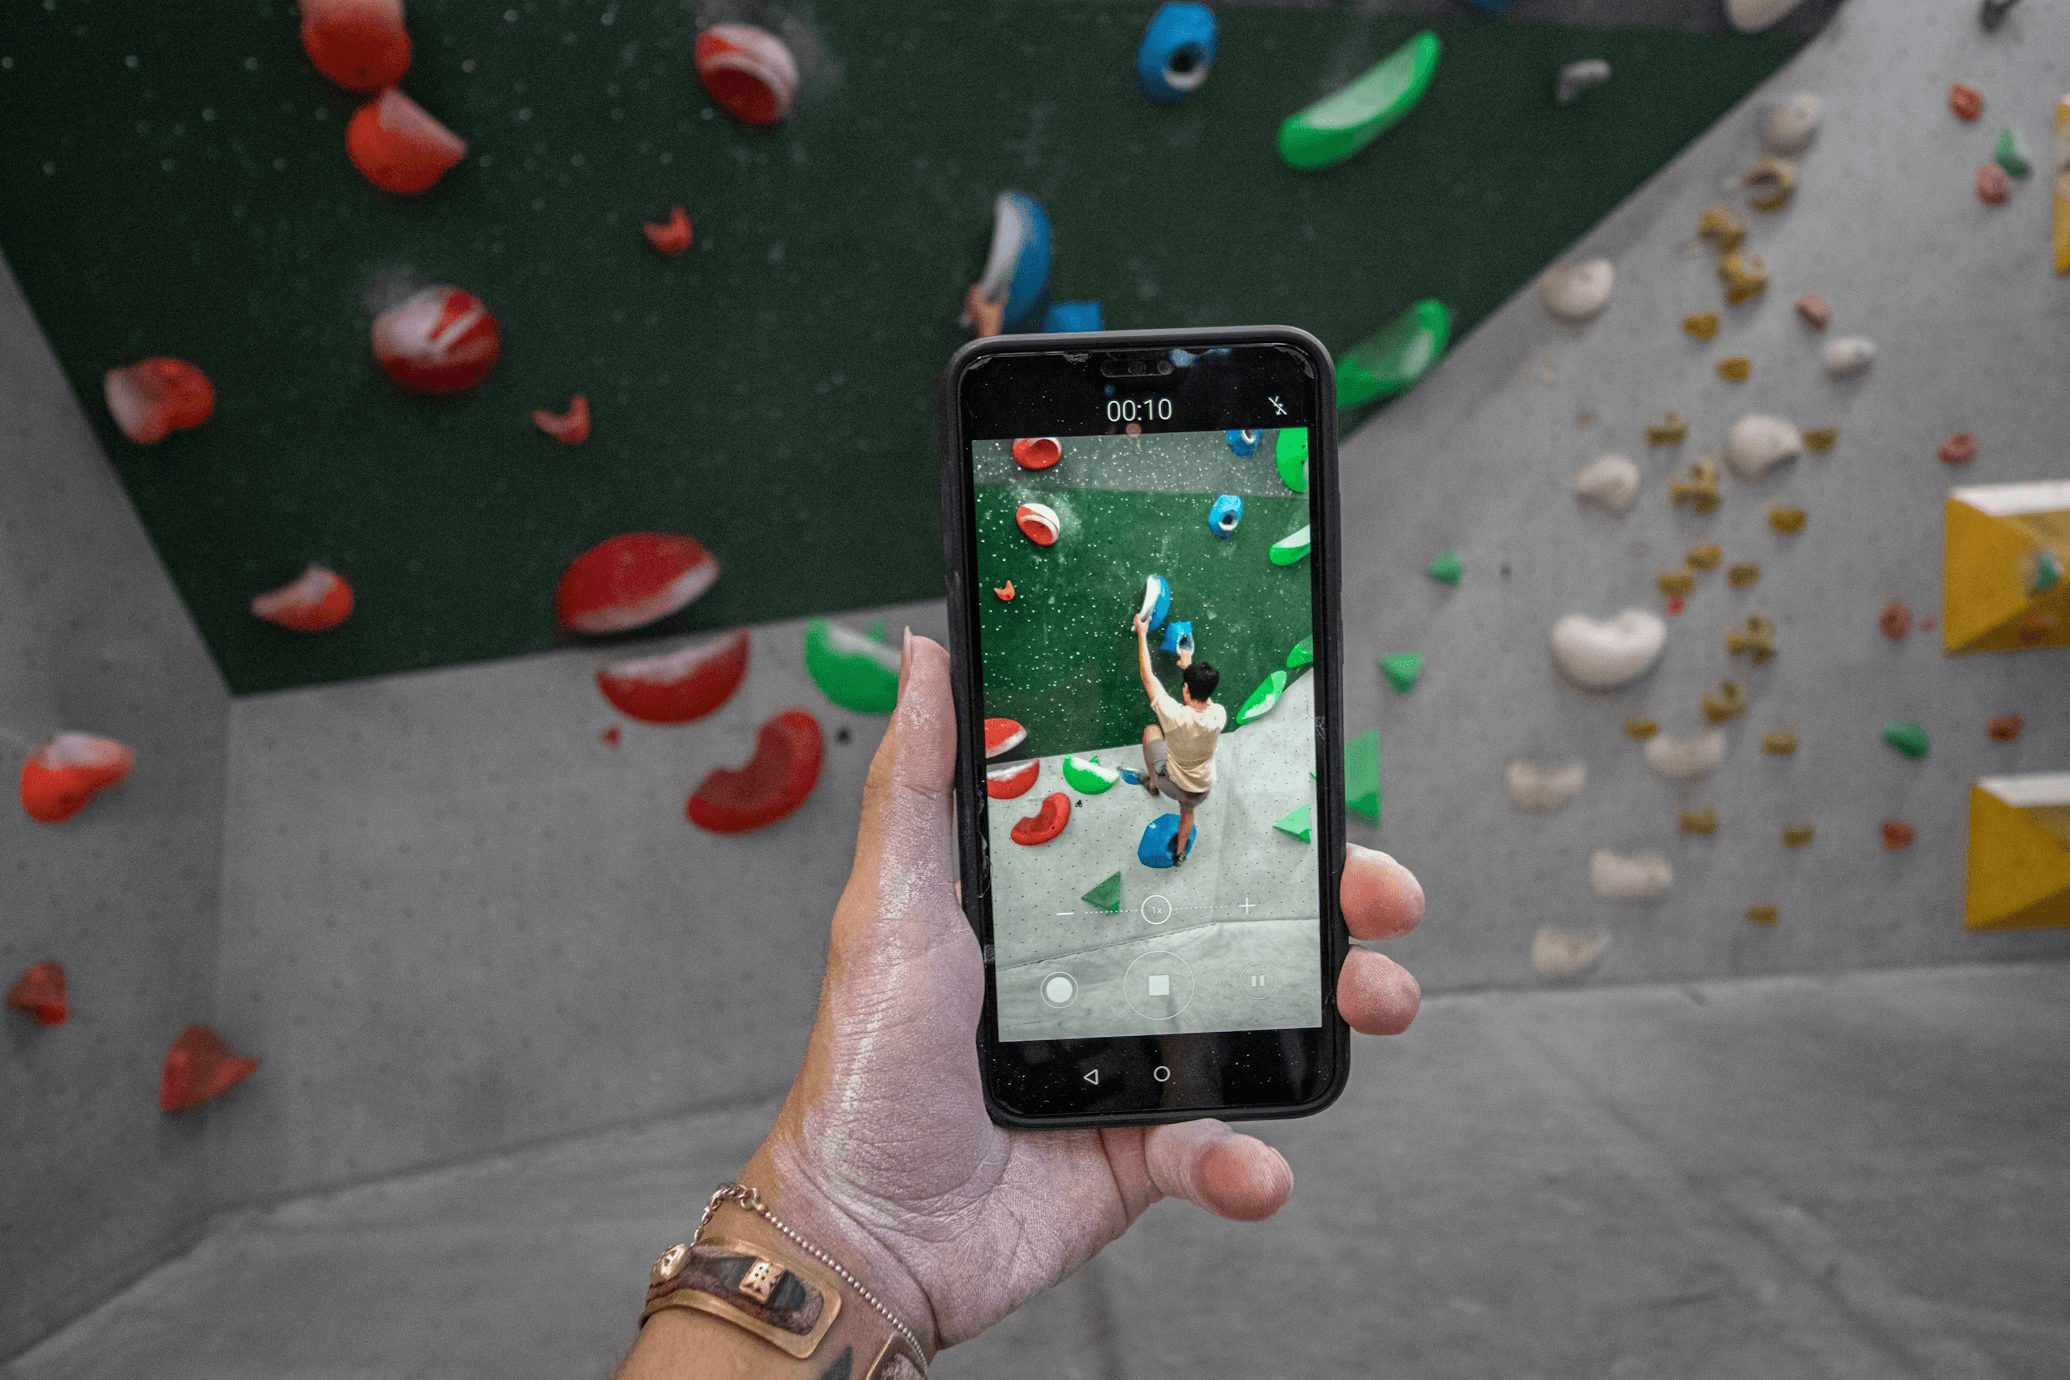
2. Mobile Apps For Video Creation
You don’t need a desktop or laptop to create a stunning video with photos. Several mobile apps let you transform your snapshots into share-worthy stories, all from the palm of your hand. Some of them include TikTok, Inshot, Quik etc.
Source: Unsplash
1. Download and Install the app of your choice.
2. Import the pictures straight from your phone’s gallery into the app.
3. Edit your video by trimming your photos, changing the order, and even making some cool edits like adding text overlays, transitions etc.
4. Add some background music and maybe a few filters or effects.
5. Your video is ready to export and share.
Bonus: 8 Best AI Photo Enhancer Tools
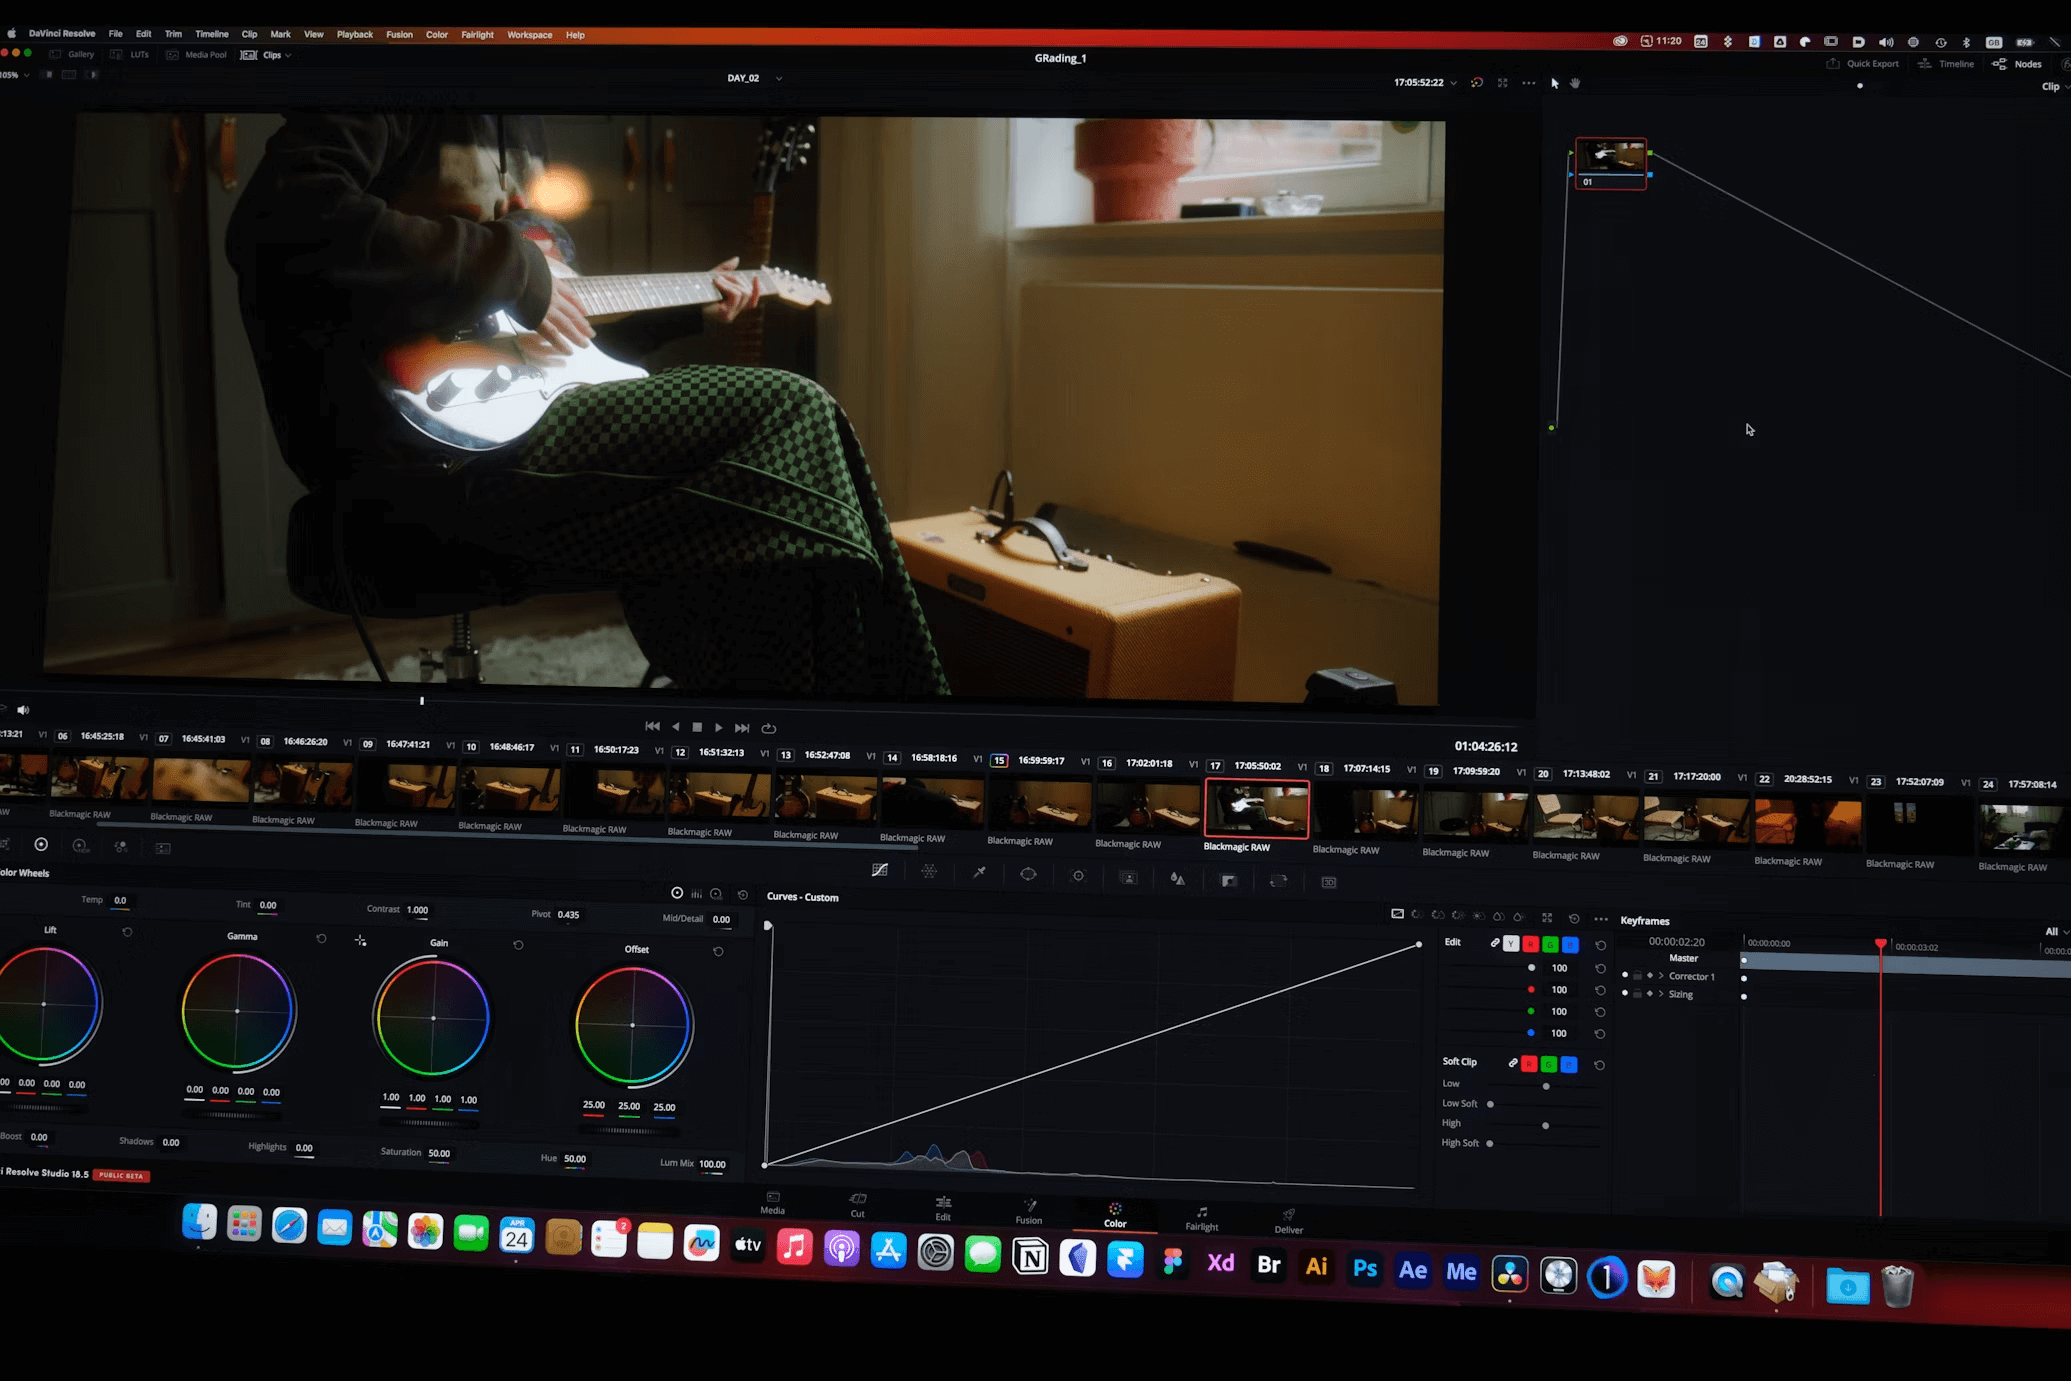
3. Video Editing Software
There are many excellent video editing tools available, each with its strengths. Some of the popular ones include Simplified, Adobe Premiere Pro, Windows Movie Maker etc. Choose your preferred software and create a video with photos in minutes.
Simplified: Your One-Stop Shop for Effortless Video Creation
Source: Simplified
Simplified, an AI-driven platform goes beyond basic video editing. Its suite of AI-powered features makes creating stunning videos easier than ever. It makes video from photos effortlessly. Simplified’s video editor is web-based and doesn’t require any downloads.
Simplified has an intuitive design interface. You can draw from a library of visuals and music or upload your own. It also has hundreds of templates and can make a short video for any purpose or occasion.
While the tool is simple, it is not rudimentary. It has numerous features, and you can animate, loop, layer, etc. You can remove backgrounds from images and even resize your video.
So, what are you waiting for? Get started with the best video creation platform today!
Here’s How Video Creation From Photos Works at Simplified
Follow these steps and download your video in no time.
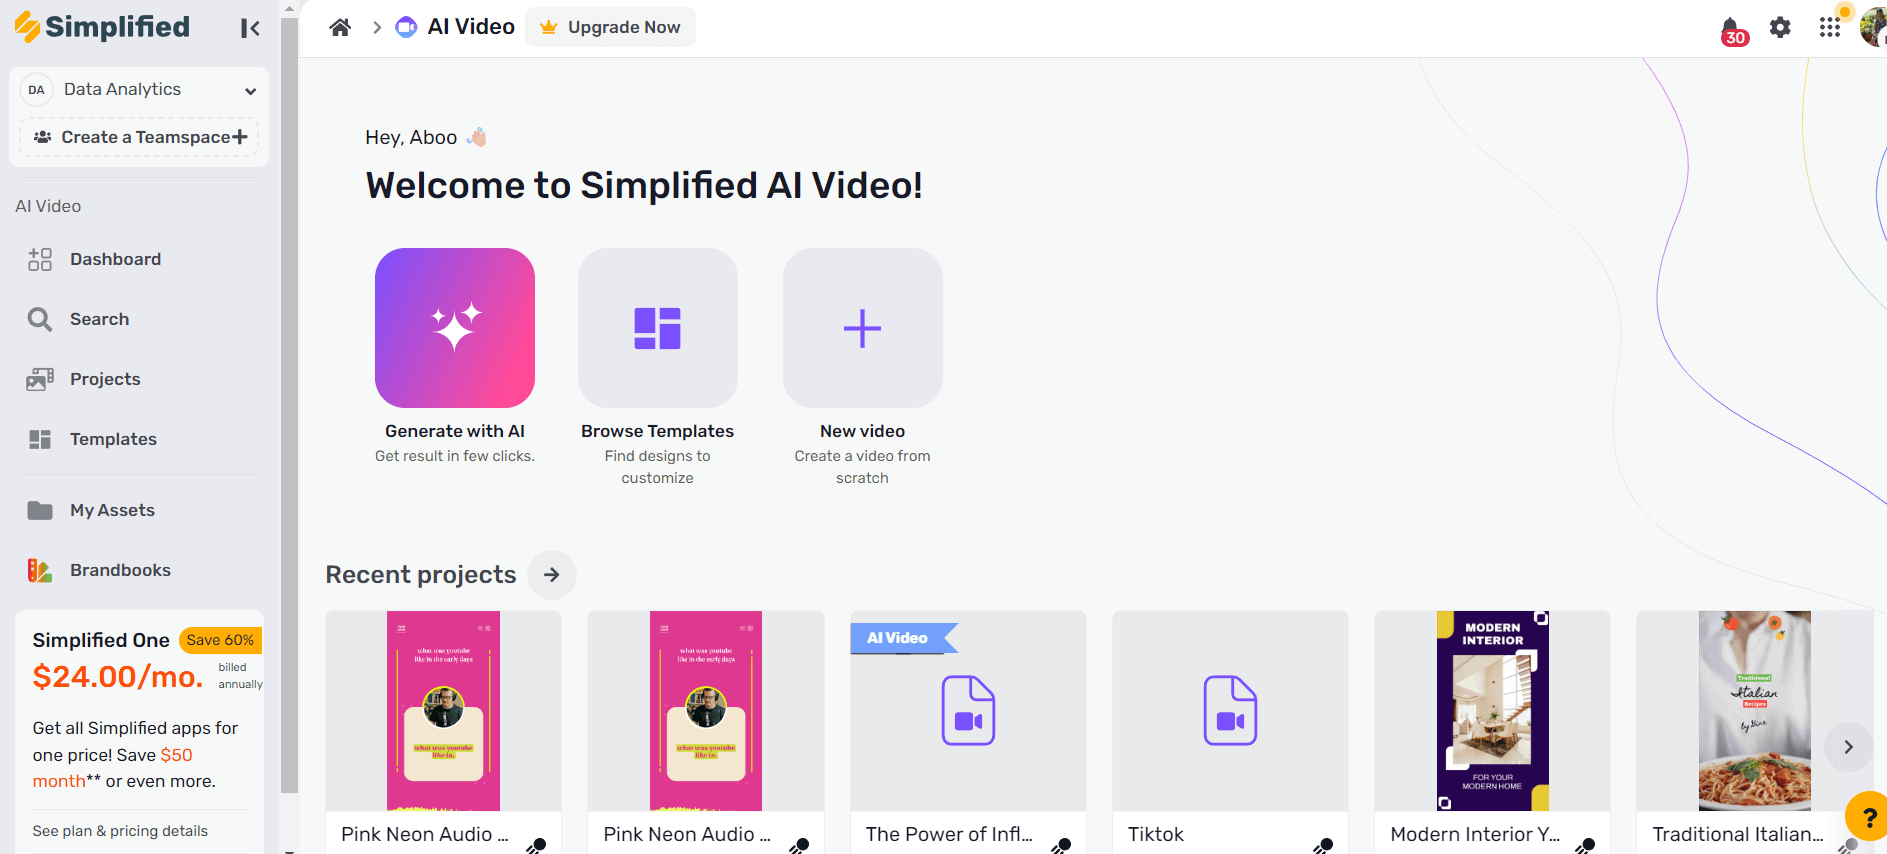
Step 1: Get started
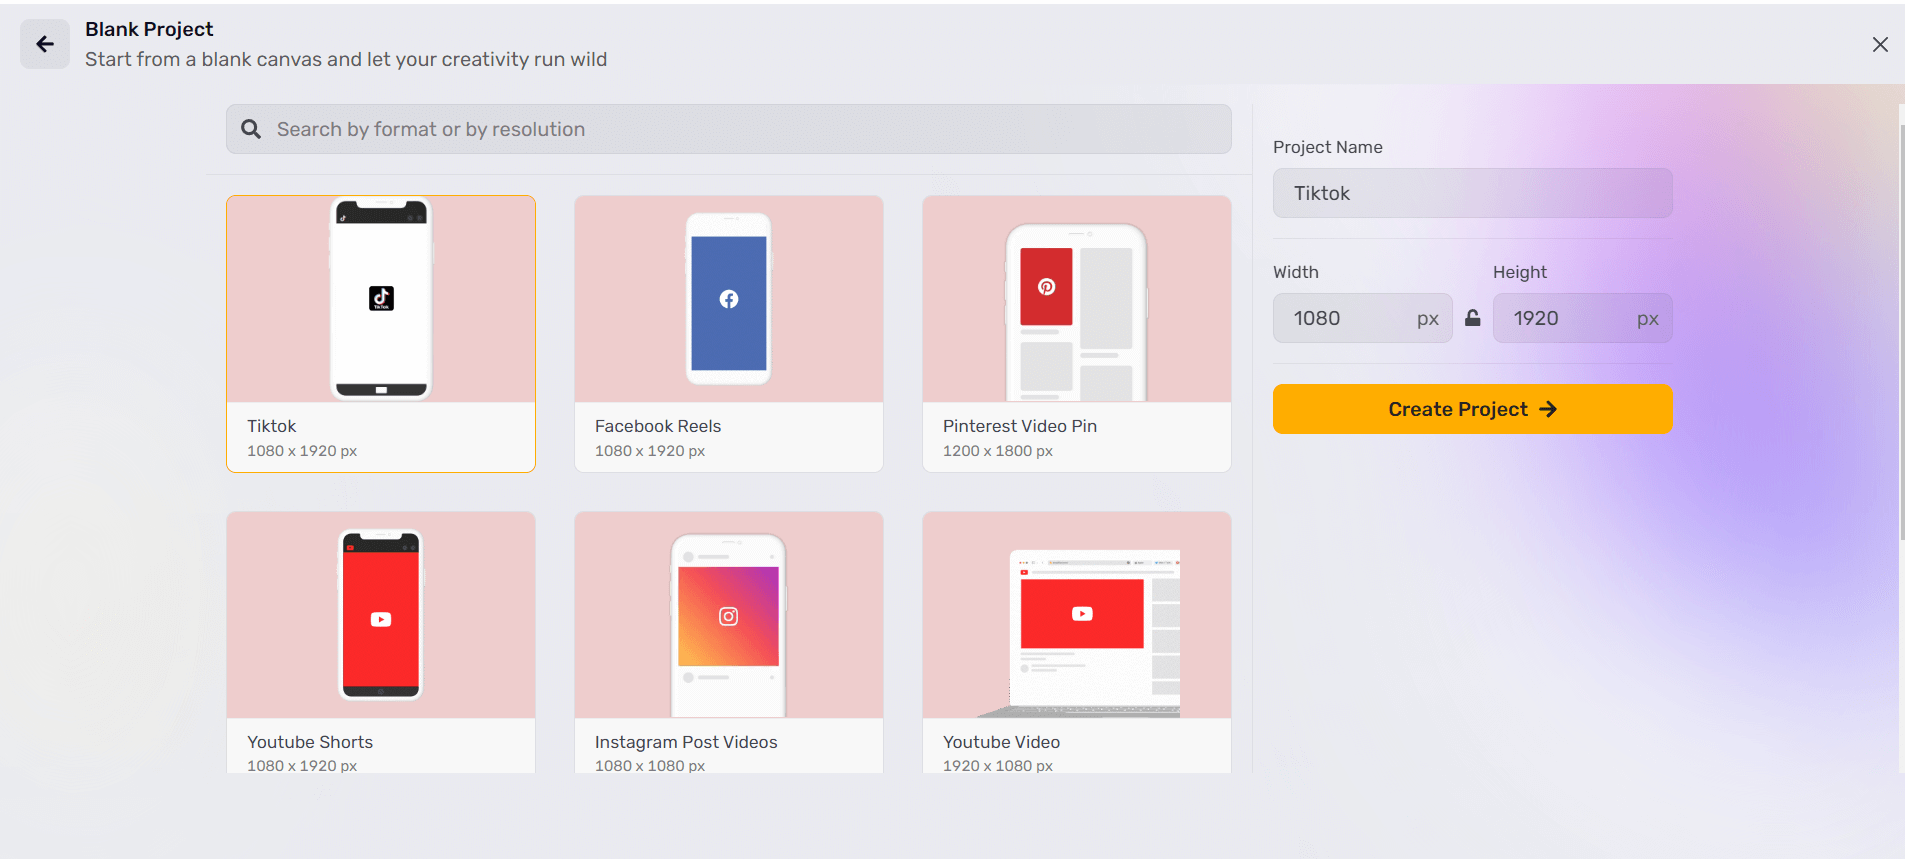
Sign up for a free Simplified account. From your Simplified Dashboard, select Video Templates. Select from existing formats and templates, or start with a blank artboard of a Custom Size.
Source: Simplified
If you select a new blank canvas, it asks for the size of the video. Select the required size and tap on “Create Project”.
Source: Simplified
Once you’ve selected, your Artboard will open. This is where you can bring your images and ideas to life.
Bonus: How To Rotate Design Elements On Your Artboard
Step 2: Add and edit your first image
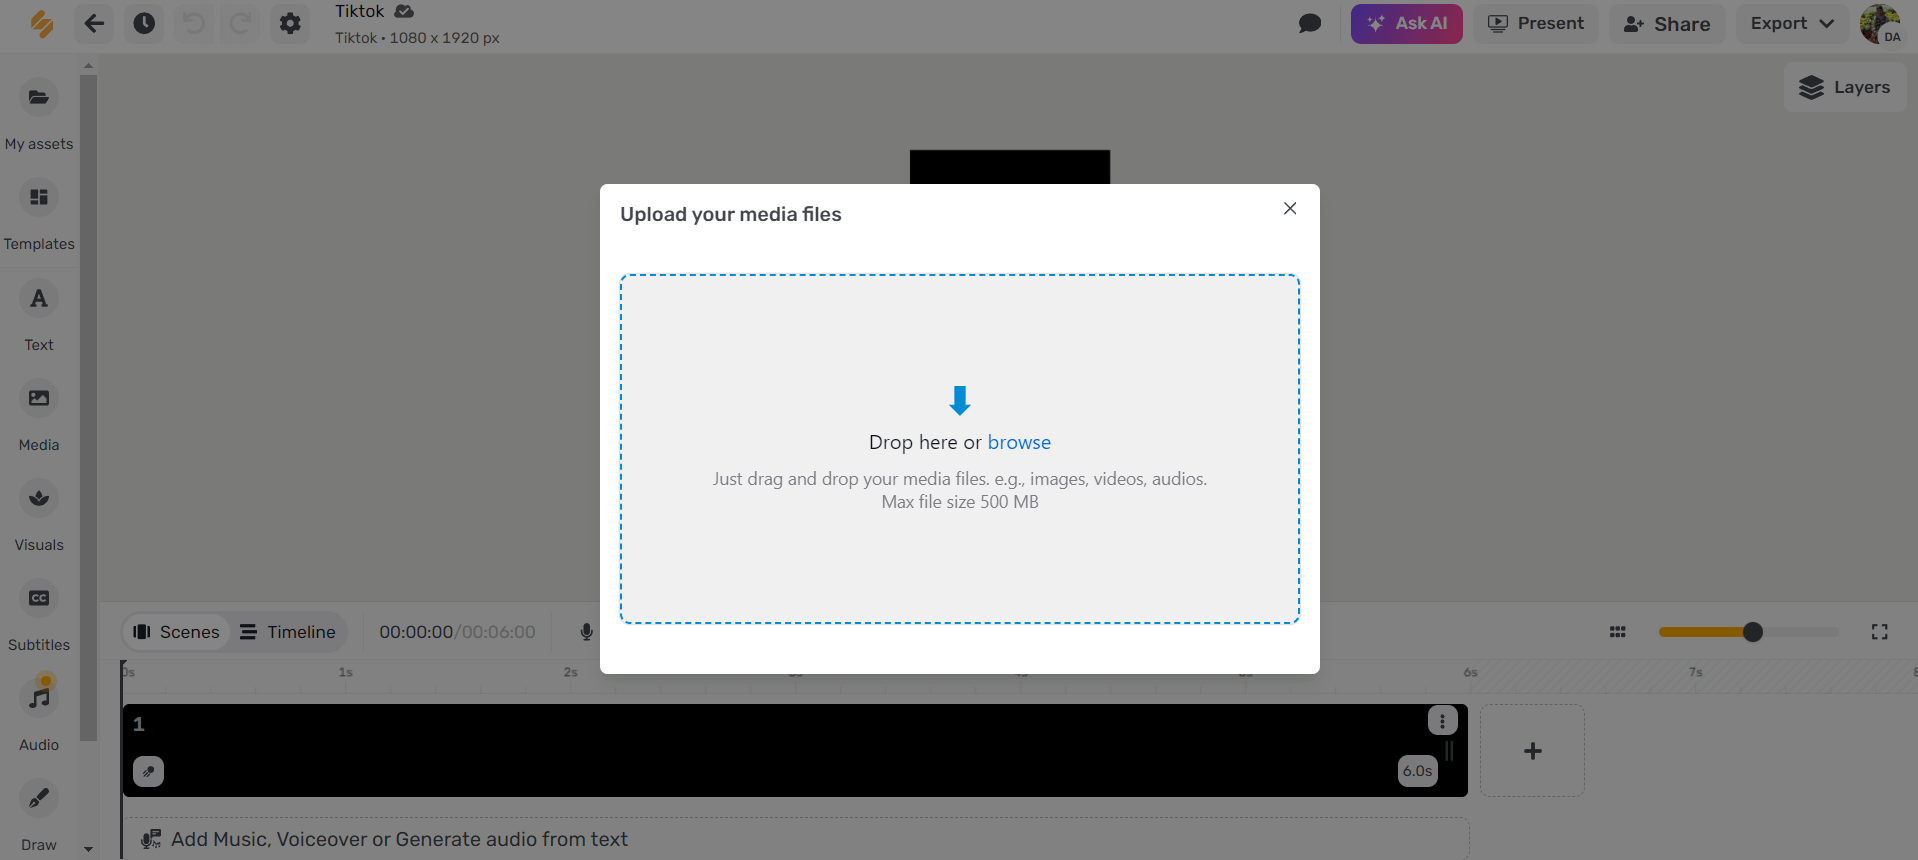
- Upload your media files here that are required for the video.
Source: Simplified
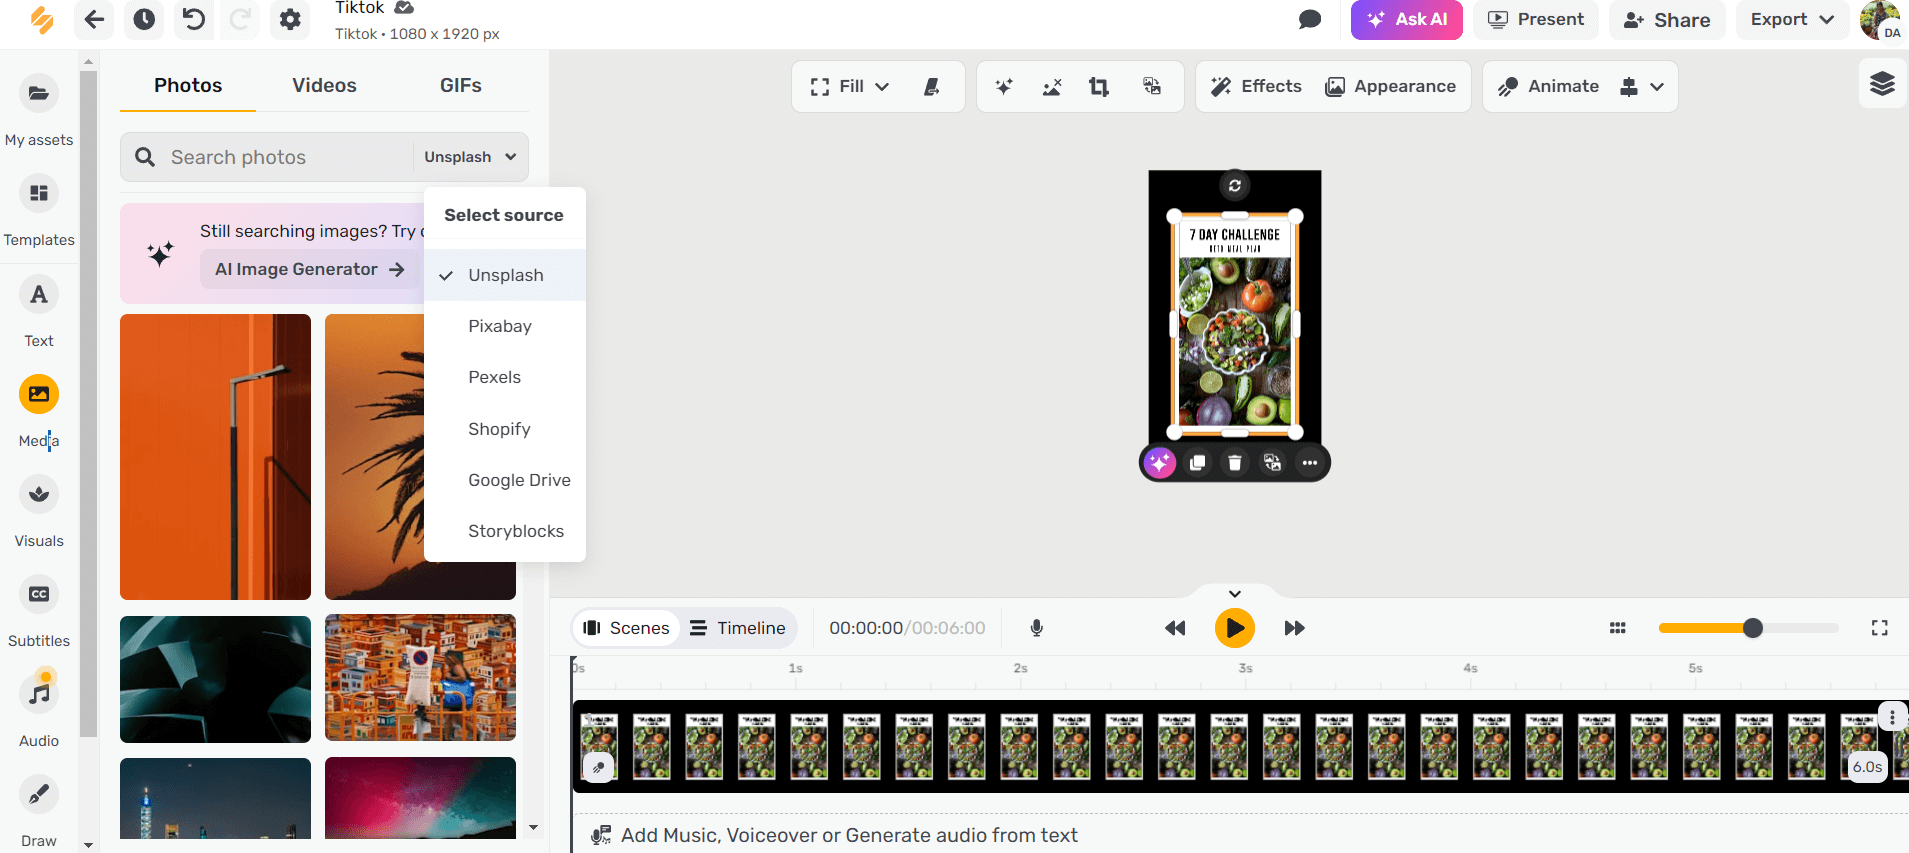
- Select Media to access Simplified’s image library. Use the search bar for Photos to find content relevant to your project. There’s a dropdown menu to toggle between sources like Unsplash, Pixabay, etc.
Source: Simplified
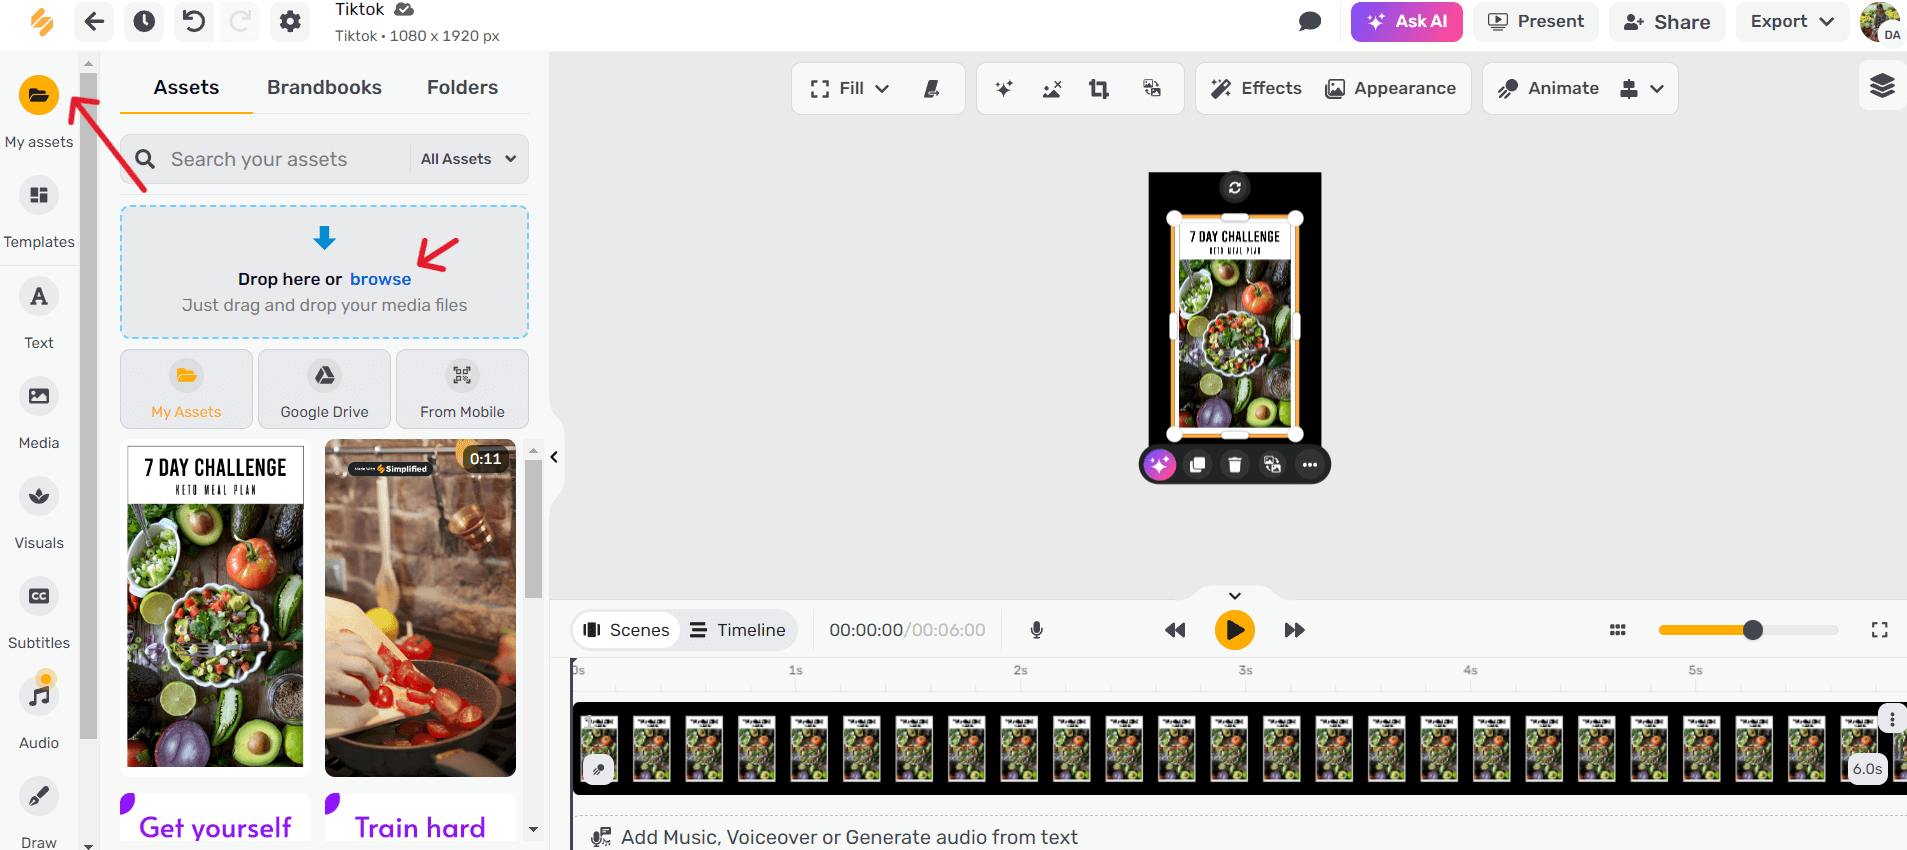
- Alternatively, you can upload your own image using My Assets.
Source: Simplified
Once you have found the image add it to your artboard. You can adjust the position, rotation, and size of the image.
Time-saver: When viewing your artboard, scroll down to zoom in and scroll up to zoom out.
To delete an image, select the image on the artboard and hit Delete.
💡 Tip: The toolbar at the top of your artboard contains tools to edit your artboard or individual elements within it. Click the 3 dots on the right to expand to a fuller toolbar on the right. Depending on what is selected in your workspace, the options available here will change.
Step 3: Add your next images
Once you have designed your first ‘slide,’ click on Timeline view at the bottom left to open the Timeline Editor.
There are two ways you can create your second artboard:
- Duplicate your previous artboard by clicking the three dots at the top right of the thumbnail and choose Duplicate. This option helps you maintain a consistent style across artboards.
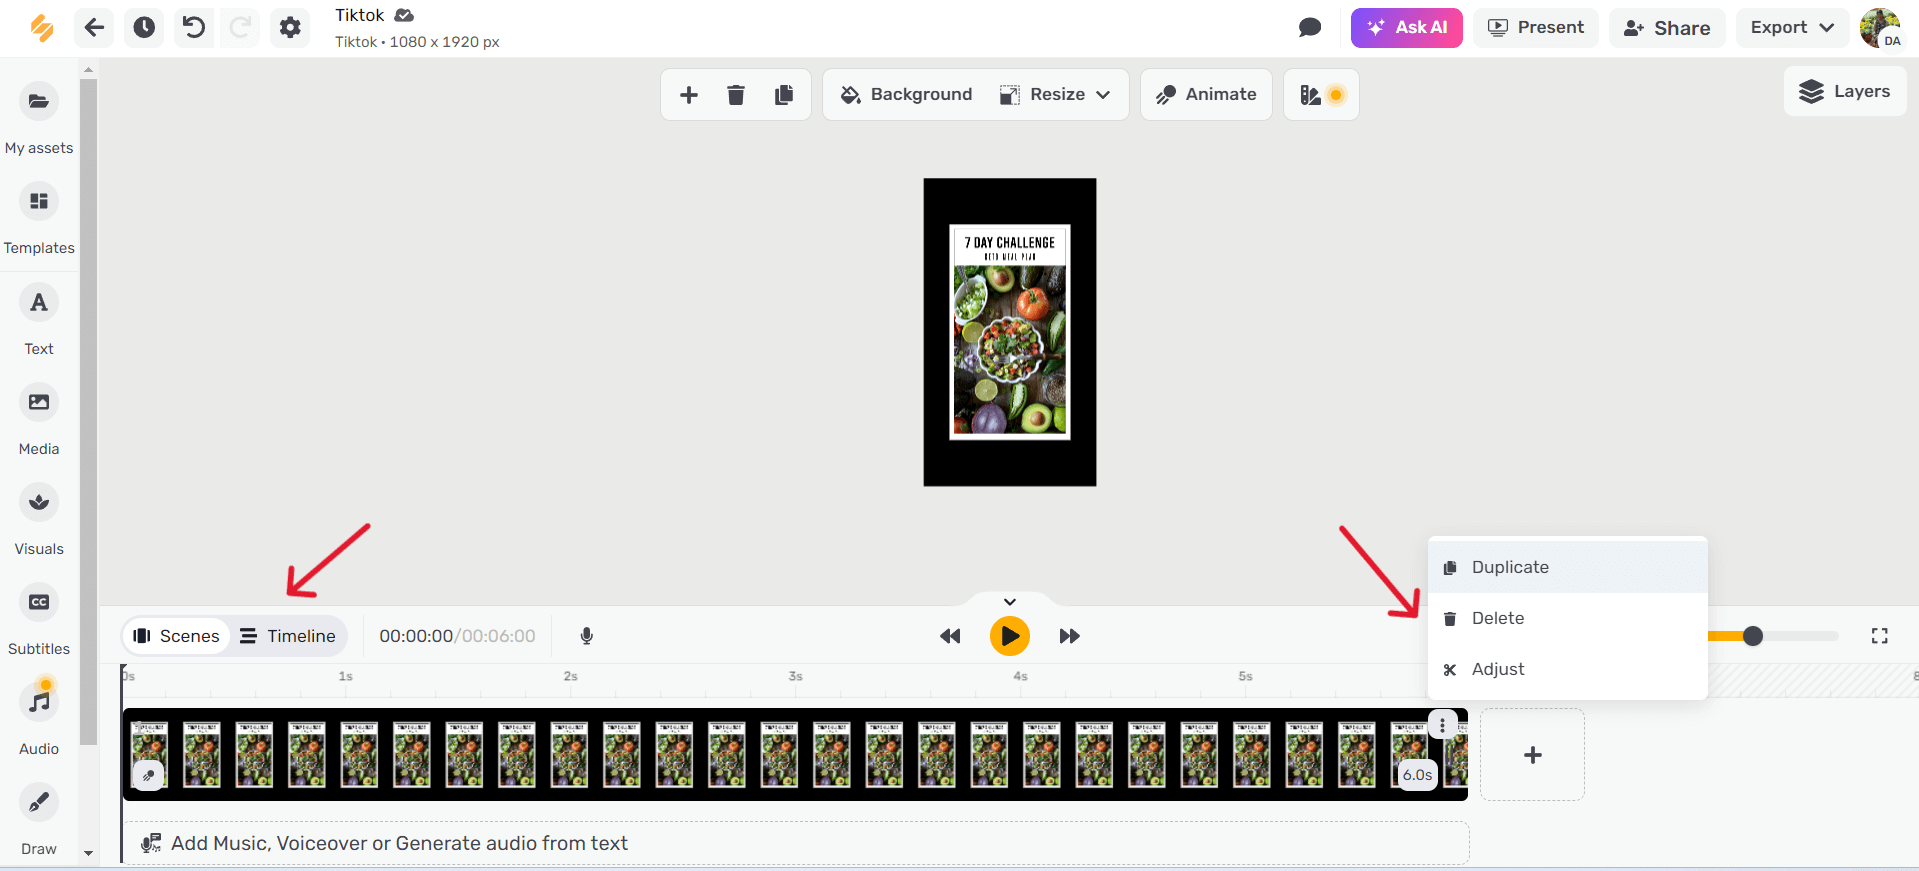
Source: Simplified
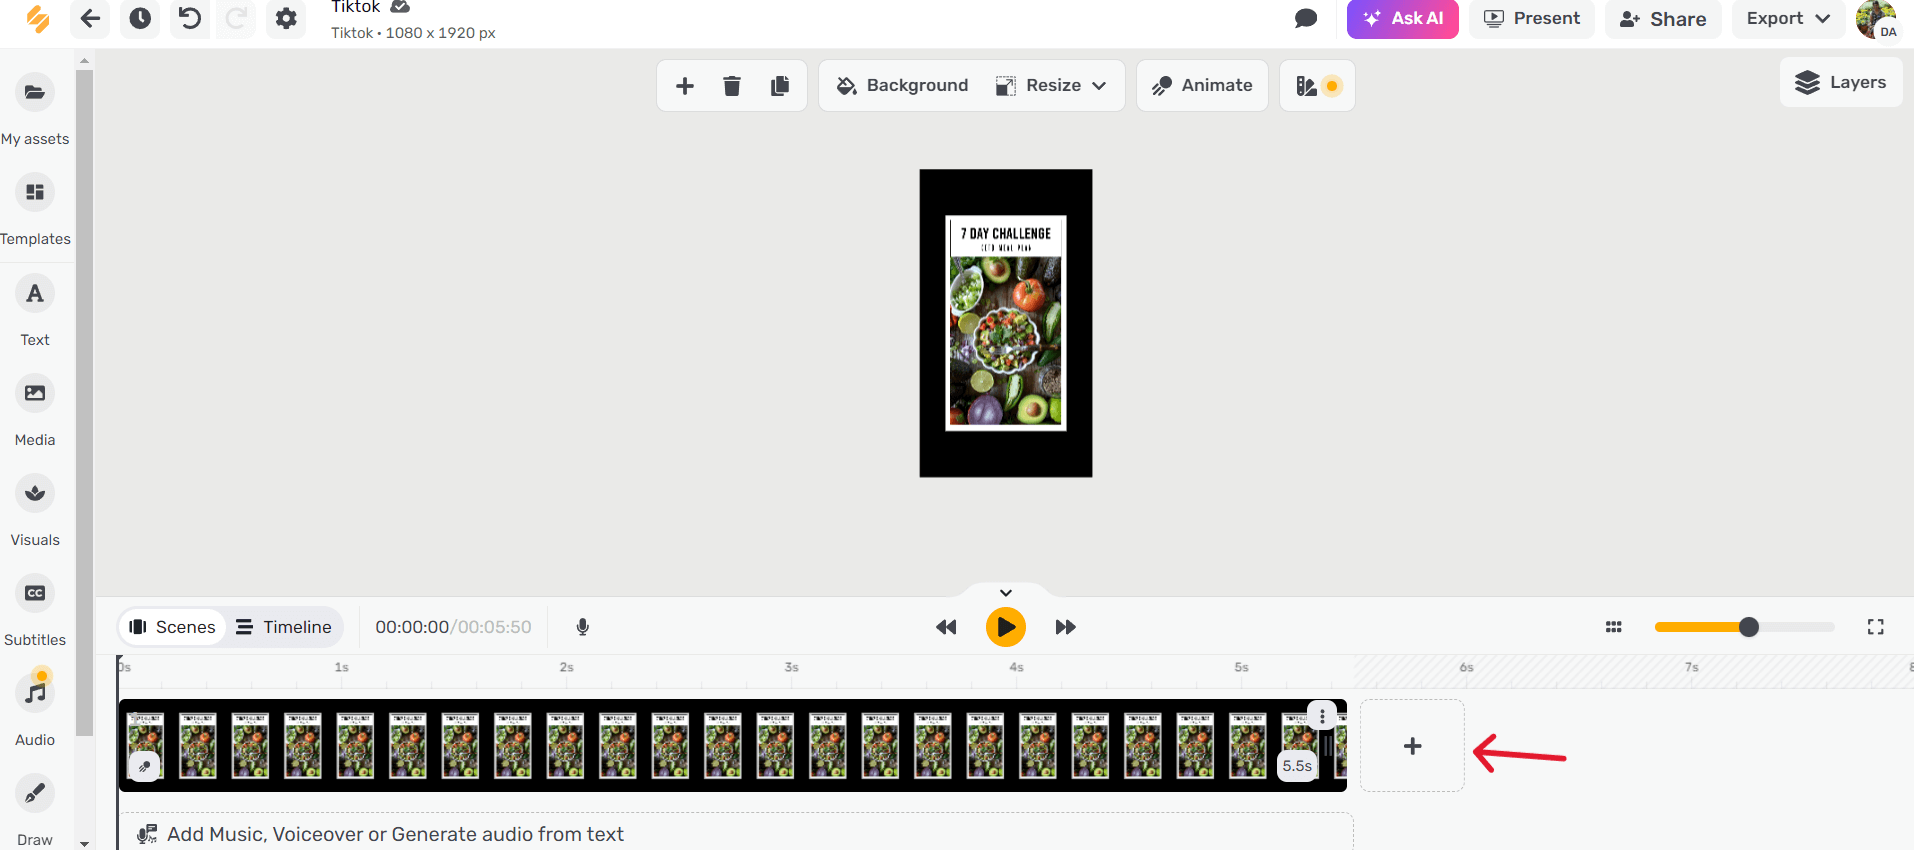
- Create a blank artboard by clicking the + sign to the right of the existing artboard. This allows you a fresh start for the new artboard.
Source: Simplified
Repeat steps 2 and 3 to add as many images as you want to new artboards.
⌛ Time-saver: Instead of deleting one image and adding a new one in its place, opt to ‘replace’ it instead. Select the image you want to delete and look for two arrows forming a loop in the toolbar above. This preserves any customization, too.
Step 4: Adjust duration, animation, and transitions
To set the duration for each artboard, open the Timeline Editor. Find the two vertical lines at the right of your artboard’s thumbnail and drag them to the desired length.
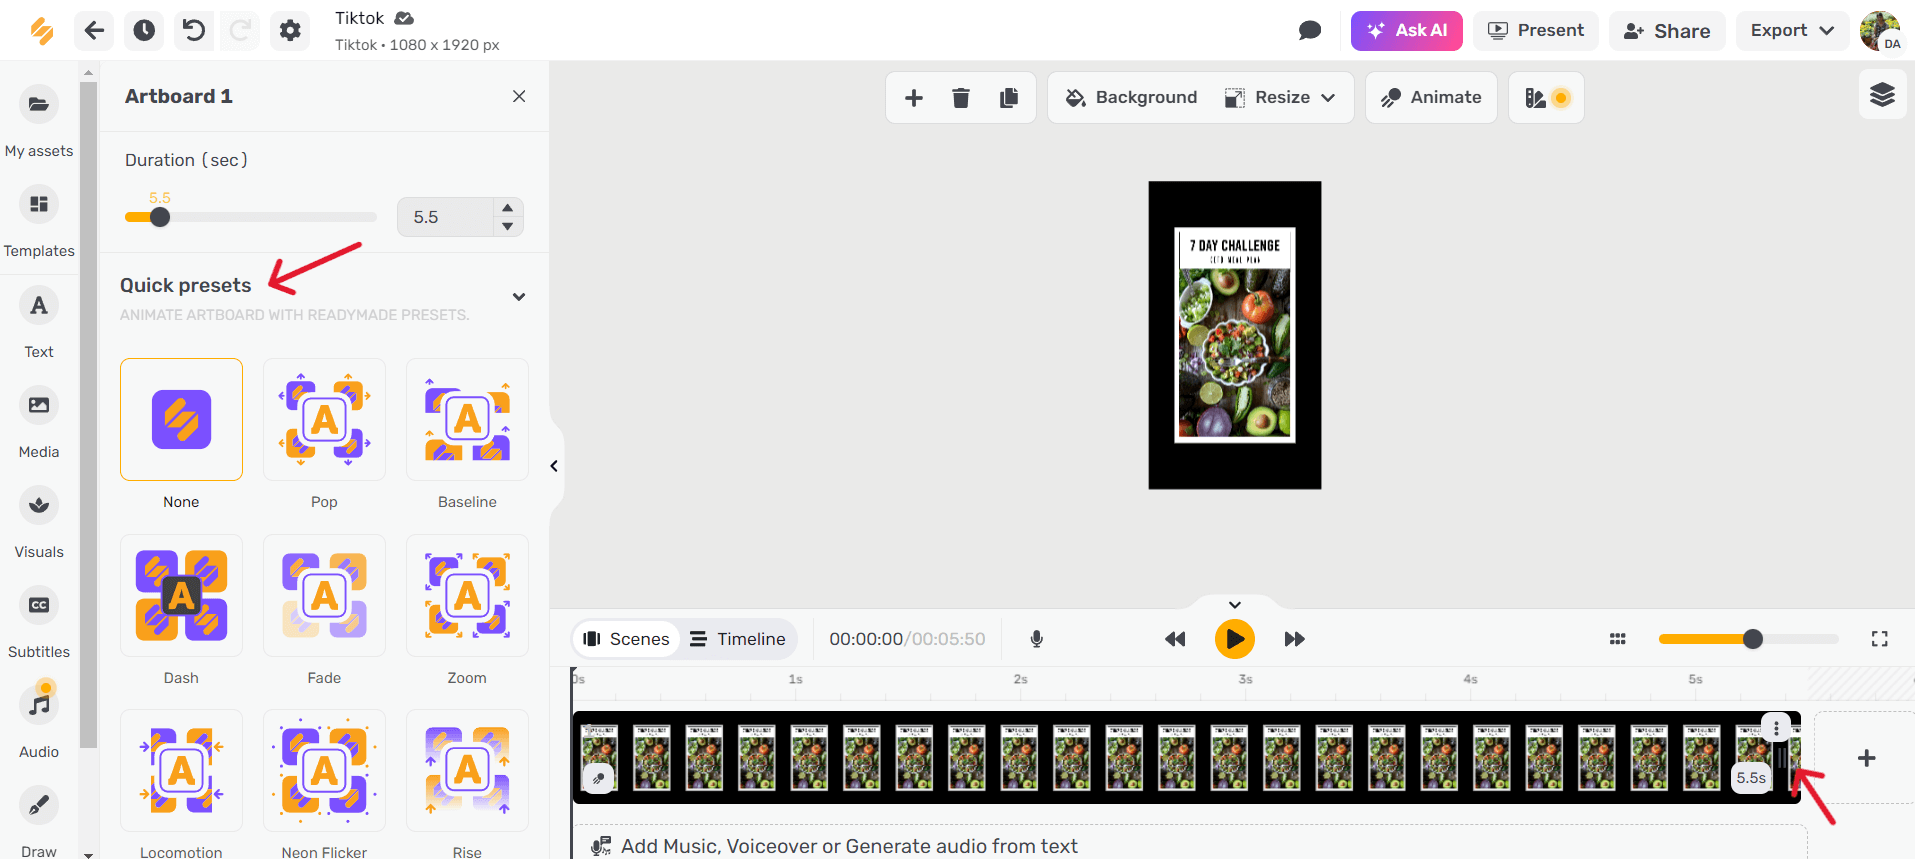
Animate your entire slide, or individual elements within it, by clicking Animate on the toolbar above your artboard.
The animation and transition options will now be displayed in a toolbar on the right. Choose from Simplified’s animation options under Quick Presets.
Source: Simplified
Select how you want one artboard to give way to the next using Transitions. Customize speed and direction, as applicable.
Apply your animation and transition selections to all your slides with just a single click by selecting Apply to All. You can quickly preview your selections by hitting the play icon at the top of the Animations toolbar.
💡 Tip: If you want to switch up the order of your artboards, don’t fret! You can find an option to Arrange artboards at the right end of your timeline editor.
Bonus: 6 Best Video Maker Apps Available Online For A Simplified Video Creation Process
Step 5: Add music
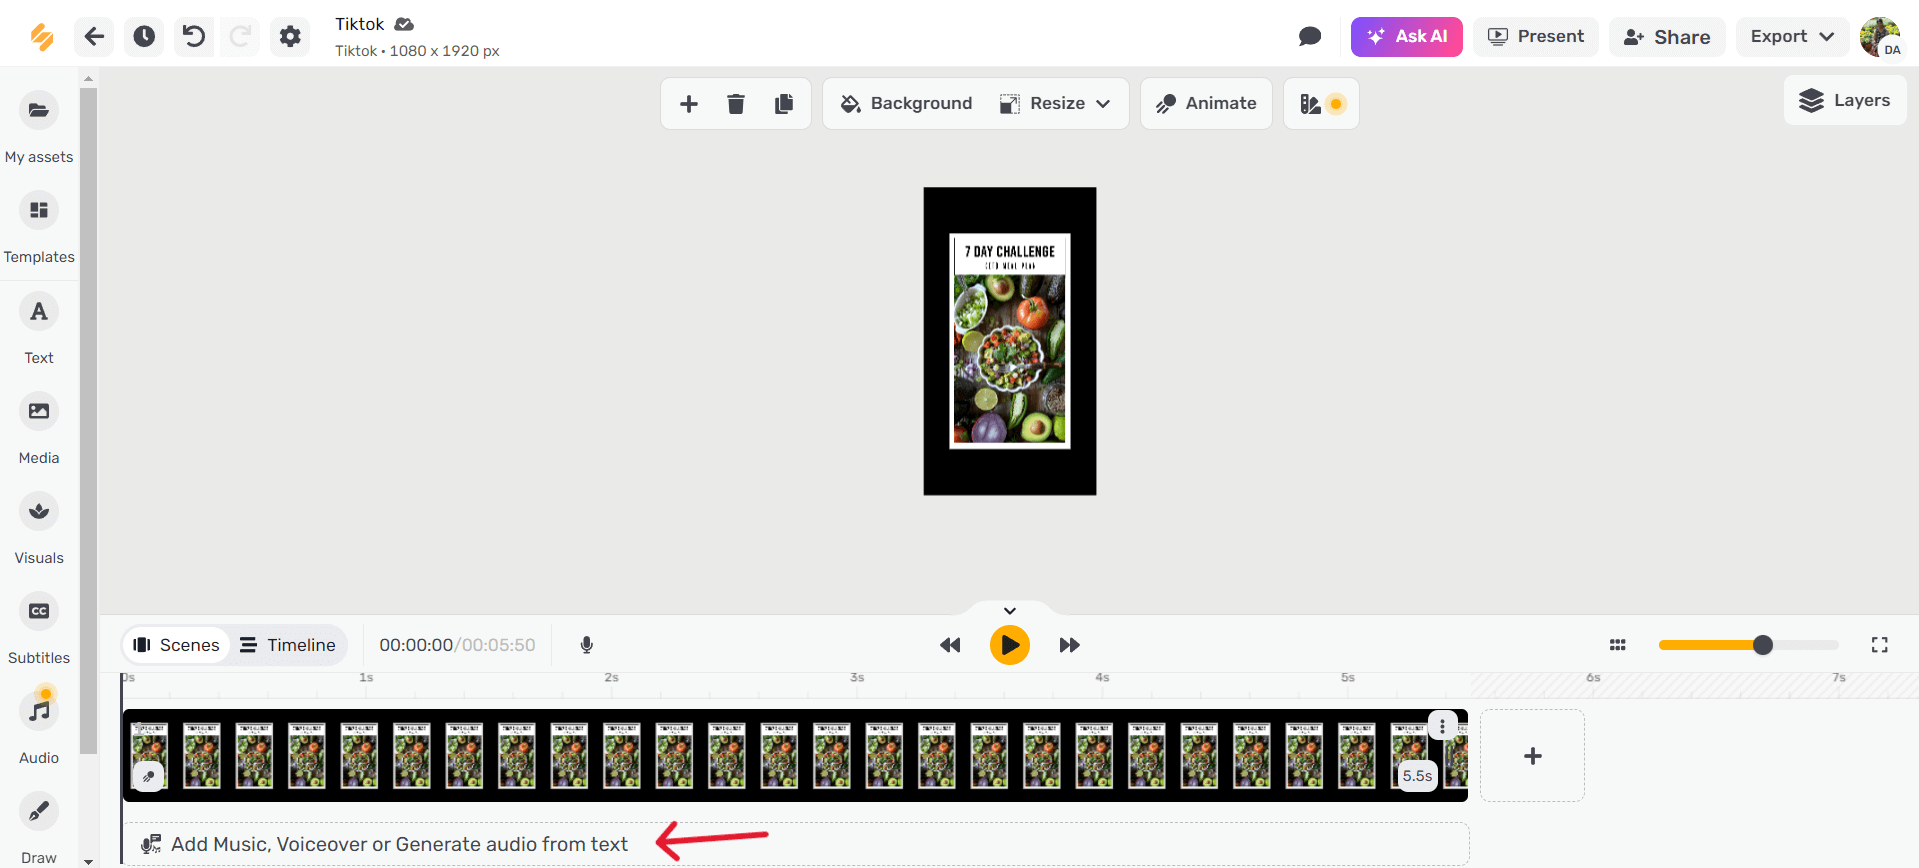
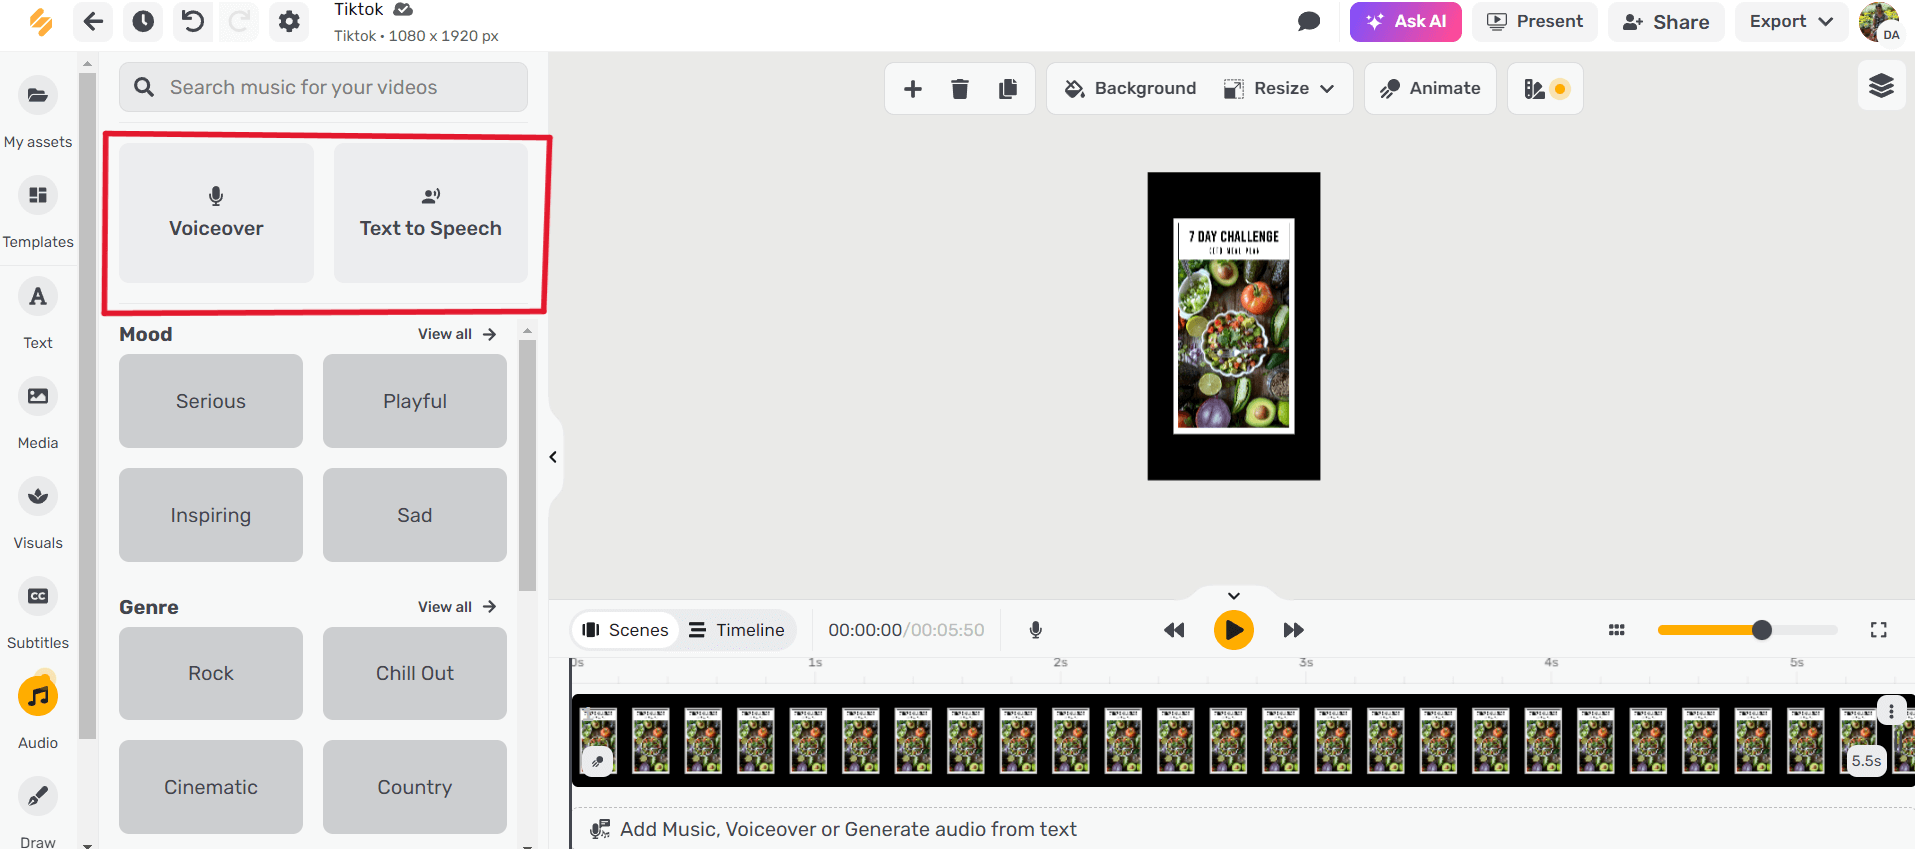
Access the music library by selecting the “Add Music, Voice Over or Generate audio from text option” below the timeline.
Source: Simplified
Search by mood, genre, instrument, or sound effects. You can also use the search bar to look for keywords. Preview the audio by clicking the play icon. If you want to use your audio file, you can upload it to My Assets.
Source: Simplified
Add your chosen file to the timeline by clicking on the file name.
Simplified also boasts amazing AI features like voiceovers or Text-to-speech options.
Source: Simplified
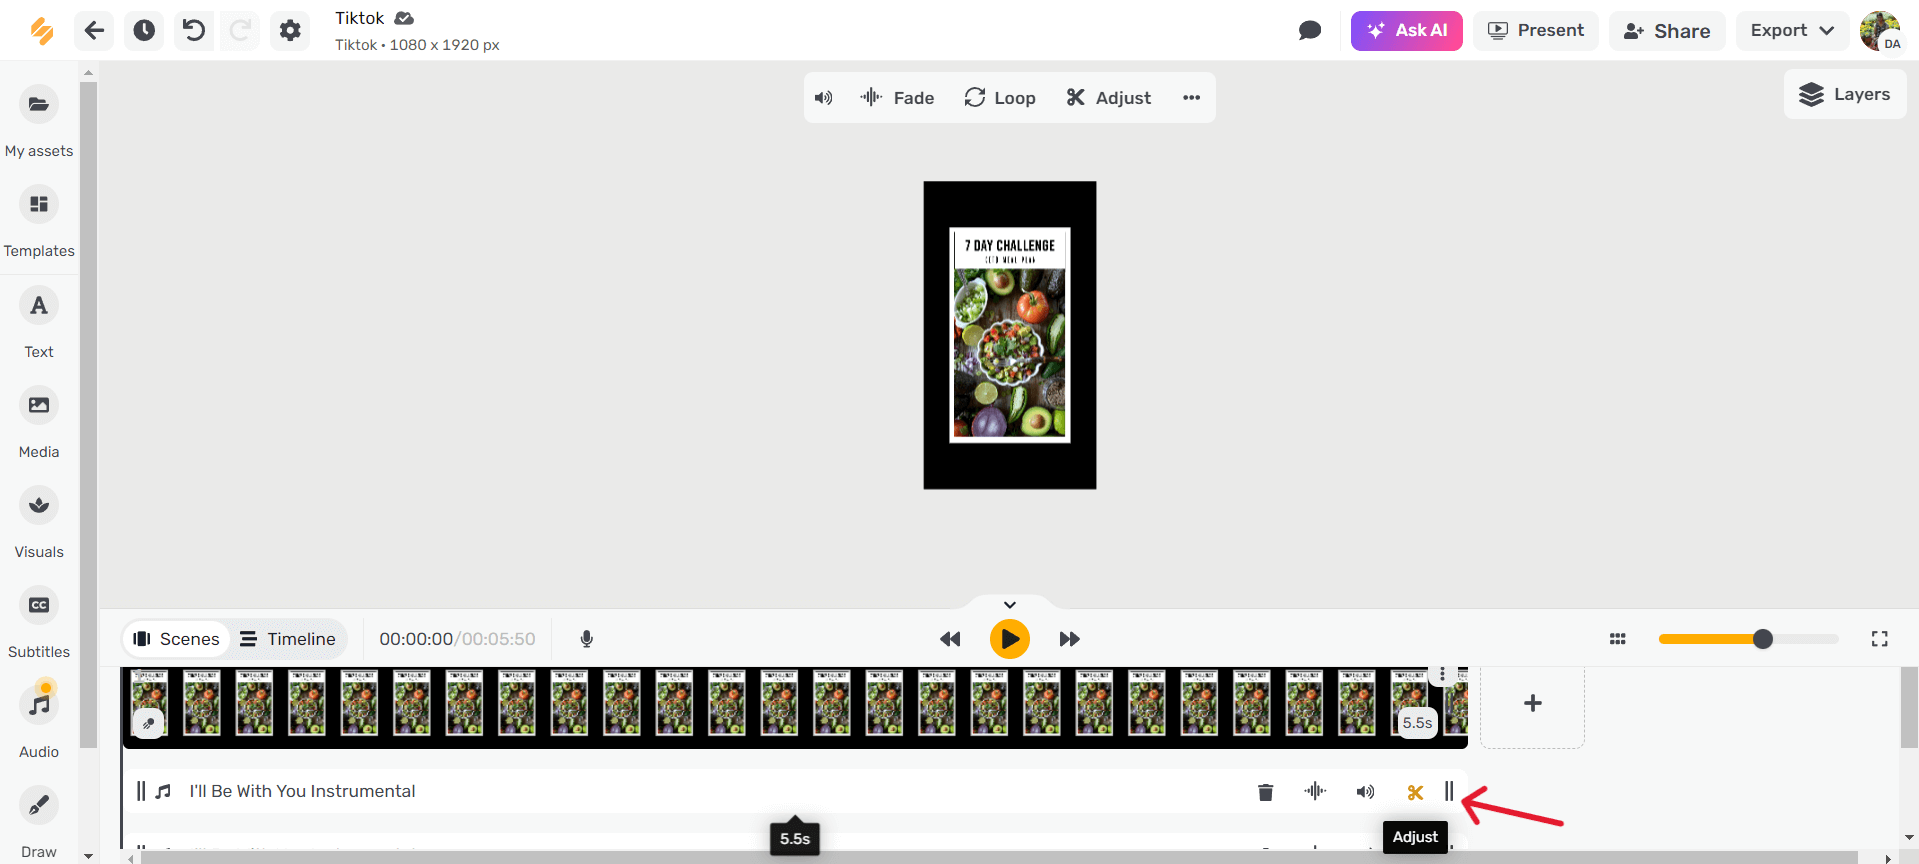
Trim or extend the clip’s duration in the timeline using the two vertical lines.
To access more settings, click on the three dots next to the trim lines, and select Adjust. Here, you can choose which section of the track should play by dragging the highlighted section to the left or right.
Source: Simplified
Preview by hitting the play icon to the left. You can also adjust the volume of the track on the right.
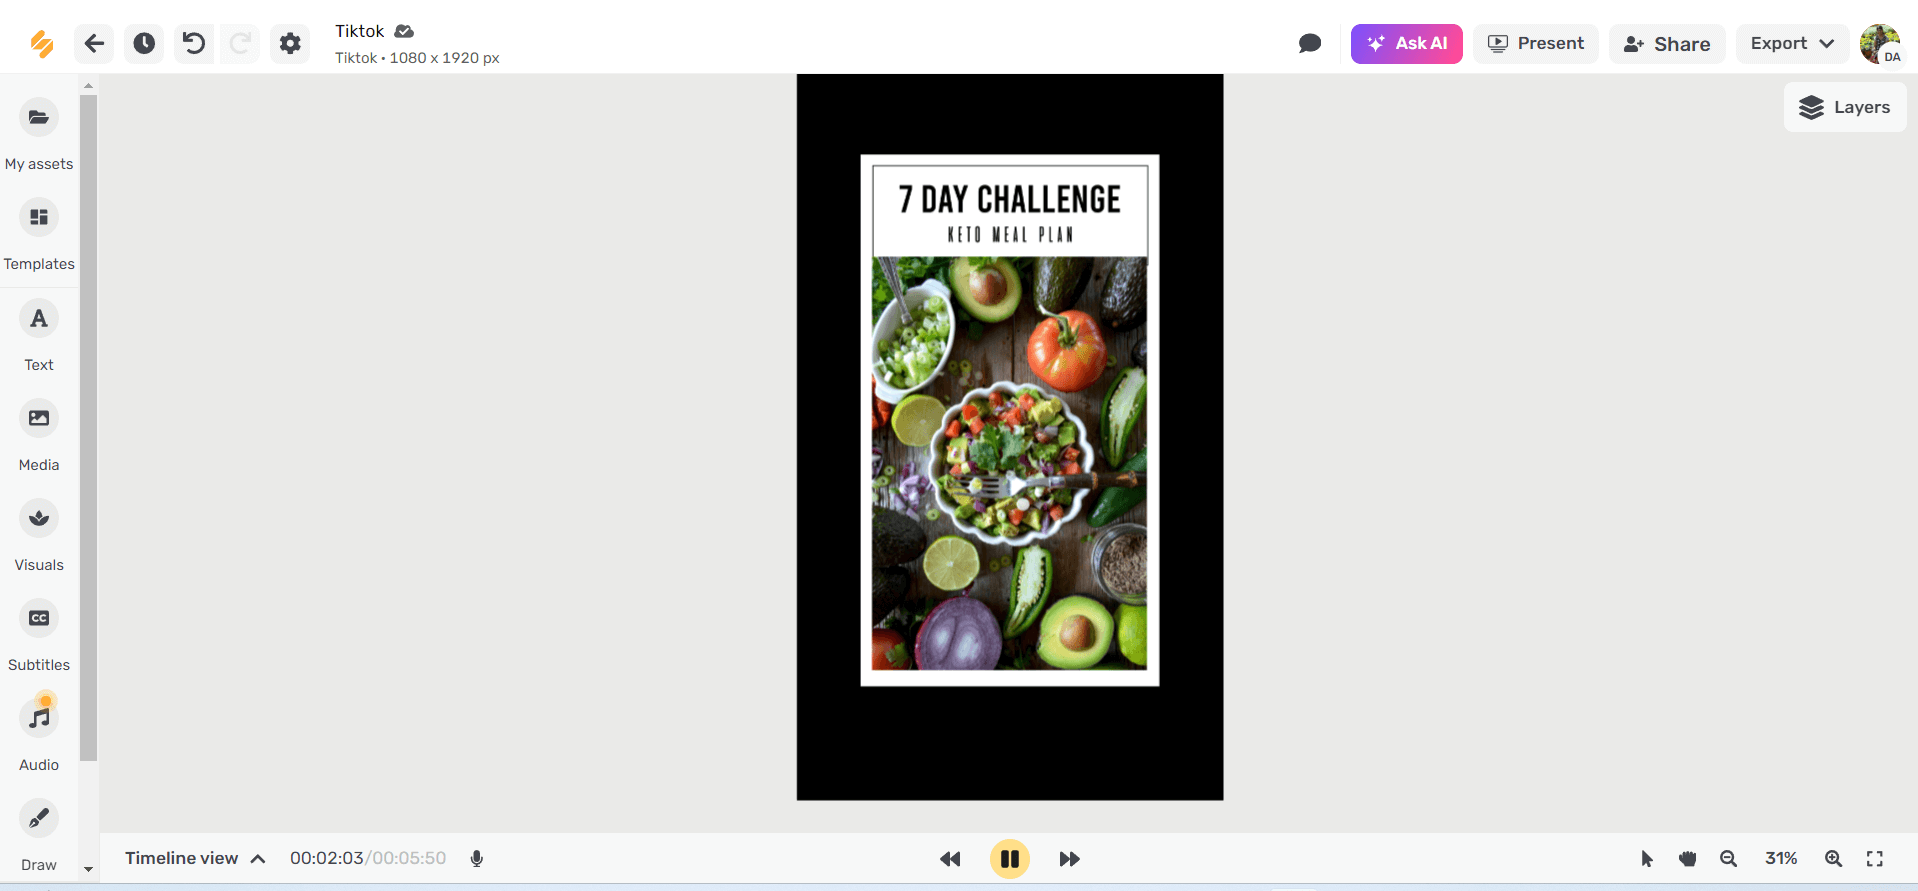
Step 6: Preview
Your video is almost ready! Preview by clicking the play icon below your artboard.
Source: Simplified
💡 Tip: Collapse your timeline editor at this point, so you get a larger preview of your video.
Step 7: Export
When you’re done making edits, it’s super easy to export your file.
Select Export on the top right and download the video.

Source: Simplified
That’s not all. Simplified has 1000s of built-in templates that allow you to create stunning videos effortlessly.
Simplified also has numerous AI features that help in your video creation. It has an AI text-to-speech generator, AI subtitle generator, video compressor, AI text-to-animation, remove video background, subtitle translator and much more. It provides a comprehensive solution for all your video content needs.
Bottomline
If this is your first stab at online video creation with photos and music, enjoy the process! And if you have done this before, you will find Simplified as the best video creation platform. Explore the power of Simplified’s intuitive interface and AI features. Get started today and bring your memories to life!


")
![9 Best AI Text-to-Video Tools for 2025 [Free & Paid]](https://siteimages.simplified.com/blog/Best-AI-Text-to-Video-Tools-01.png?auto=compress&fit=crop&fm=png&h=400&w=400 "9 Best AI Text-to-Video Tools for 2025 [Free & Paid]")


![How to Make Alex Hormozi Style Captions & Subtitles [Tips & Tools]](https://siteimages.simplified.com/blog/how_to_make_alex_hormozi_style_captions___subtitles-02-scaled.jpg?auto=compress&fit=crop&fm=pjpg&h=400&w=400 "How to Make Alex Hormozi Style Captions & Subtitles [Tips & Tools]")
")

")